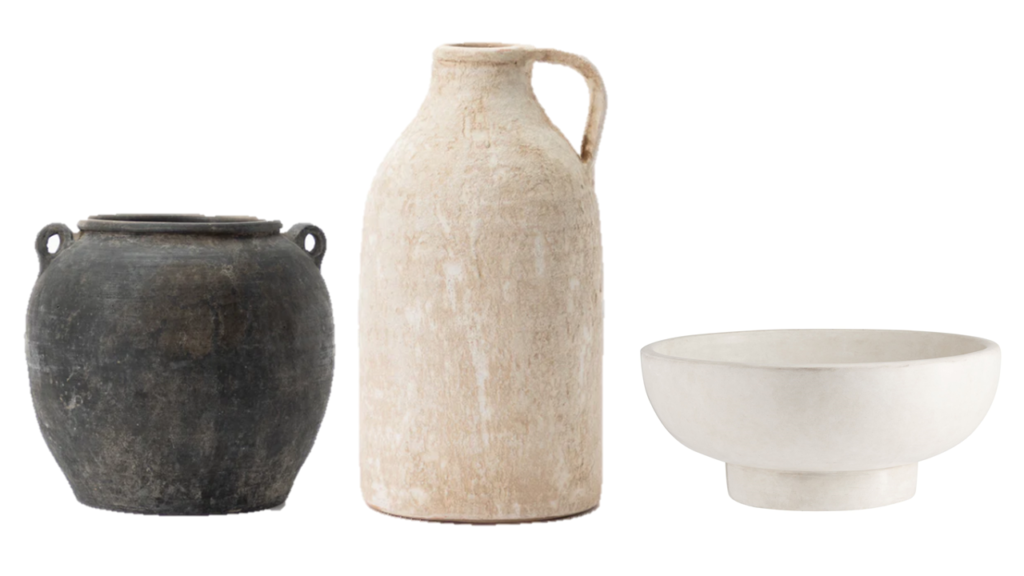
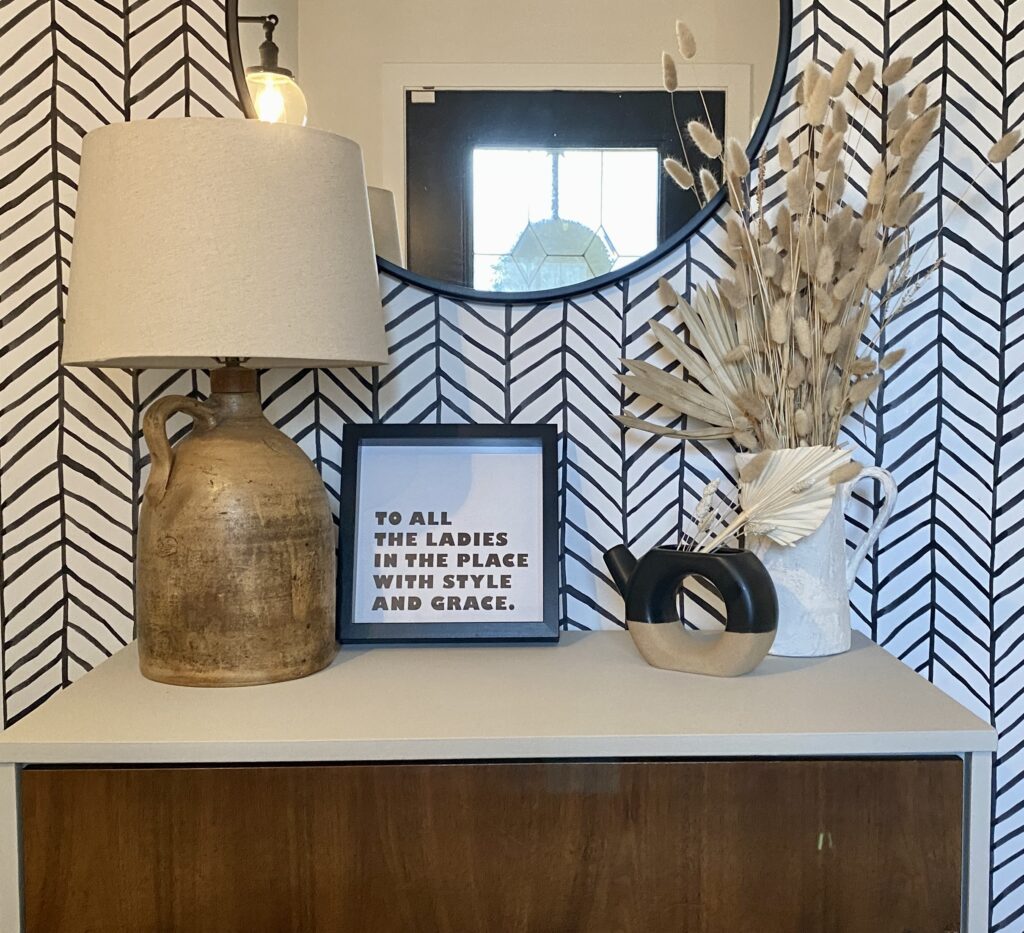
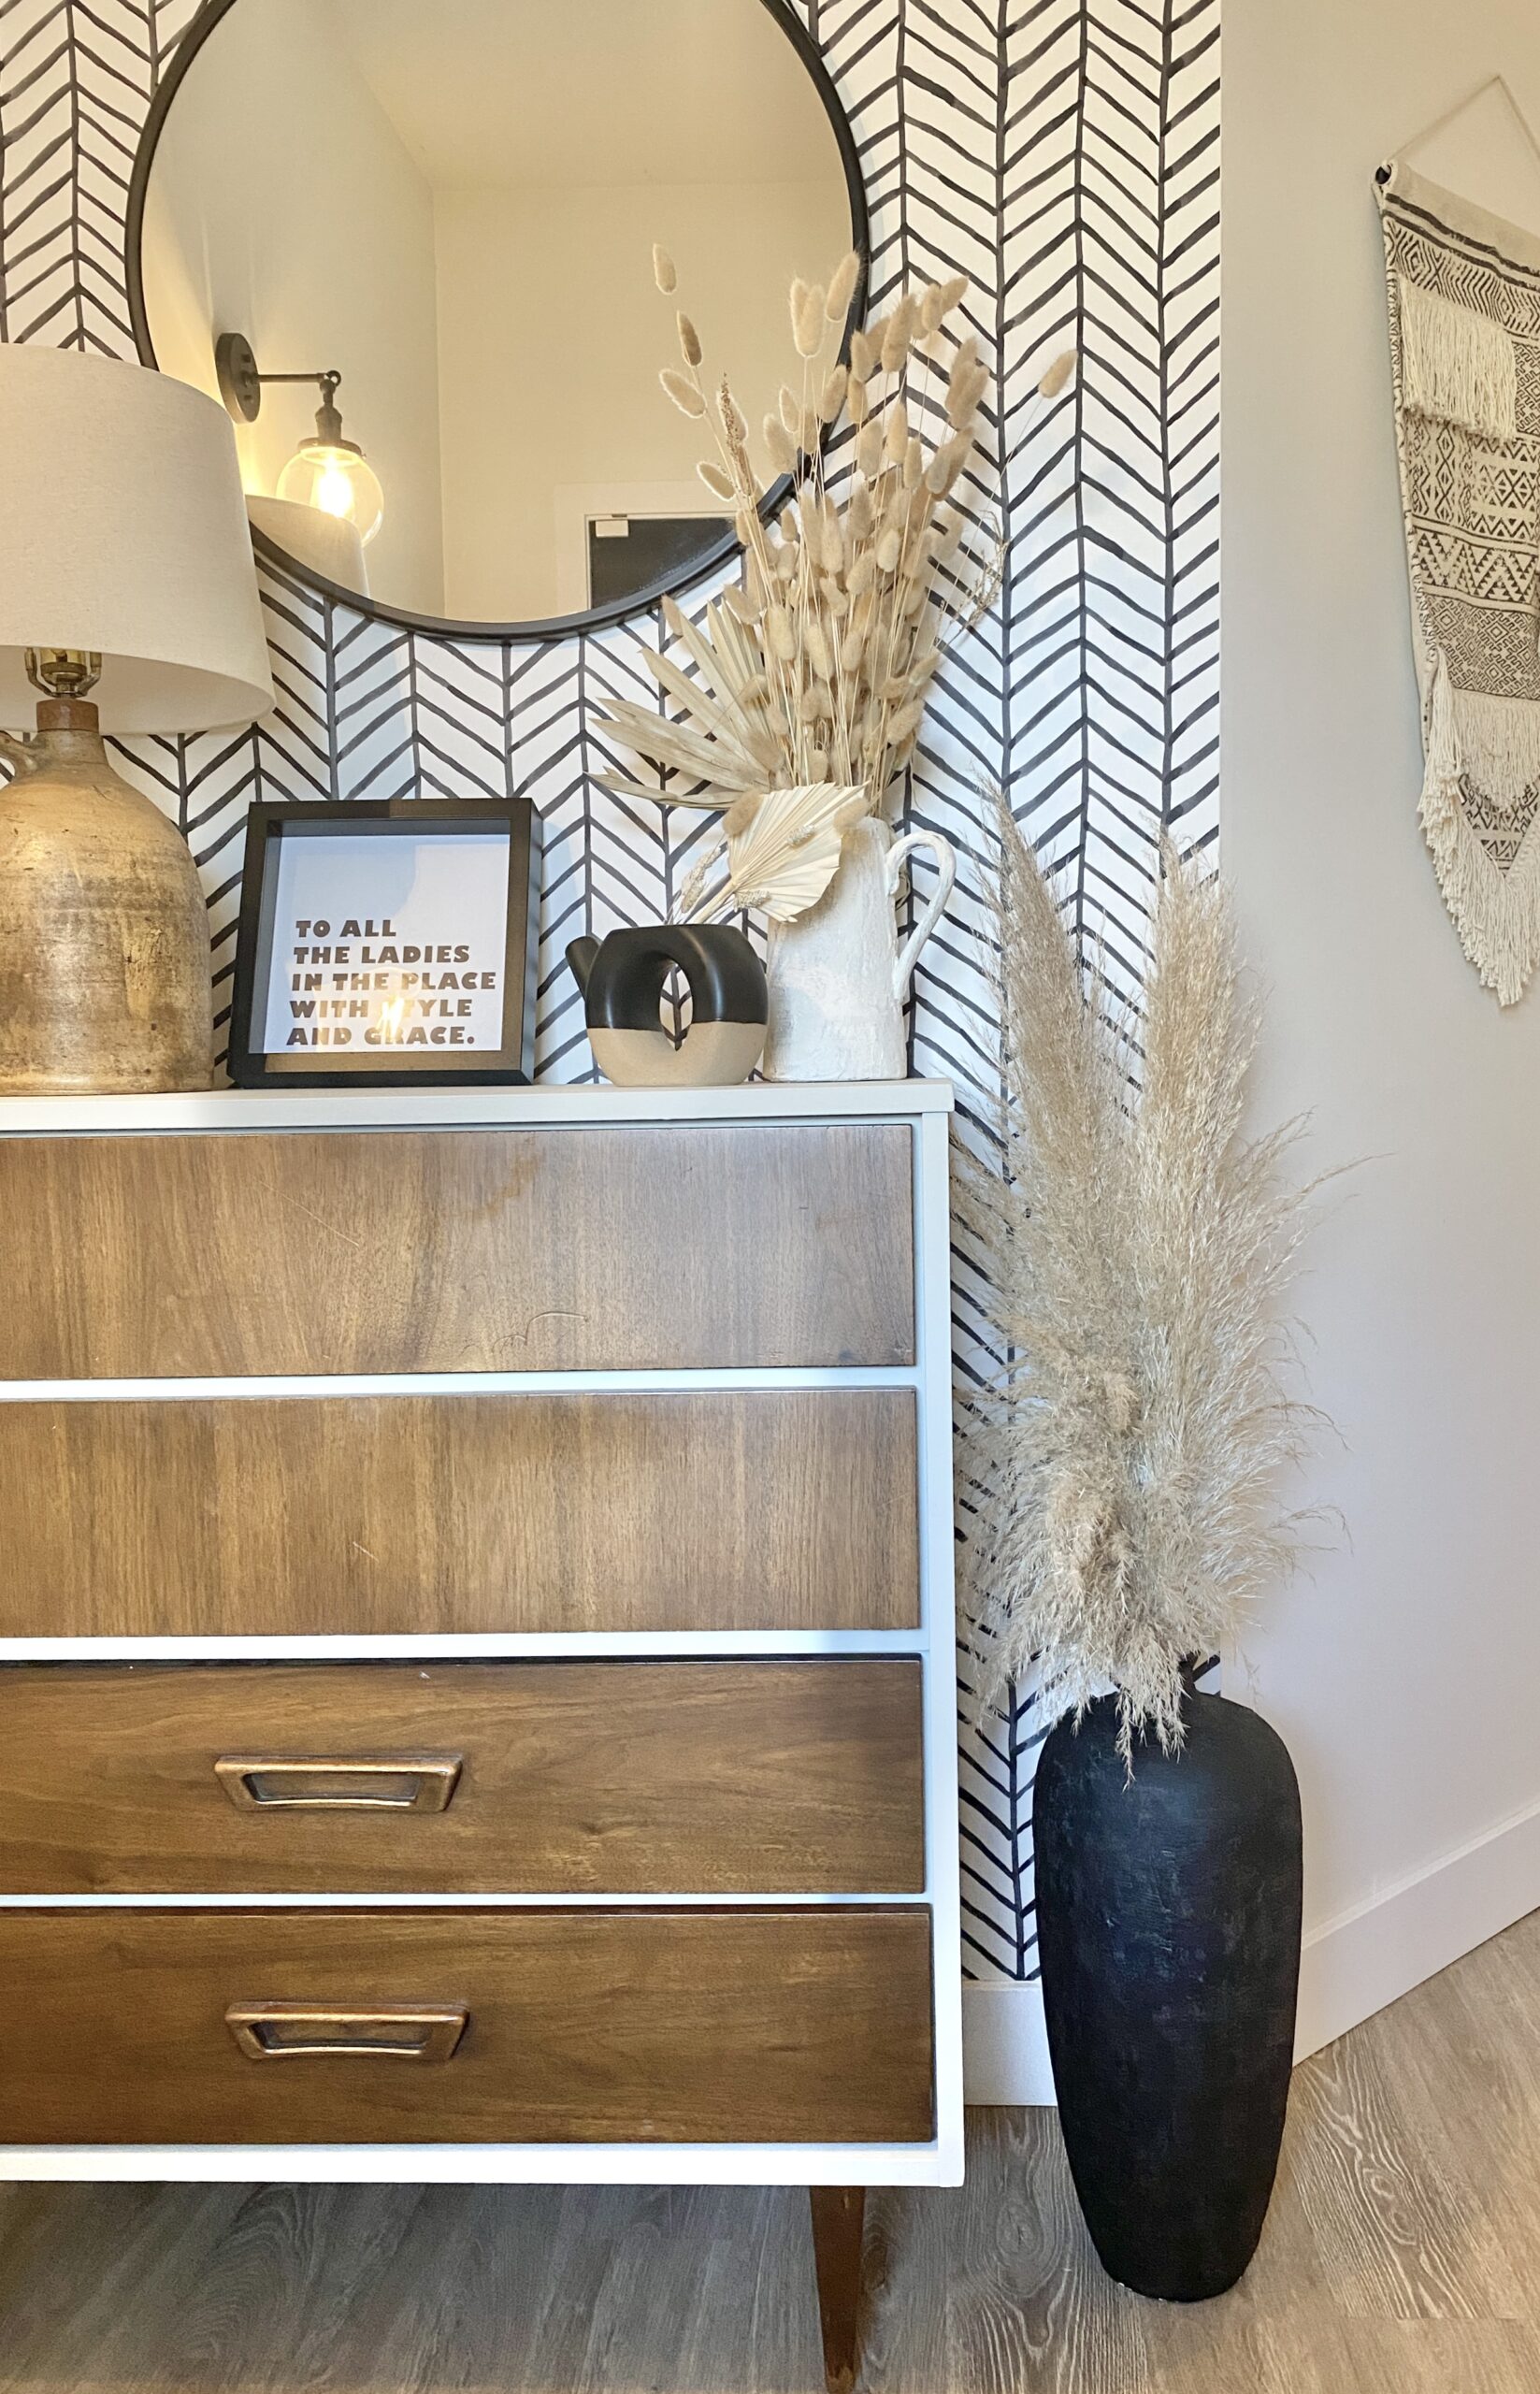
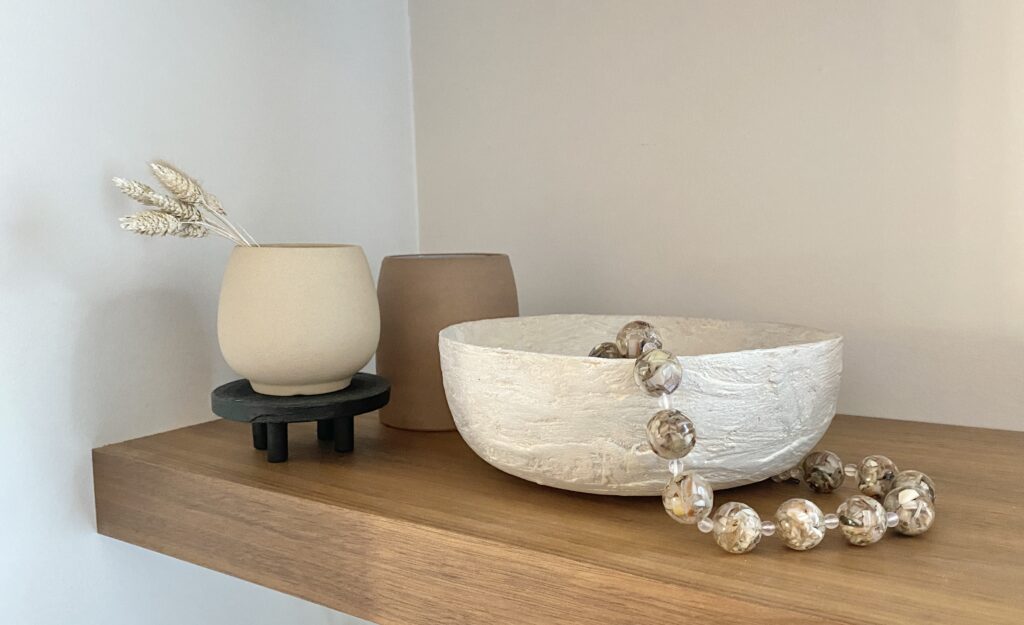
I love the aged, old world look of Pottery Barn, McGee & Co and Crate & Barrel accessories, but the price tags...not so much. I am a big fan of texture, neutrals, DIY and upcycling, so I knew there was a way to copy these looks for a fraction of the price using a few simple supplies. I bought 3 floor vases from Facebook Marketplace for $20 and had an old gold bowl and black pitcher laying around that I no longer used, but I loved their shapes. I will walk you through step by step how to achieve this designer look on a thrift budget. (PS. I also made the little riser in the image above ^^^ )
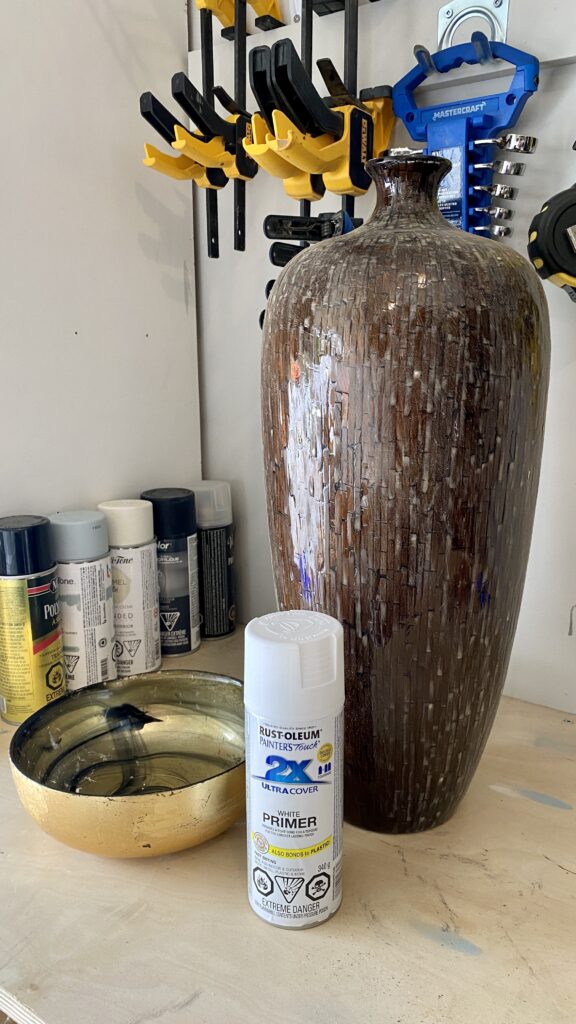
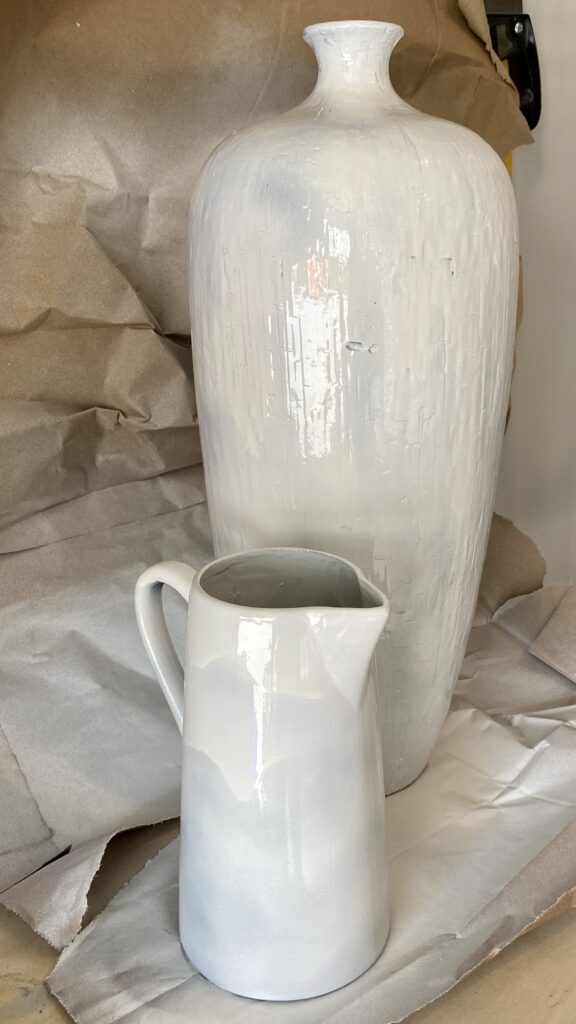
I gave the vase a light sand because it was very glazed. Feel free to skip this step if your vessel is not glazed. I then washed them in soap and water to remove any dust or oil, and let dry completely. I sprayed them with a fast drying primer (do not worry about this being pretty, it is going to be covered up anyways). Let the primer cure before moving on to the next step.
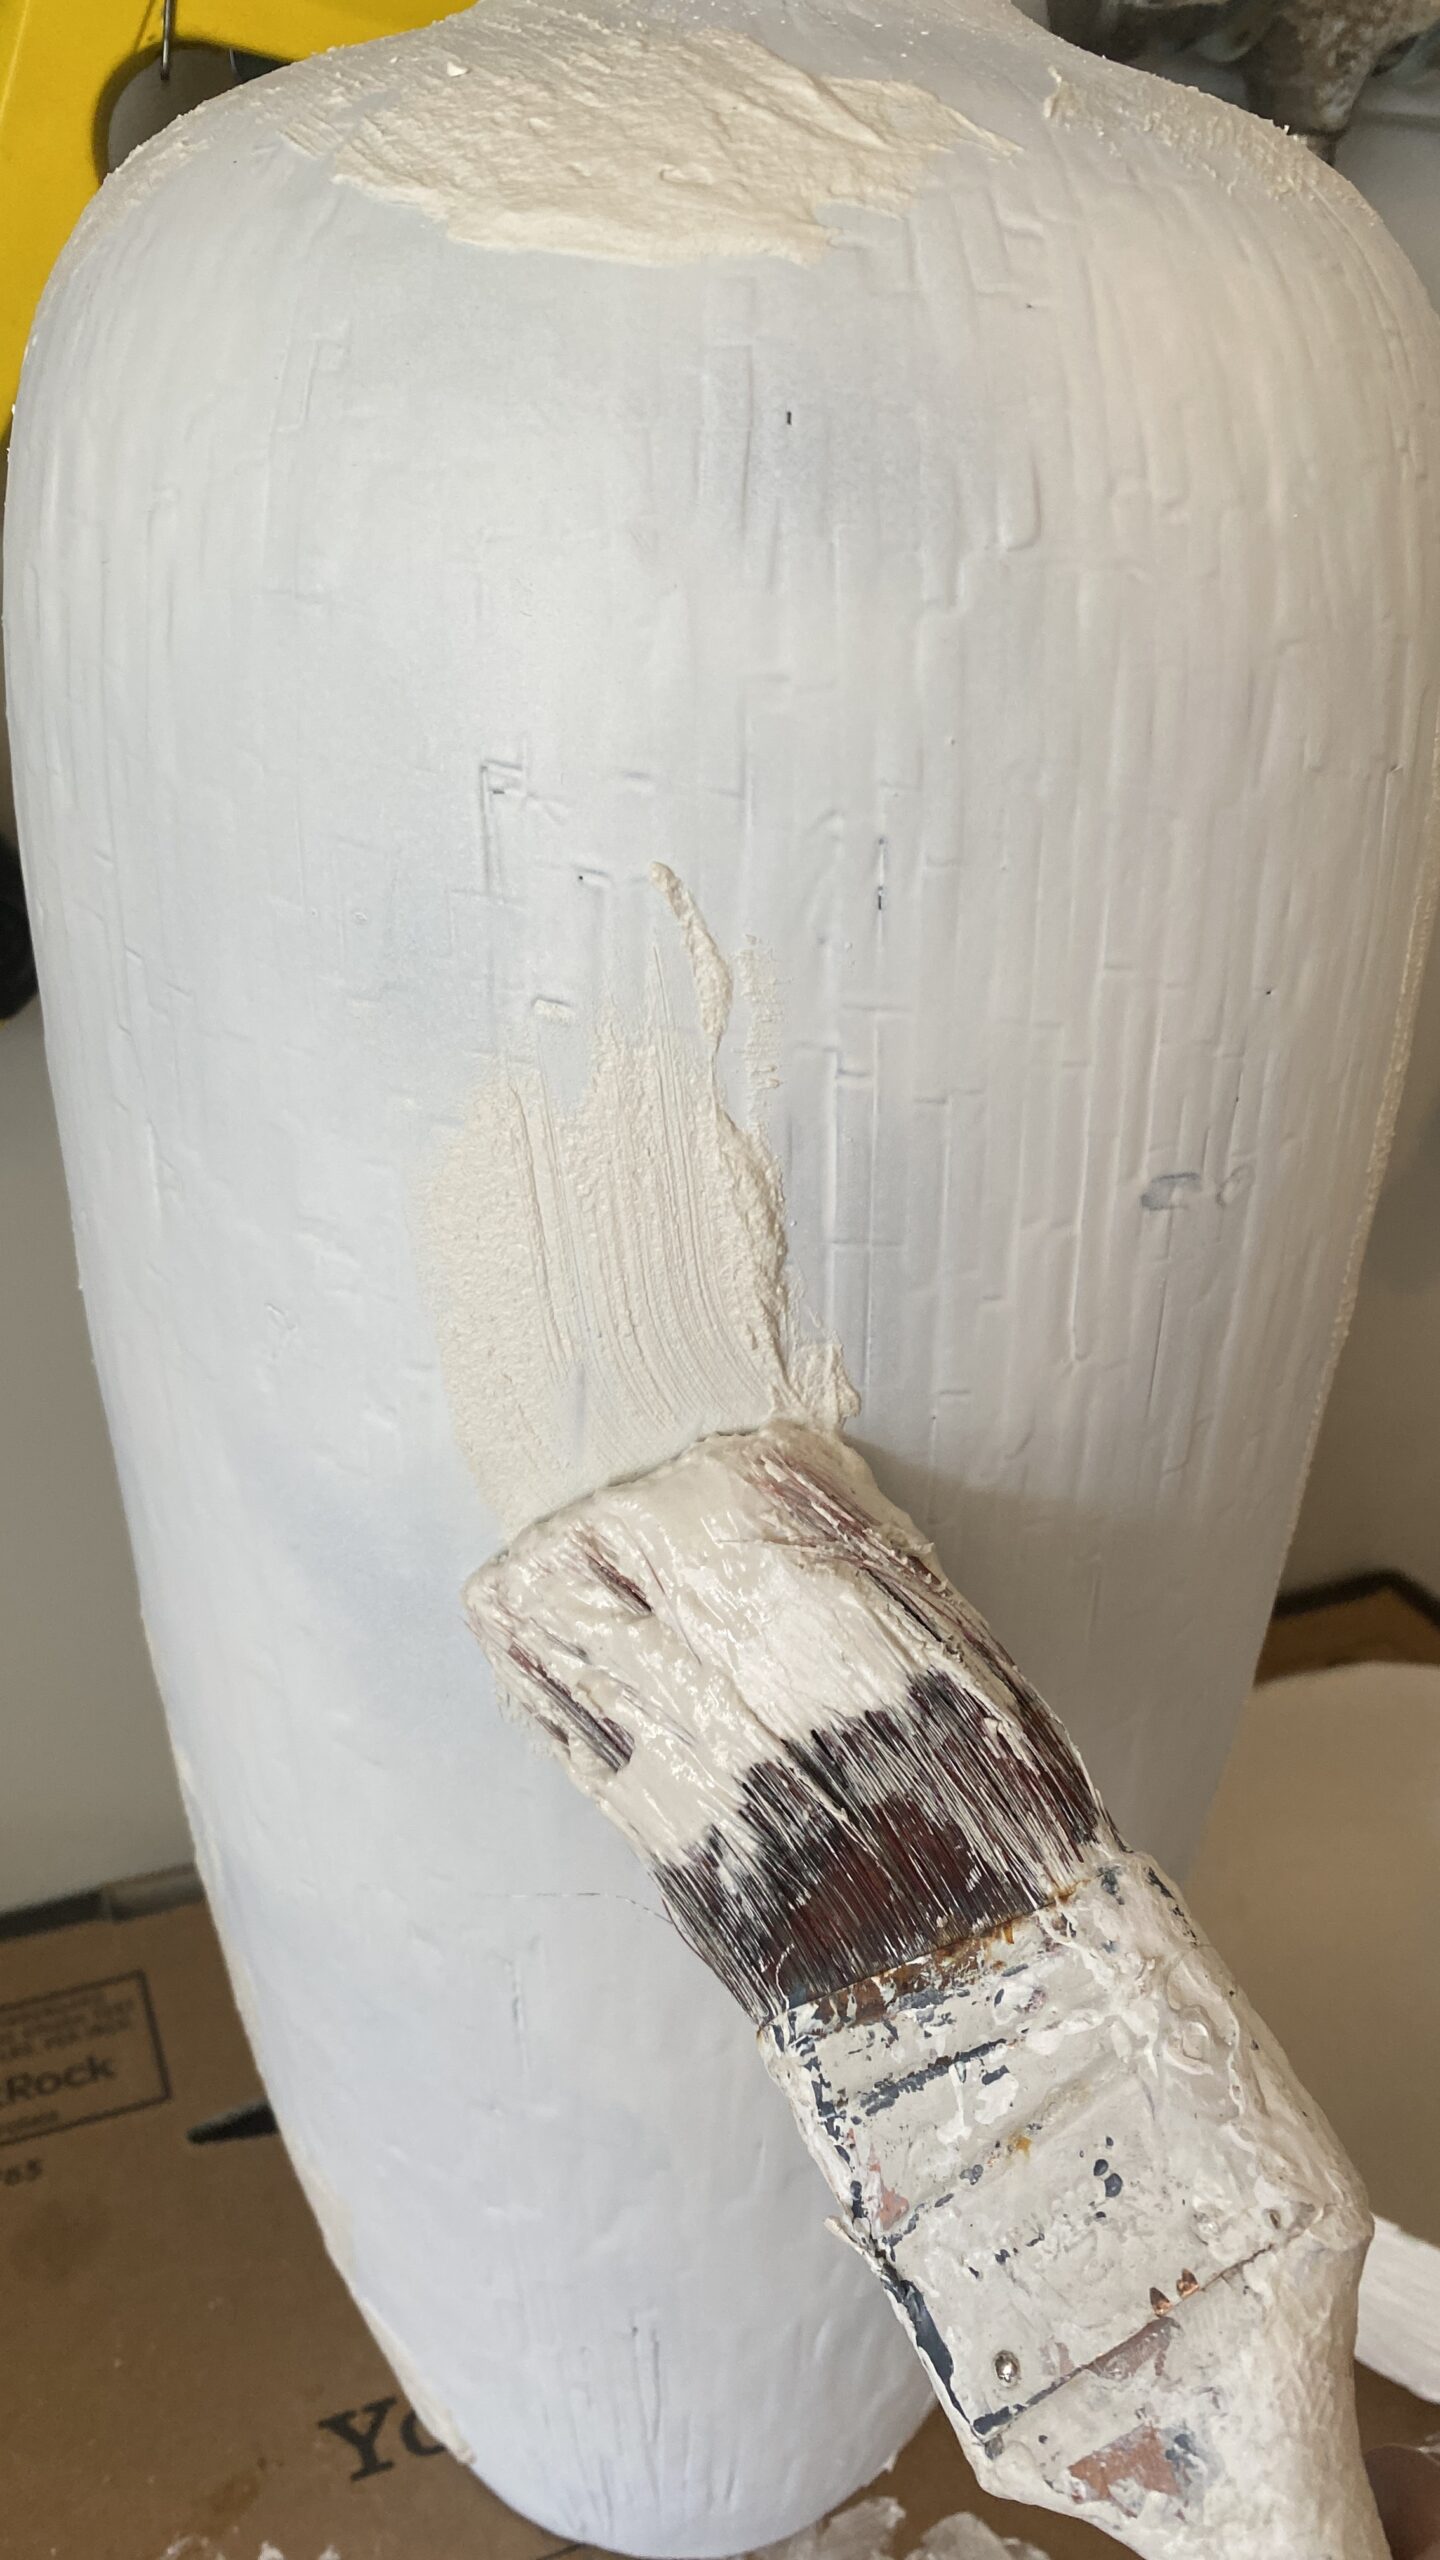
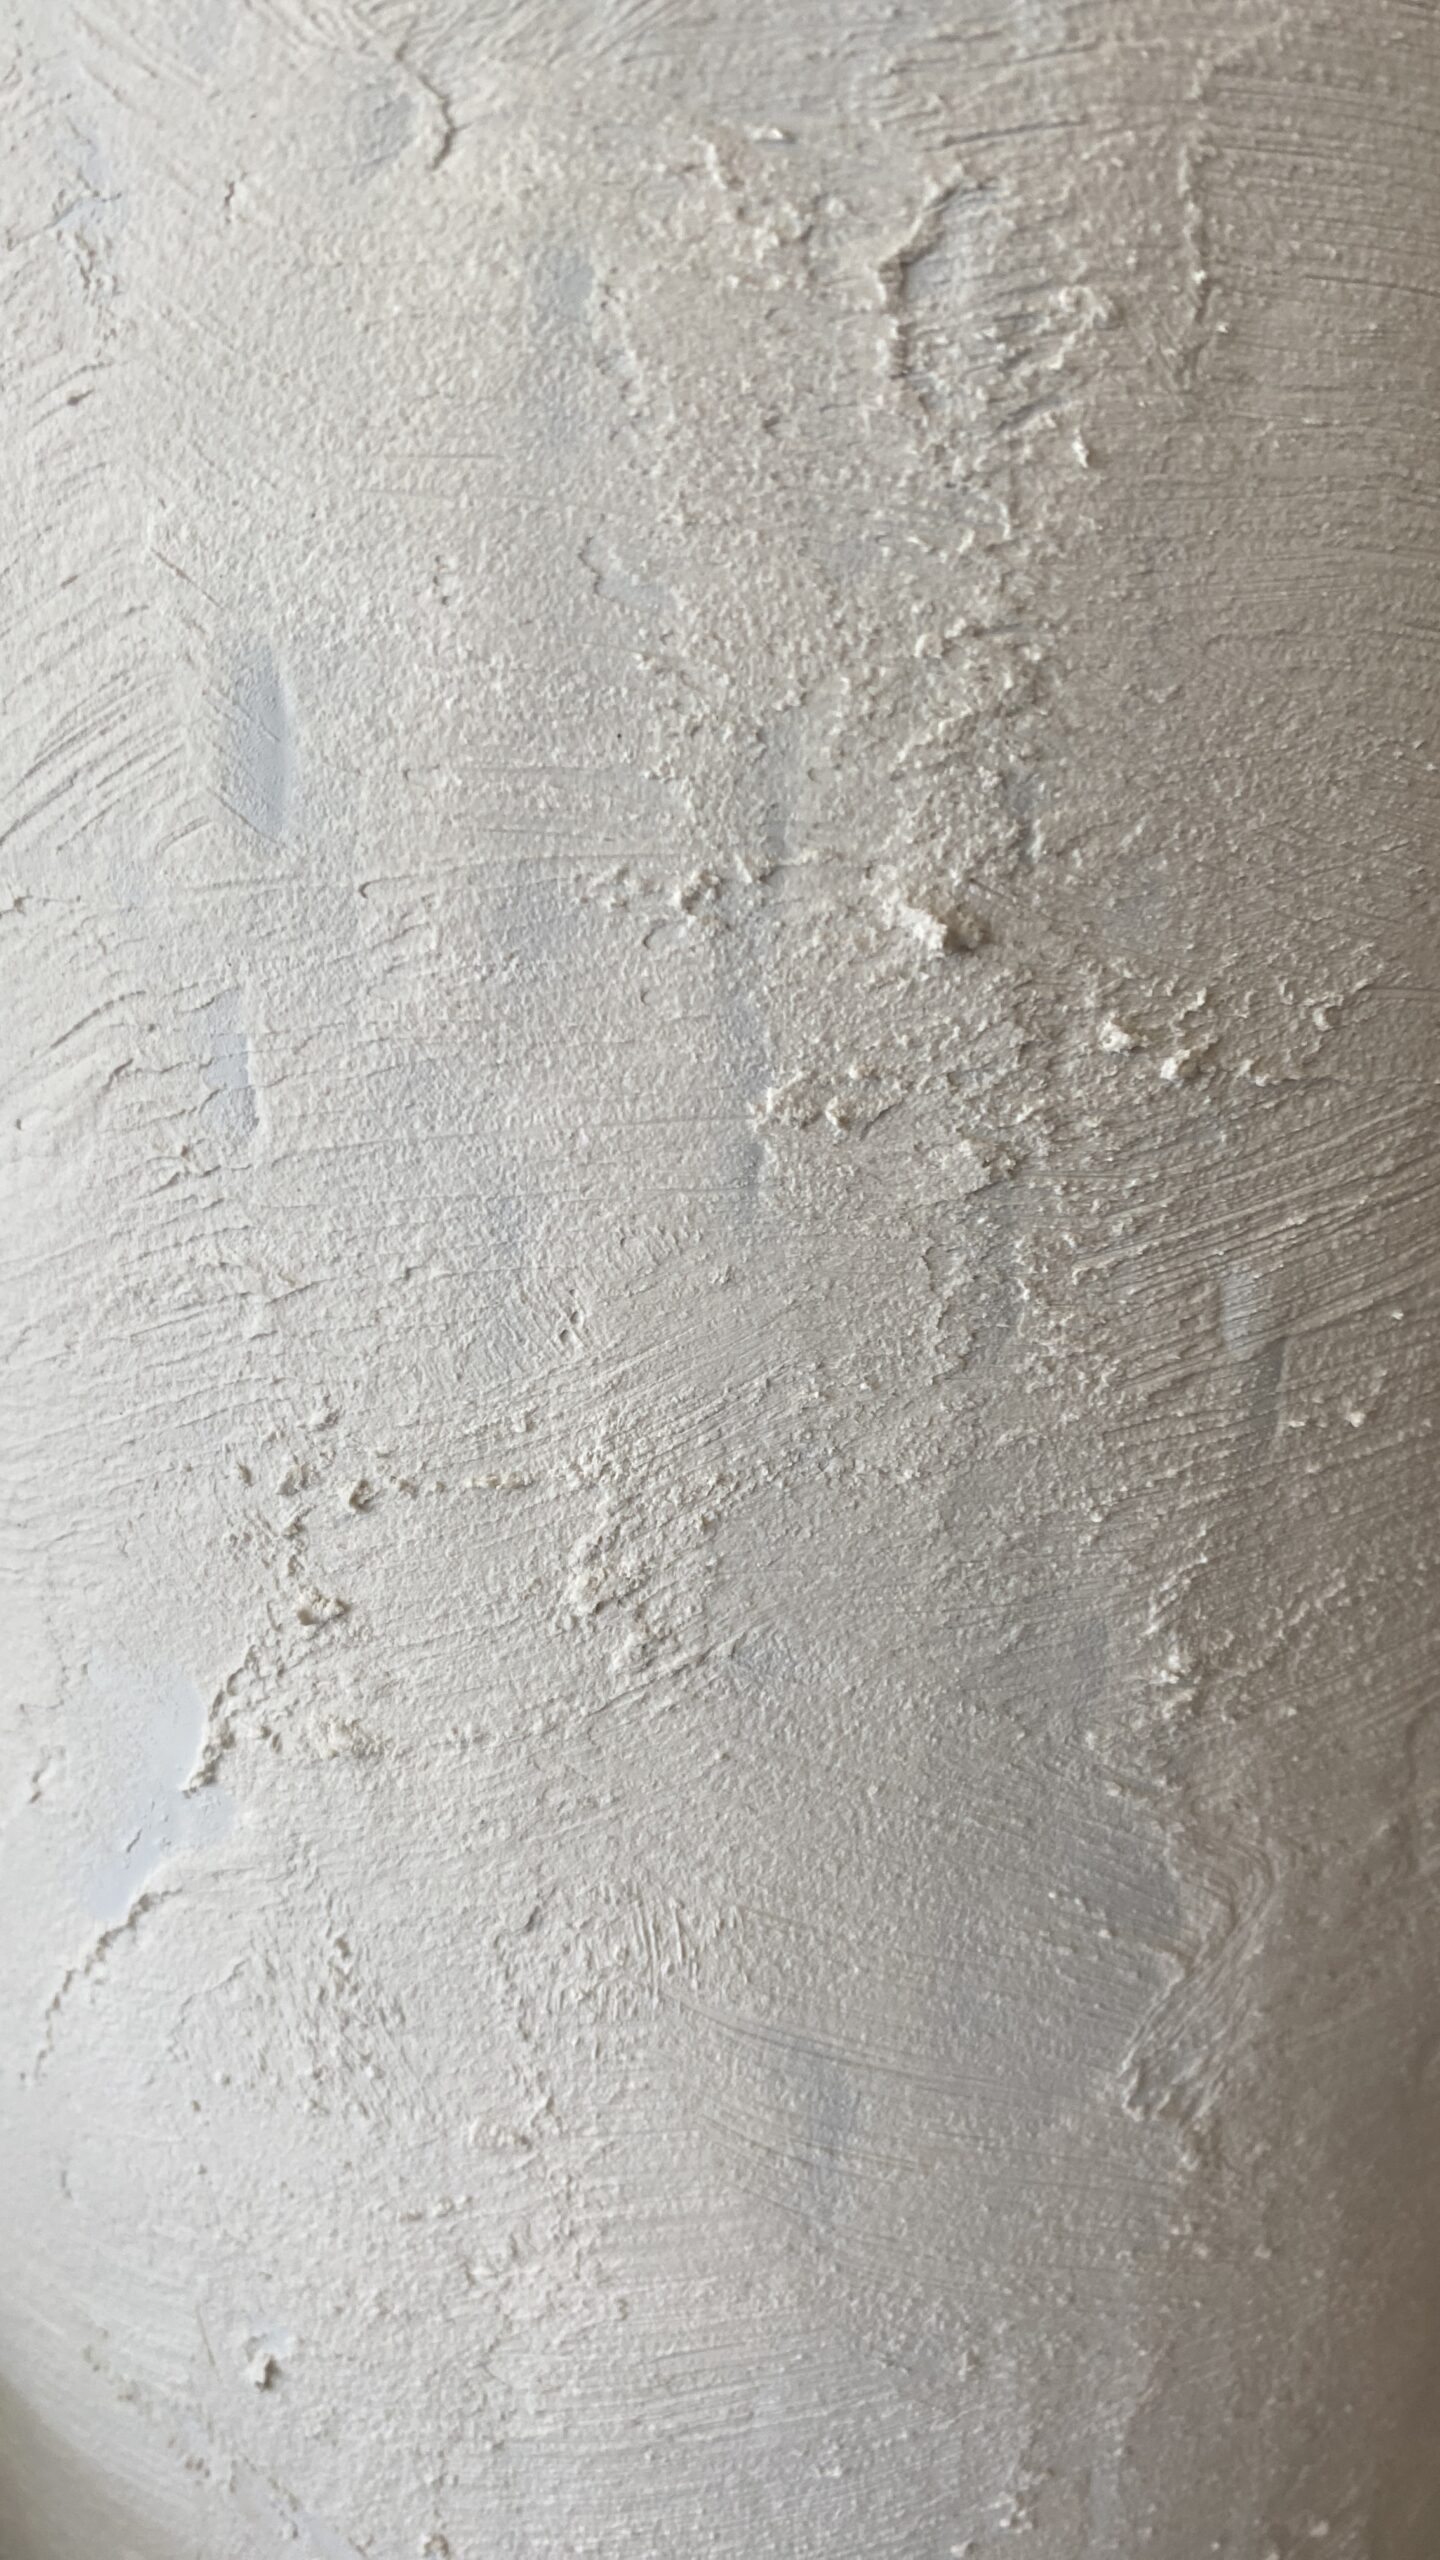
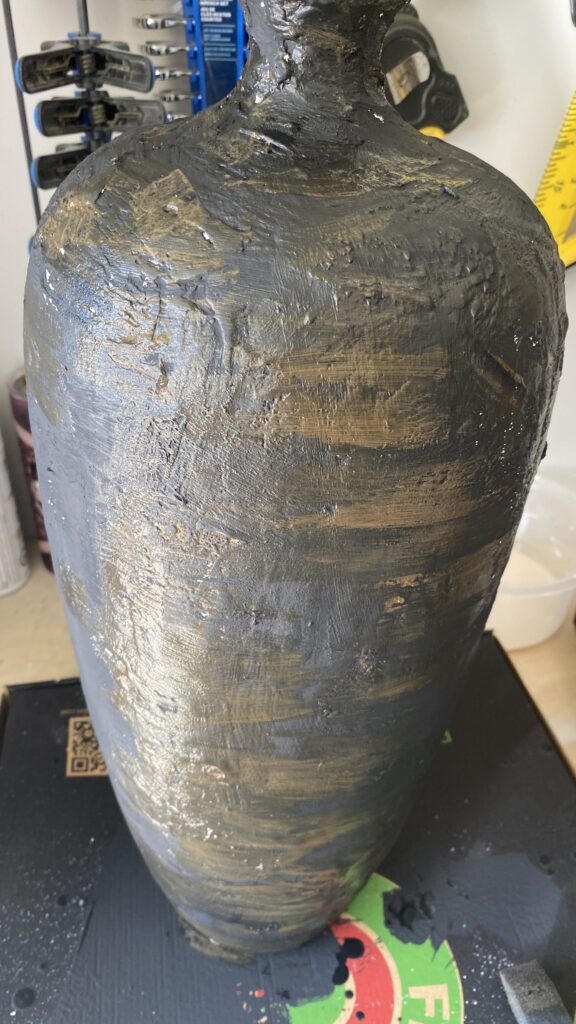
If you haven't worked with Plaster of Paris before, know that it dries very quickly, you only have about 10 minutes to work with it from the time you mix it with water. Have your workspace & vessels ready before mixing so you can get to work right away. Follow the instructions on the box, I like to mix it so it is the consistency of concrete. Again, this does not have to be pretty. You are going for a rough, worn look. Play with different brushes, trowels, putty knives etc. I like to use the putty know to apply, then use a brush to create my texture. Let dry.
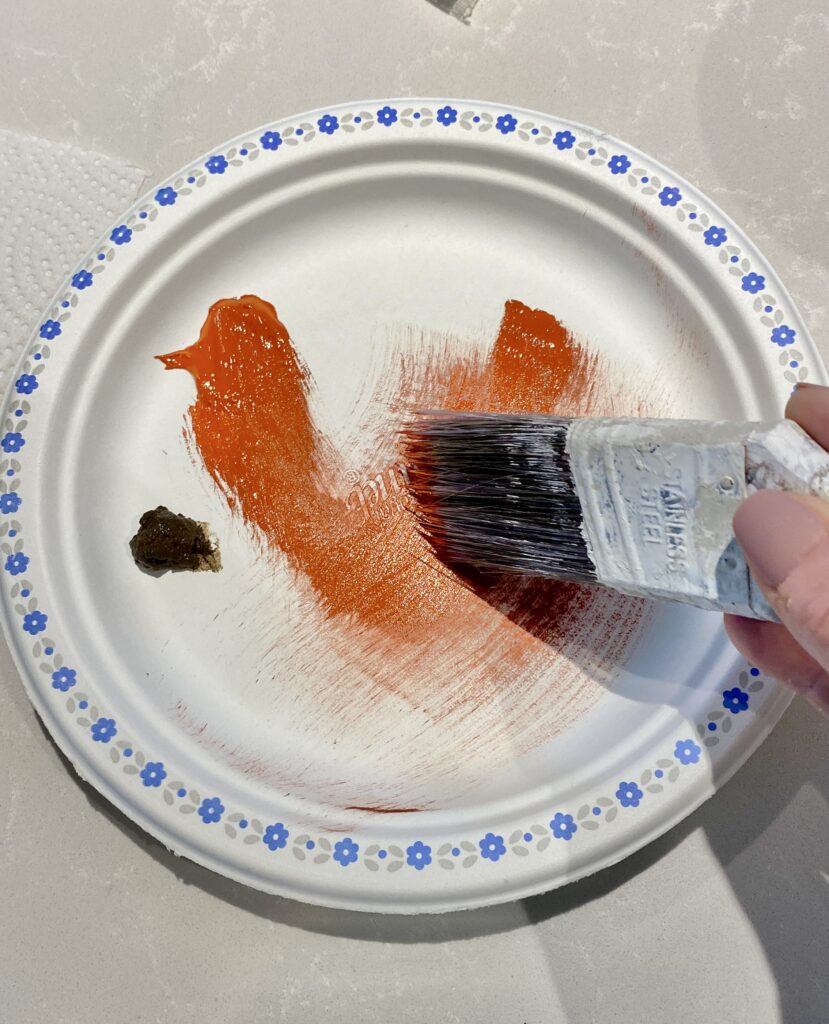
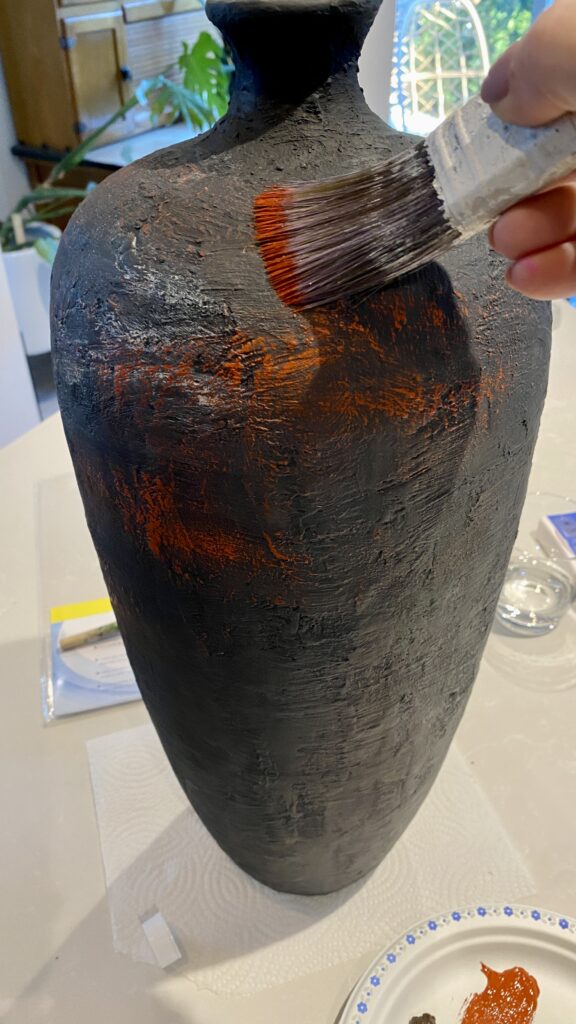
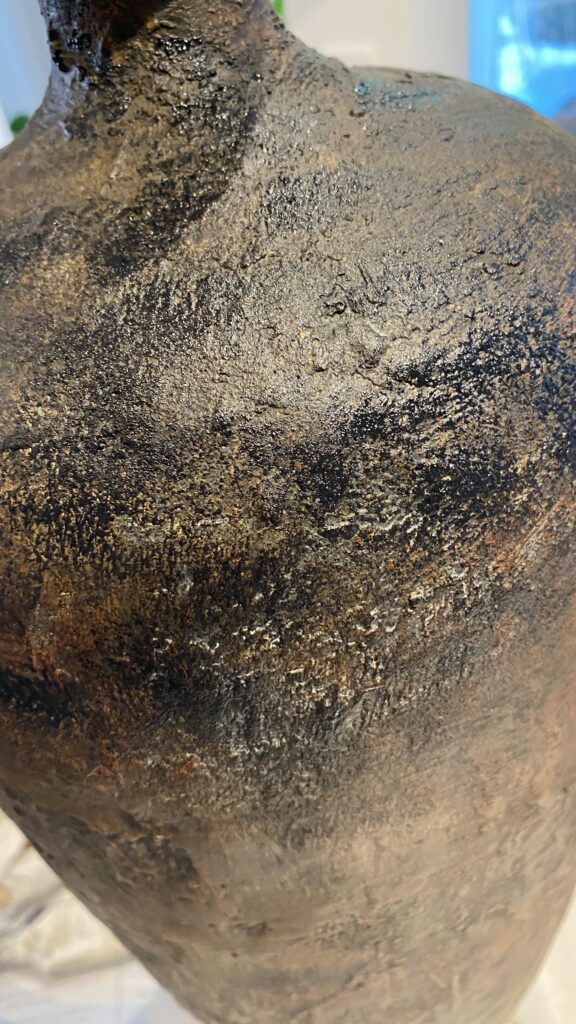
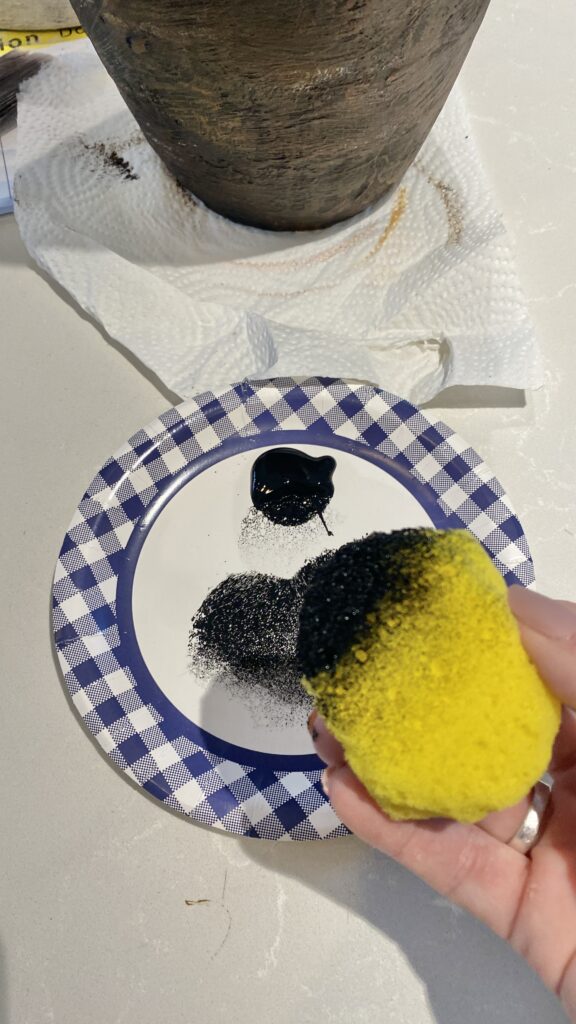
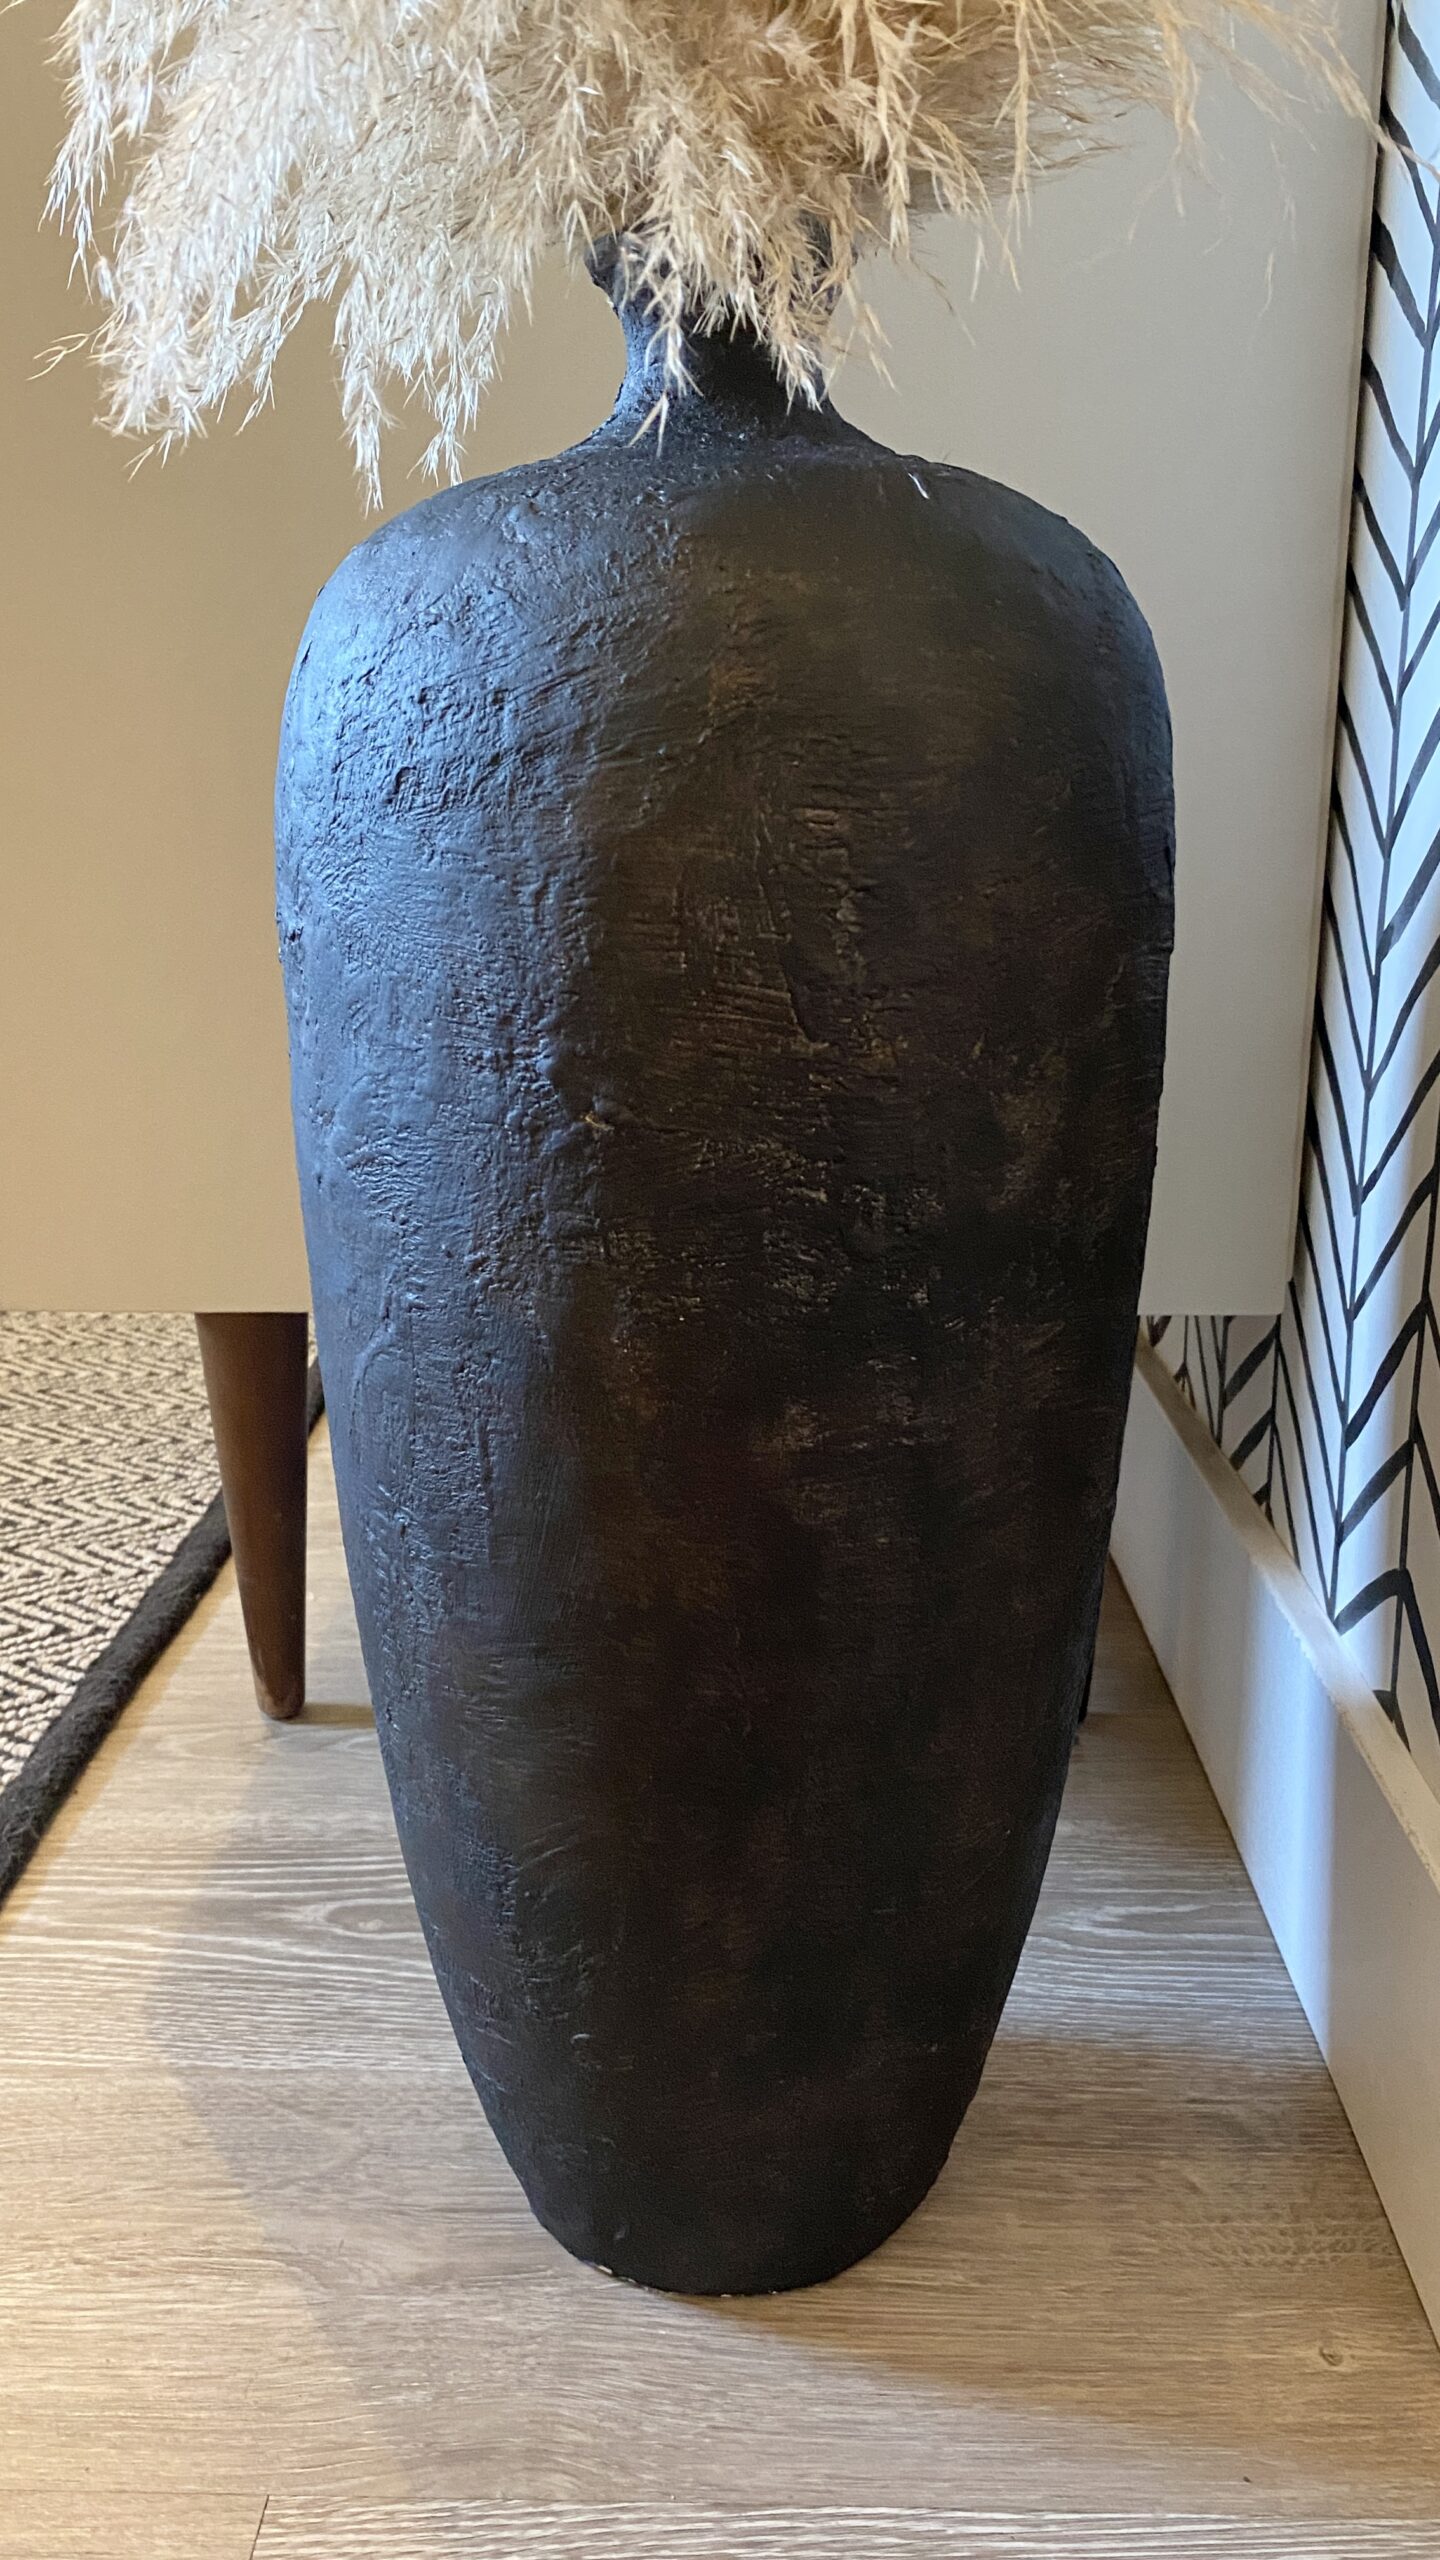
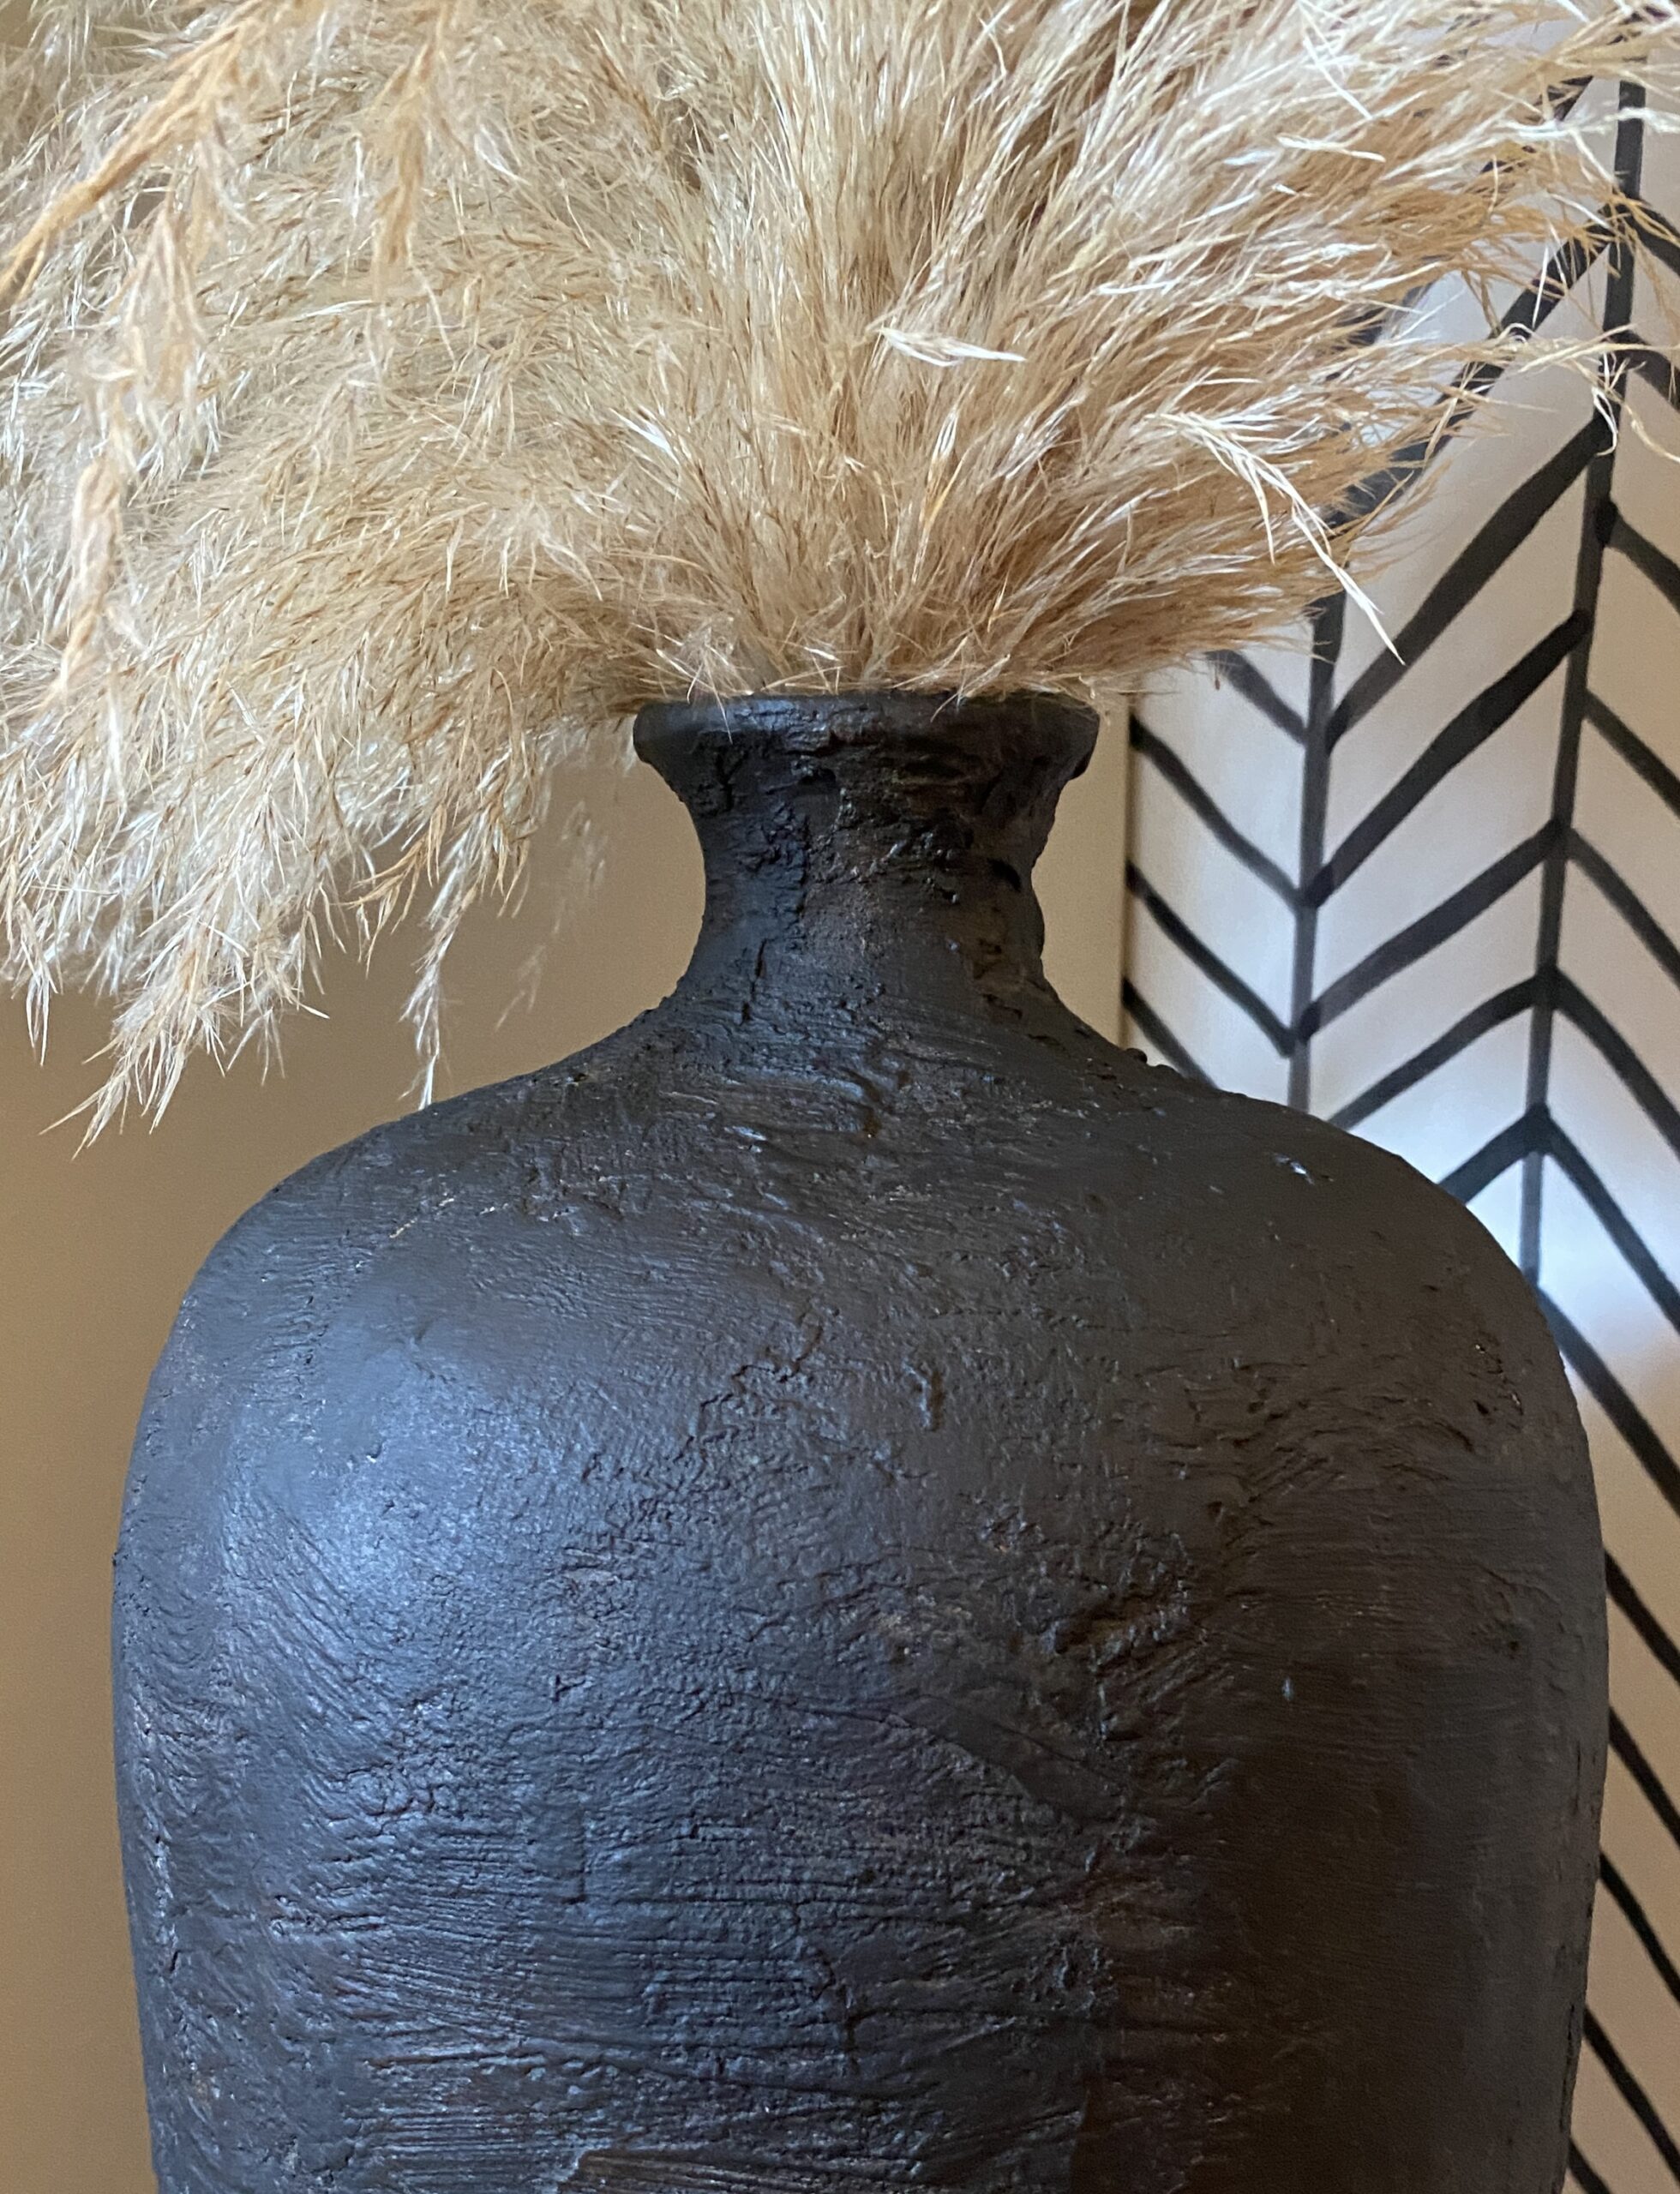
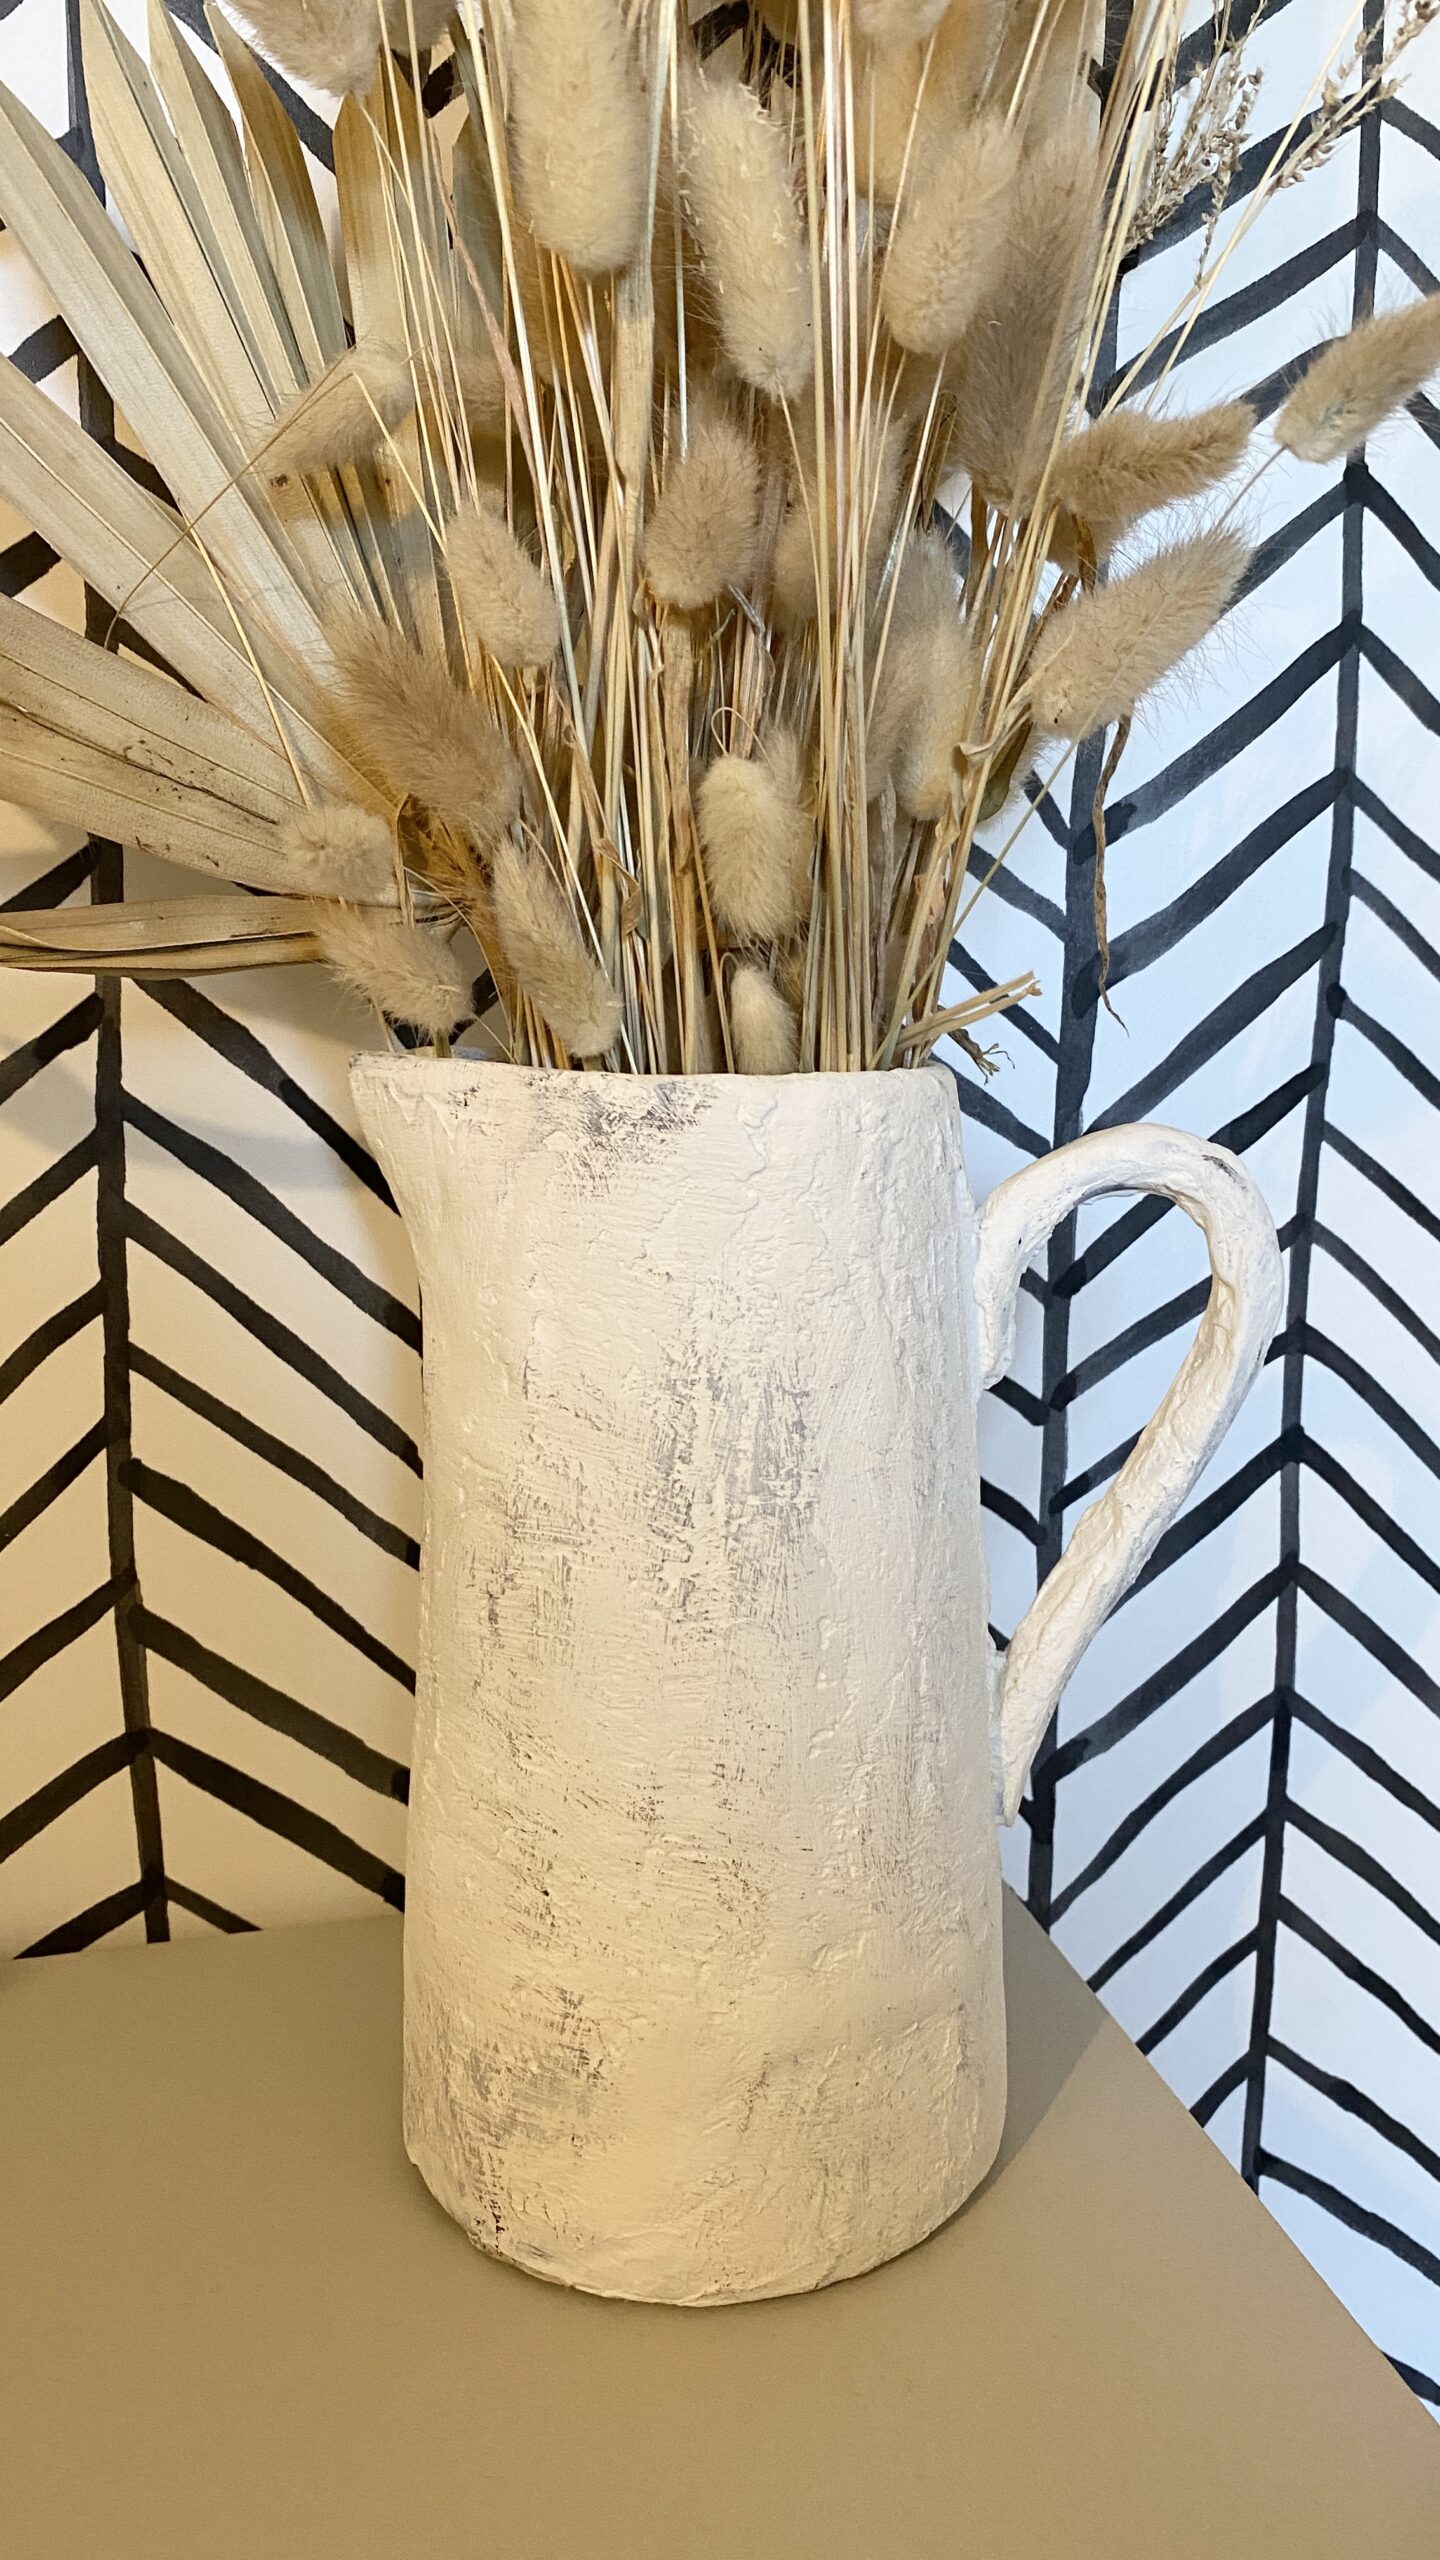
This is where the fun starts. I had 3 pieces and 3 different looks I was going for. I applied a black base coat to the large floor vase, and cream base on the bowl and pitcher, followed with some burnt umber and browns to give it a rustic look. I applied the top colors using a dry brush technique. You do this by putting a small amount of paint on your brush, wiping off the excess and lighting brushing your vessel.
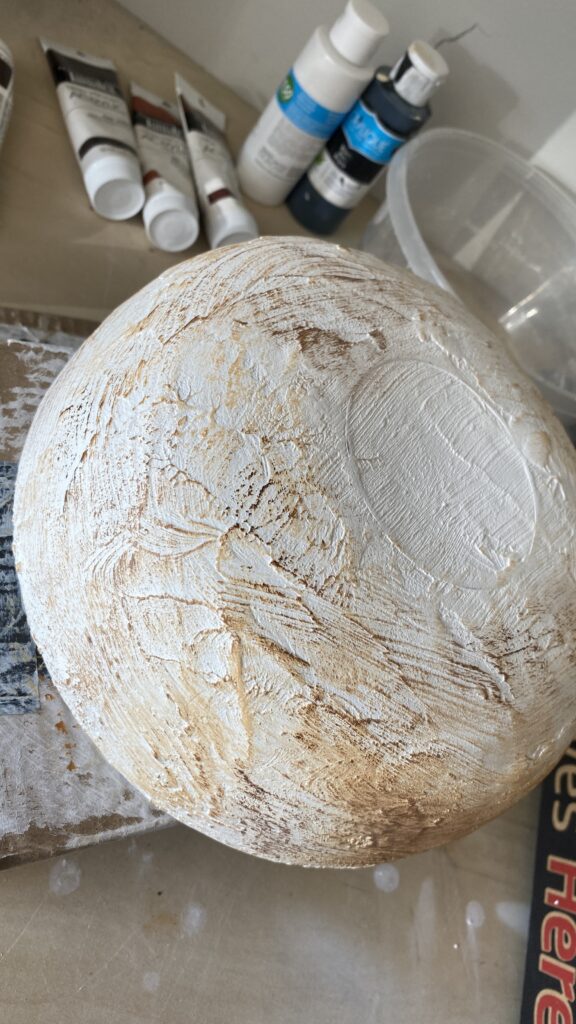
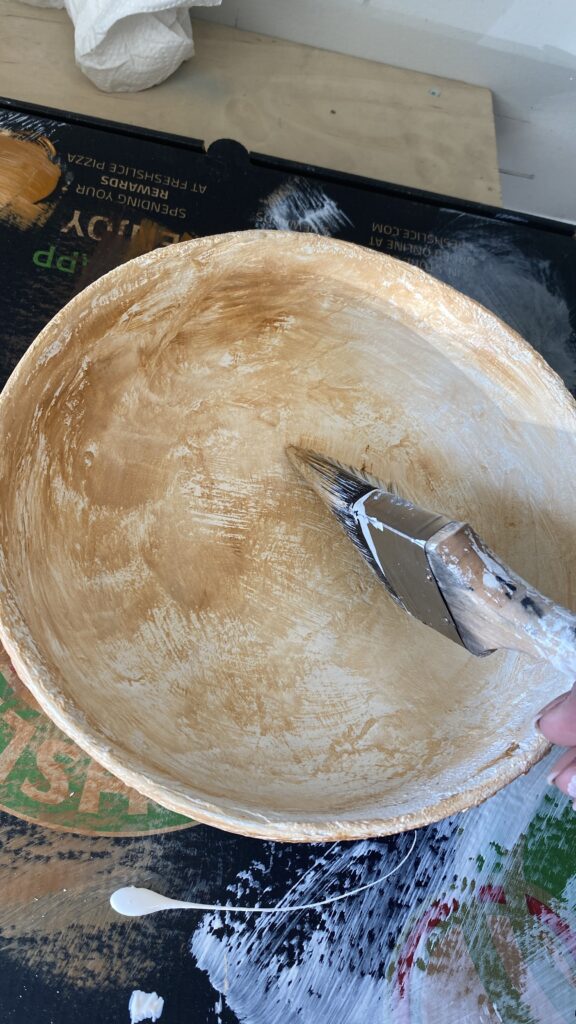
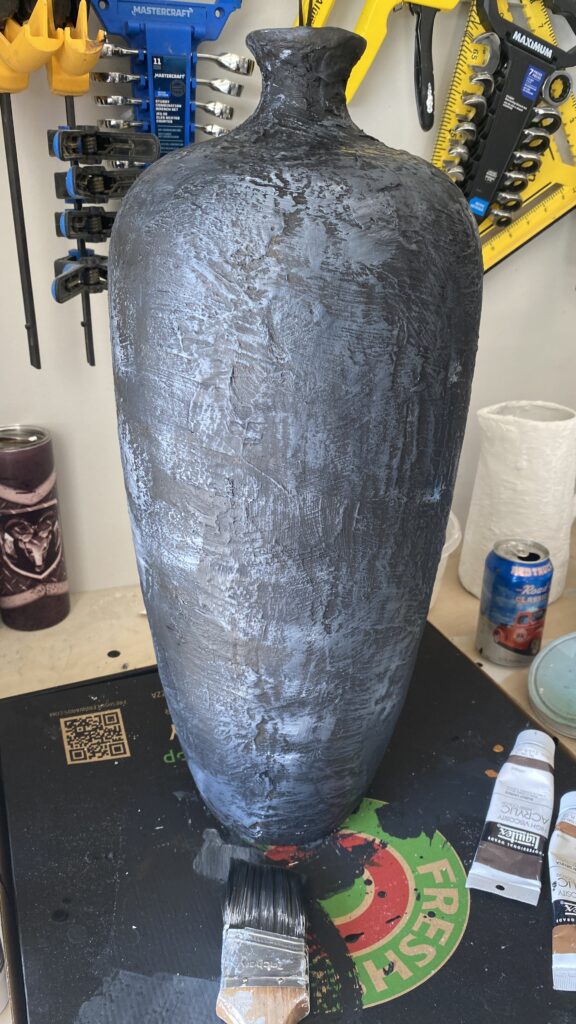
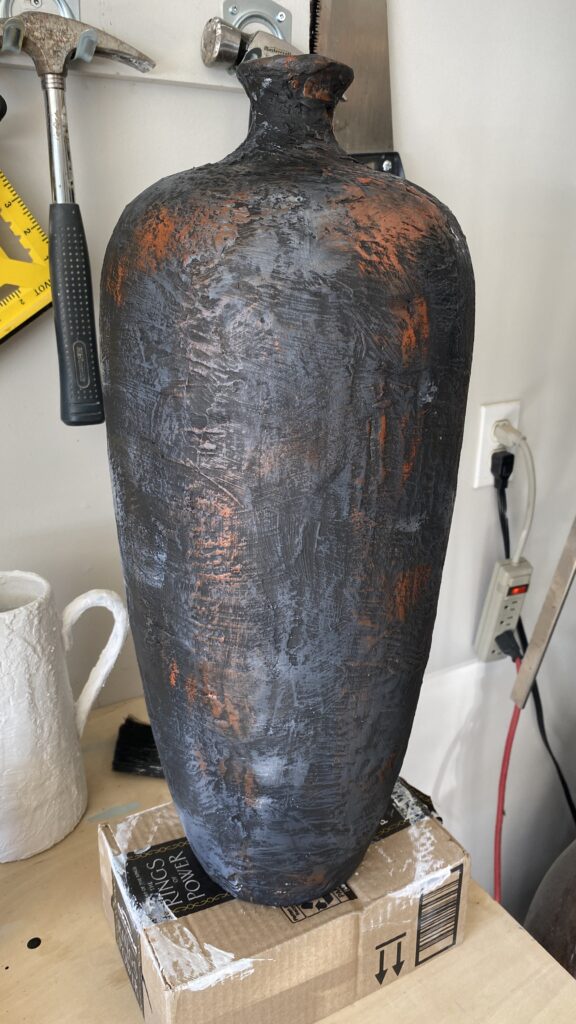
After letting them dry, I applied more black to the vase using a sponge, and more cream to the bowl and pitcher until I got my desired color. Don't be afraid to layer colors over and over again, there is no right or wrong way. You can always layer again if you don't get the look you are going for. There is honestly no way to mess this up.

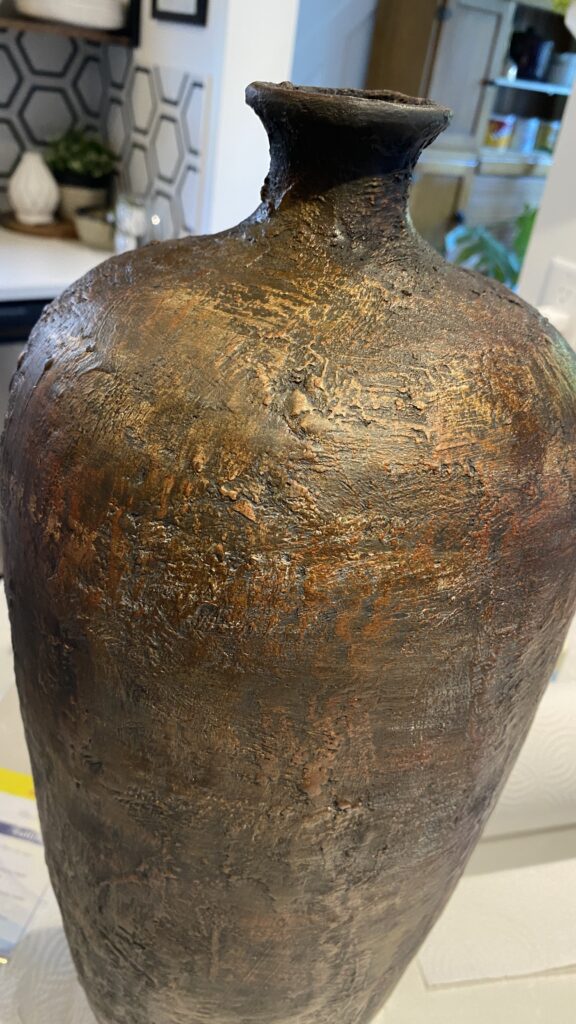
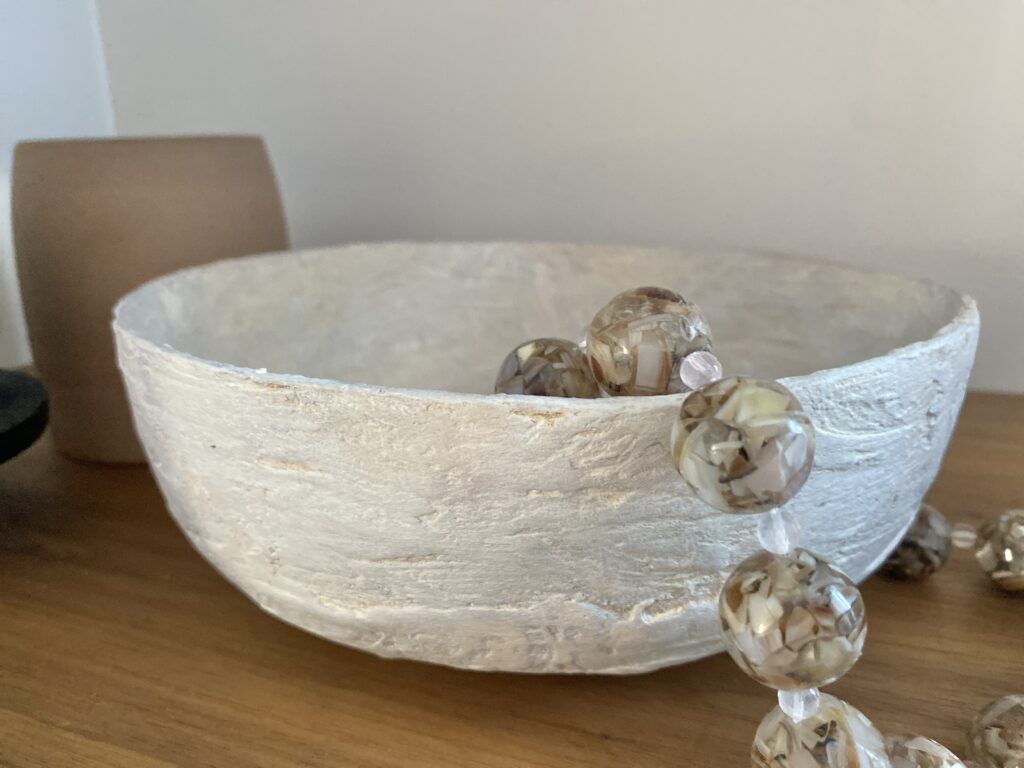
I am pretty happy with these results, what do you think? My total cost for this project was about $10. The vase was $7 (I got 3 for $20), the bowl and pitcher I had already, the dollar store paints I also had but I accounted for a couple dollars, and the Plaster of Paris was $8 but I have a ton left for more projects. Not too shabby considering the originals are $100-200 each.
If you enjoyed this tutorial, please subscribe to my blog & newsletter for DIY projects, designer tips and resources. Happy DIY'ing!