In recent years, Mid-Century Modern (MCM) furniture trends have continued to evolve, blending the timeless appeal of classic designs with contemporary twists. Characterized by clean lines, organic forms, and a blend of both natural and industrial materials, MCM furniture evokes a sense of sophistication and simplicity. MCM furniture trends remain at the forefront of interior design, offering a perfect balance of style, functionality, and sustainability. Lucky for us DIY'ers and lovers of classic, quality furniture, MCM furniture is often found at thrift stores, estate sales and on Facebook Marketplace for cheap and often free.
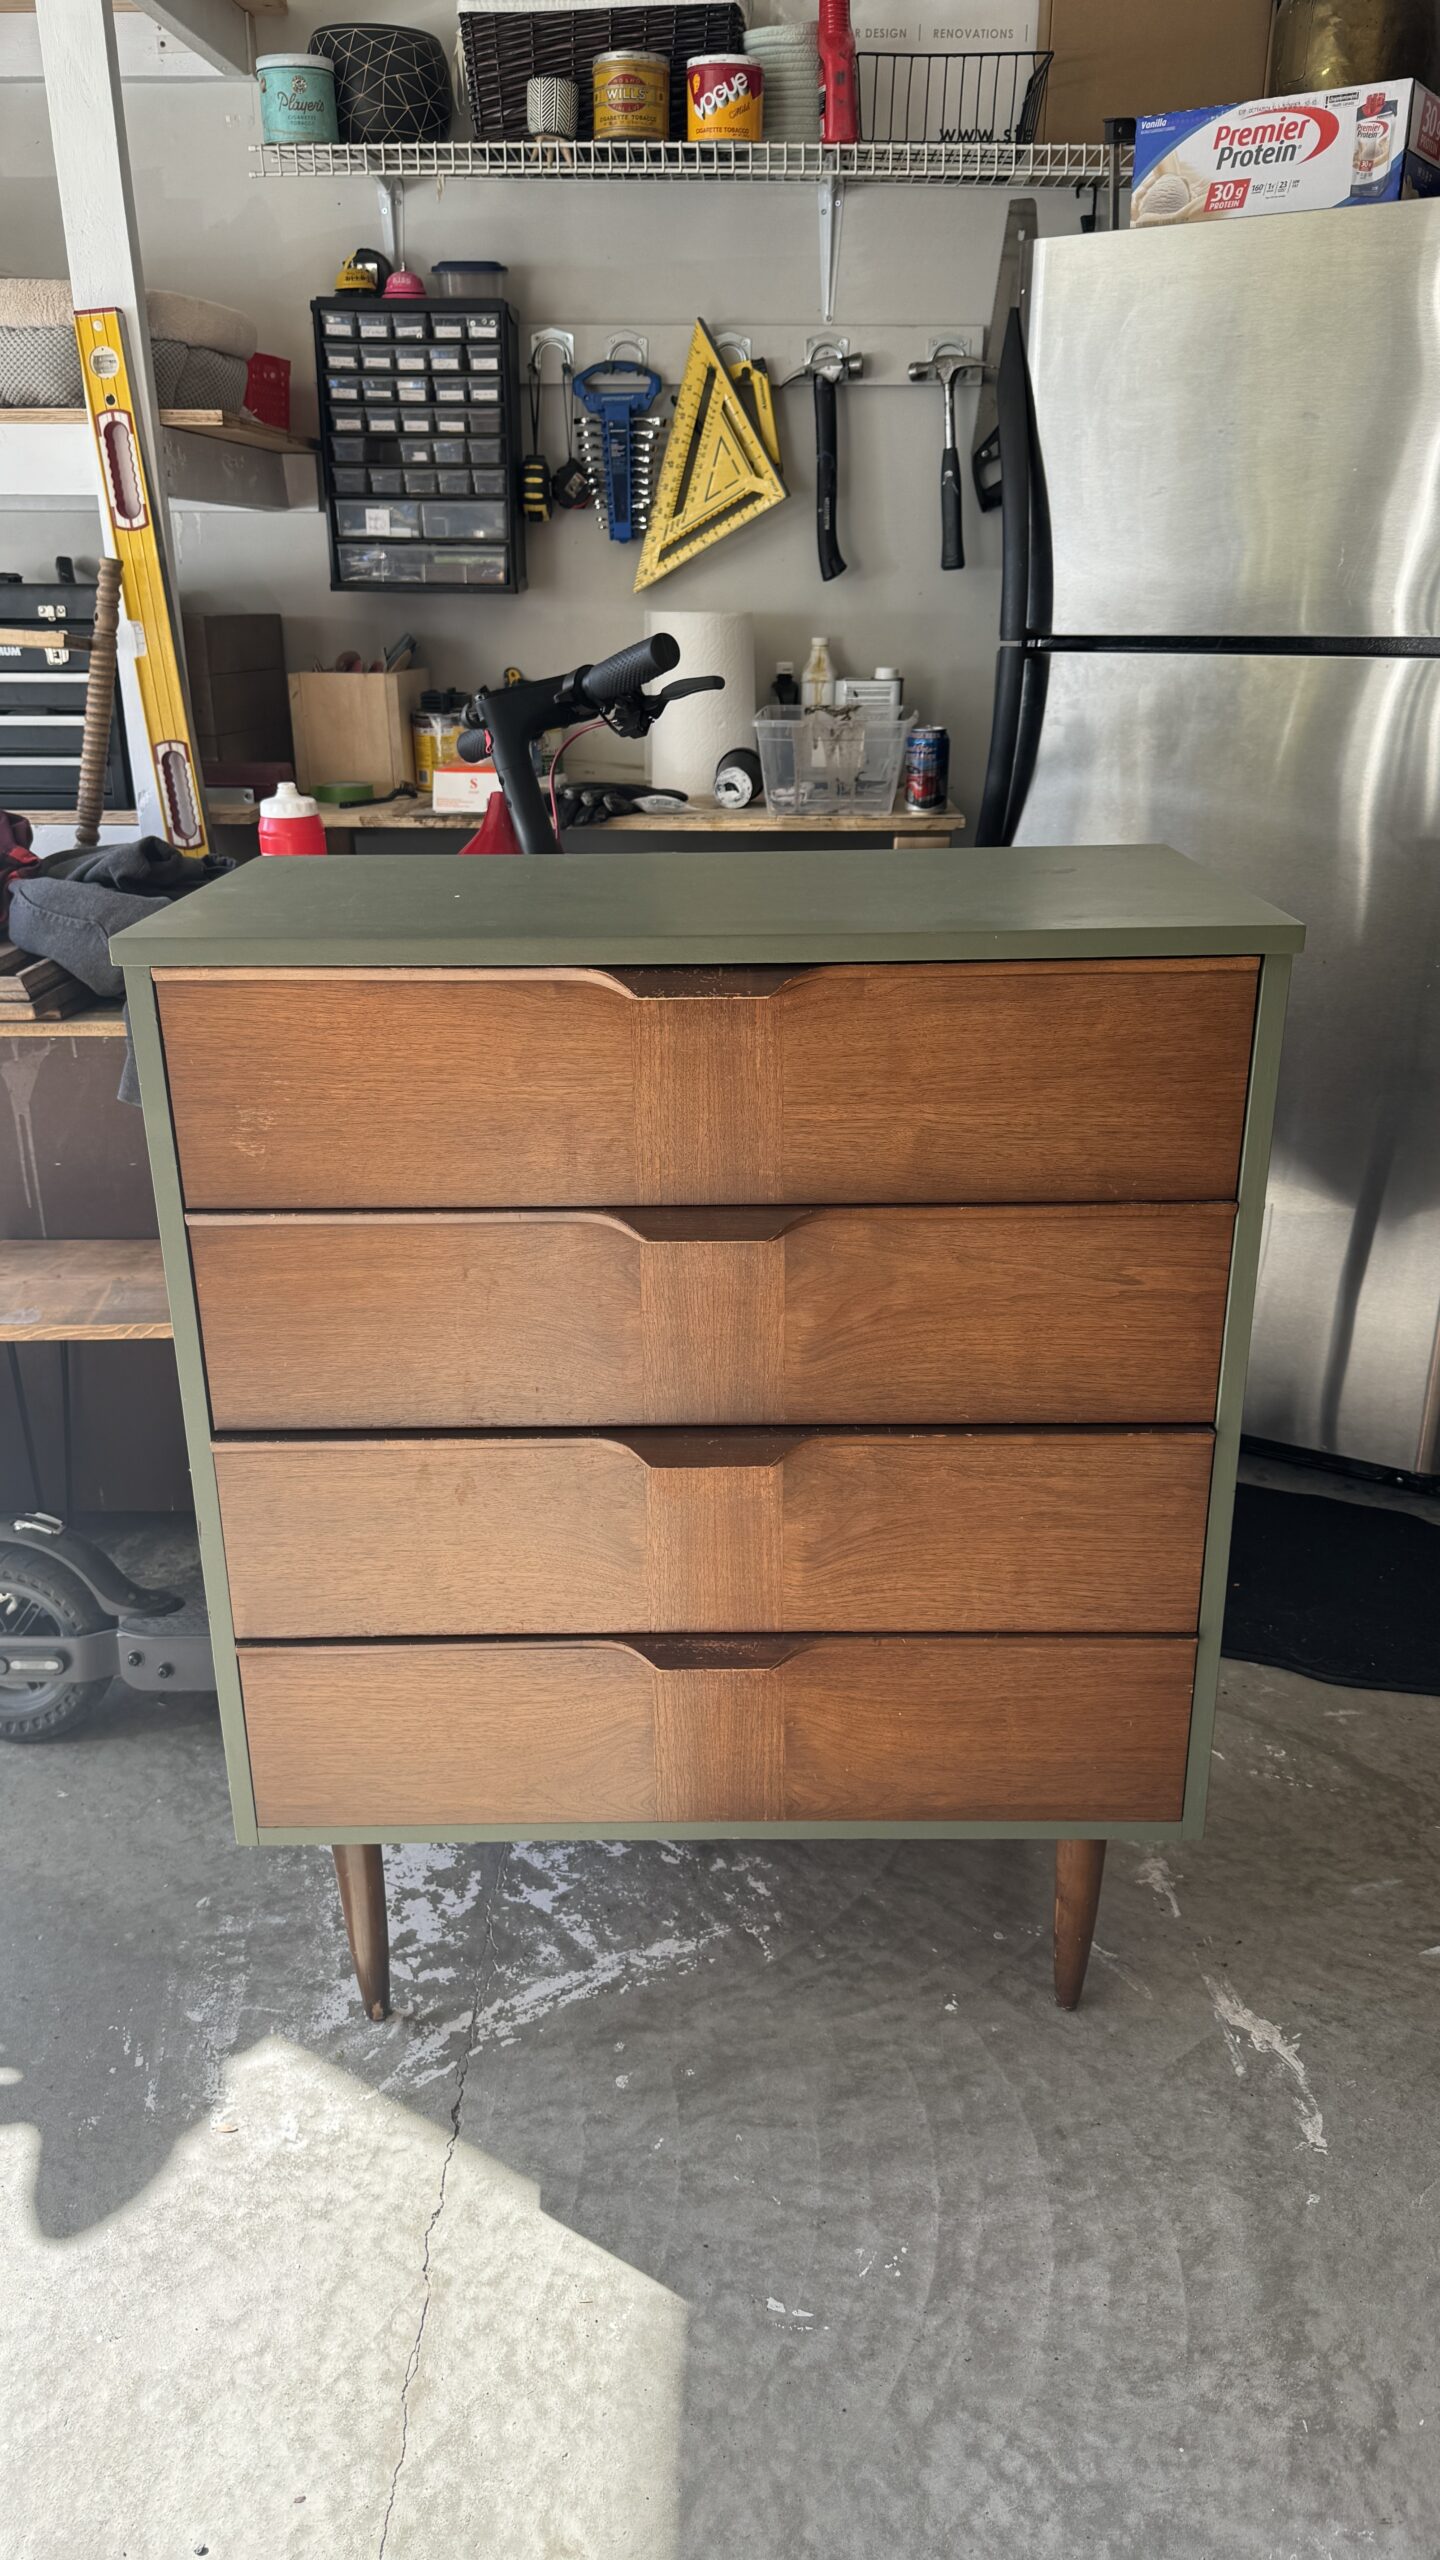
I picked up this dresser a few years ago for FREE and chalk painted it for my son's bedroom because I didn't think it was possible to refinish veneer, it was really rough. The stain was a sprayed on glossy varnish which took away from the beauty of the natural walnut.
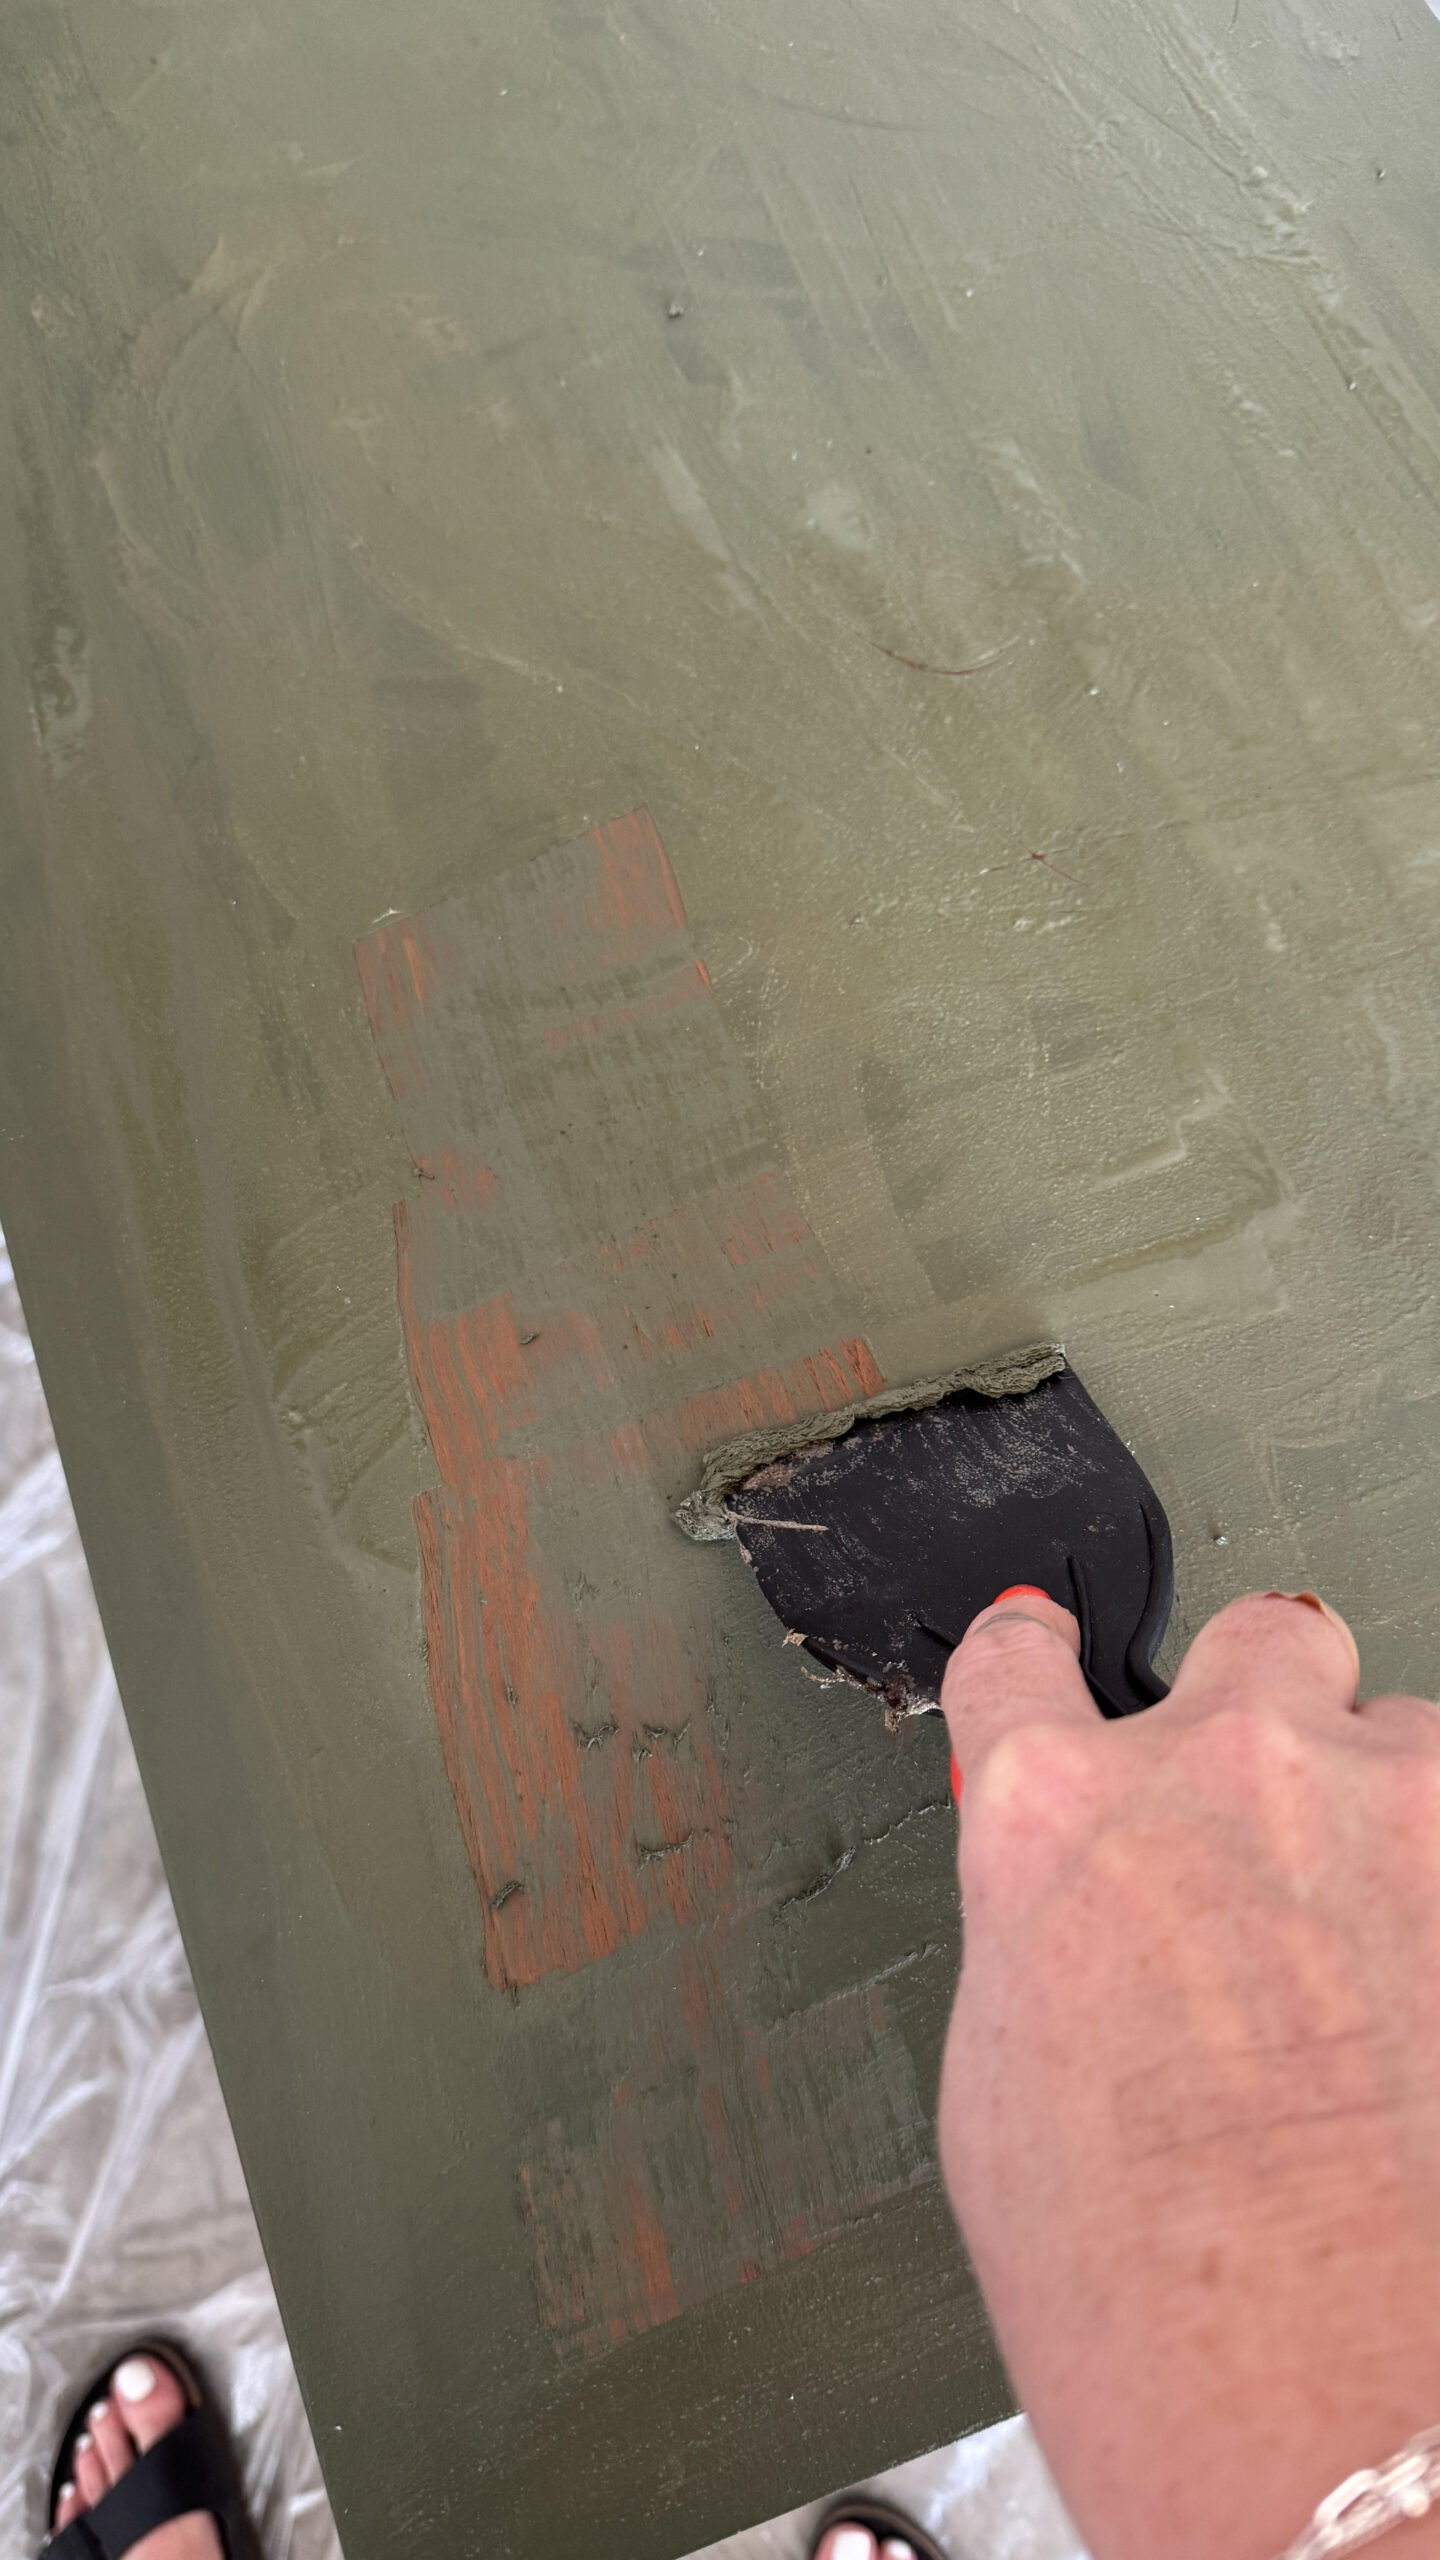
If your dresser is not painted, you may choose to skip the stripping and go right into sanding. Brush on the furniture stripper generously until to see it starting to loosen the paint. Use your scraper to start removing the paint. I started with plastic but it was too flexible so I carefully use a metal scraper. Be careful not to damage the veneer, it is very thin!
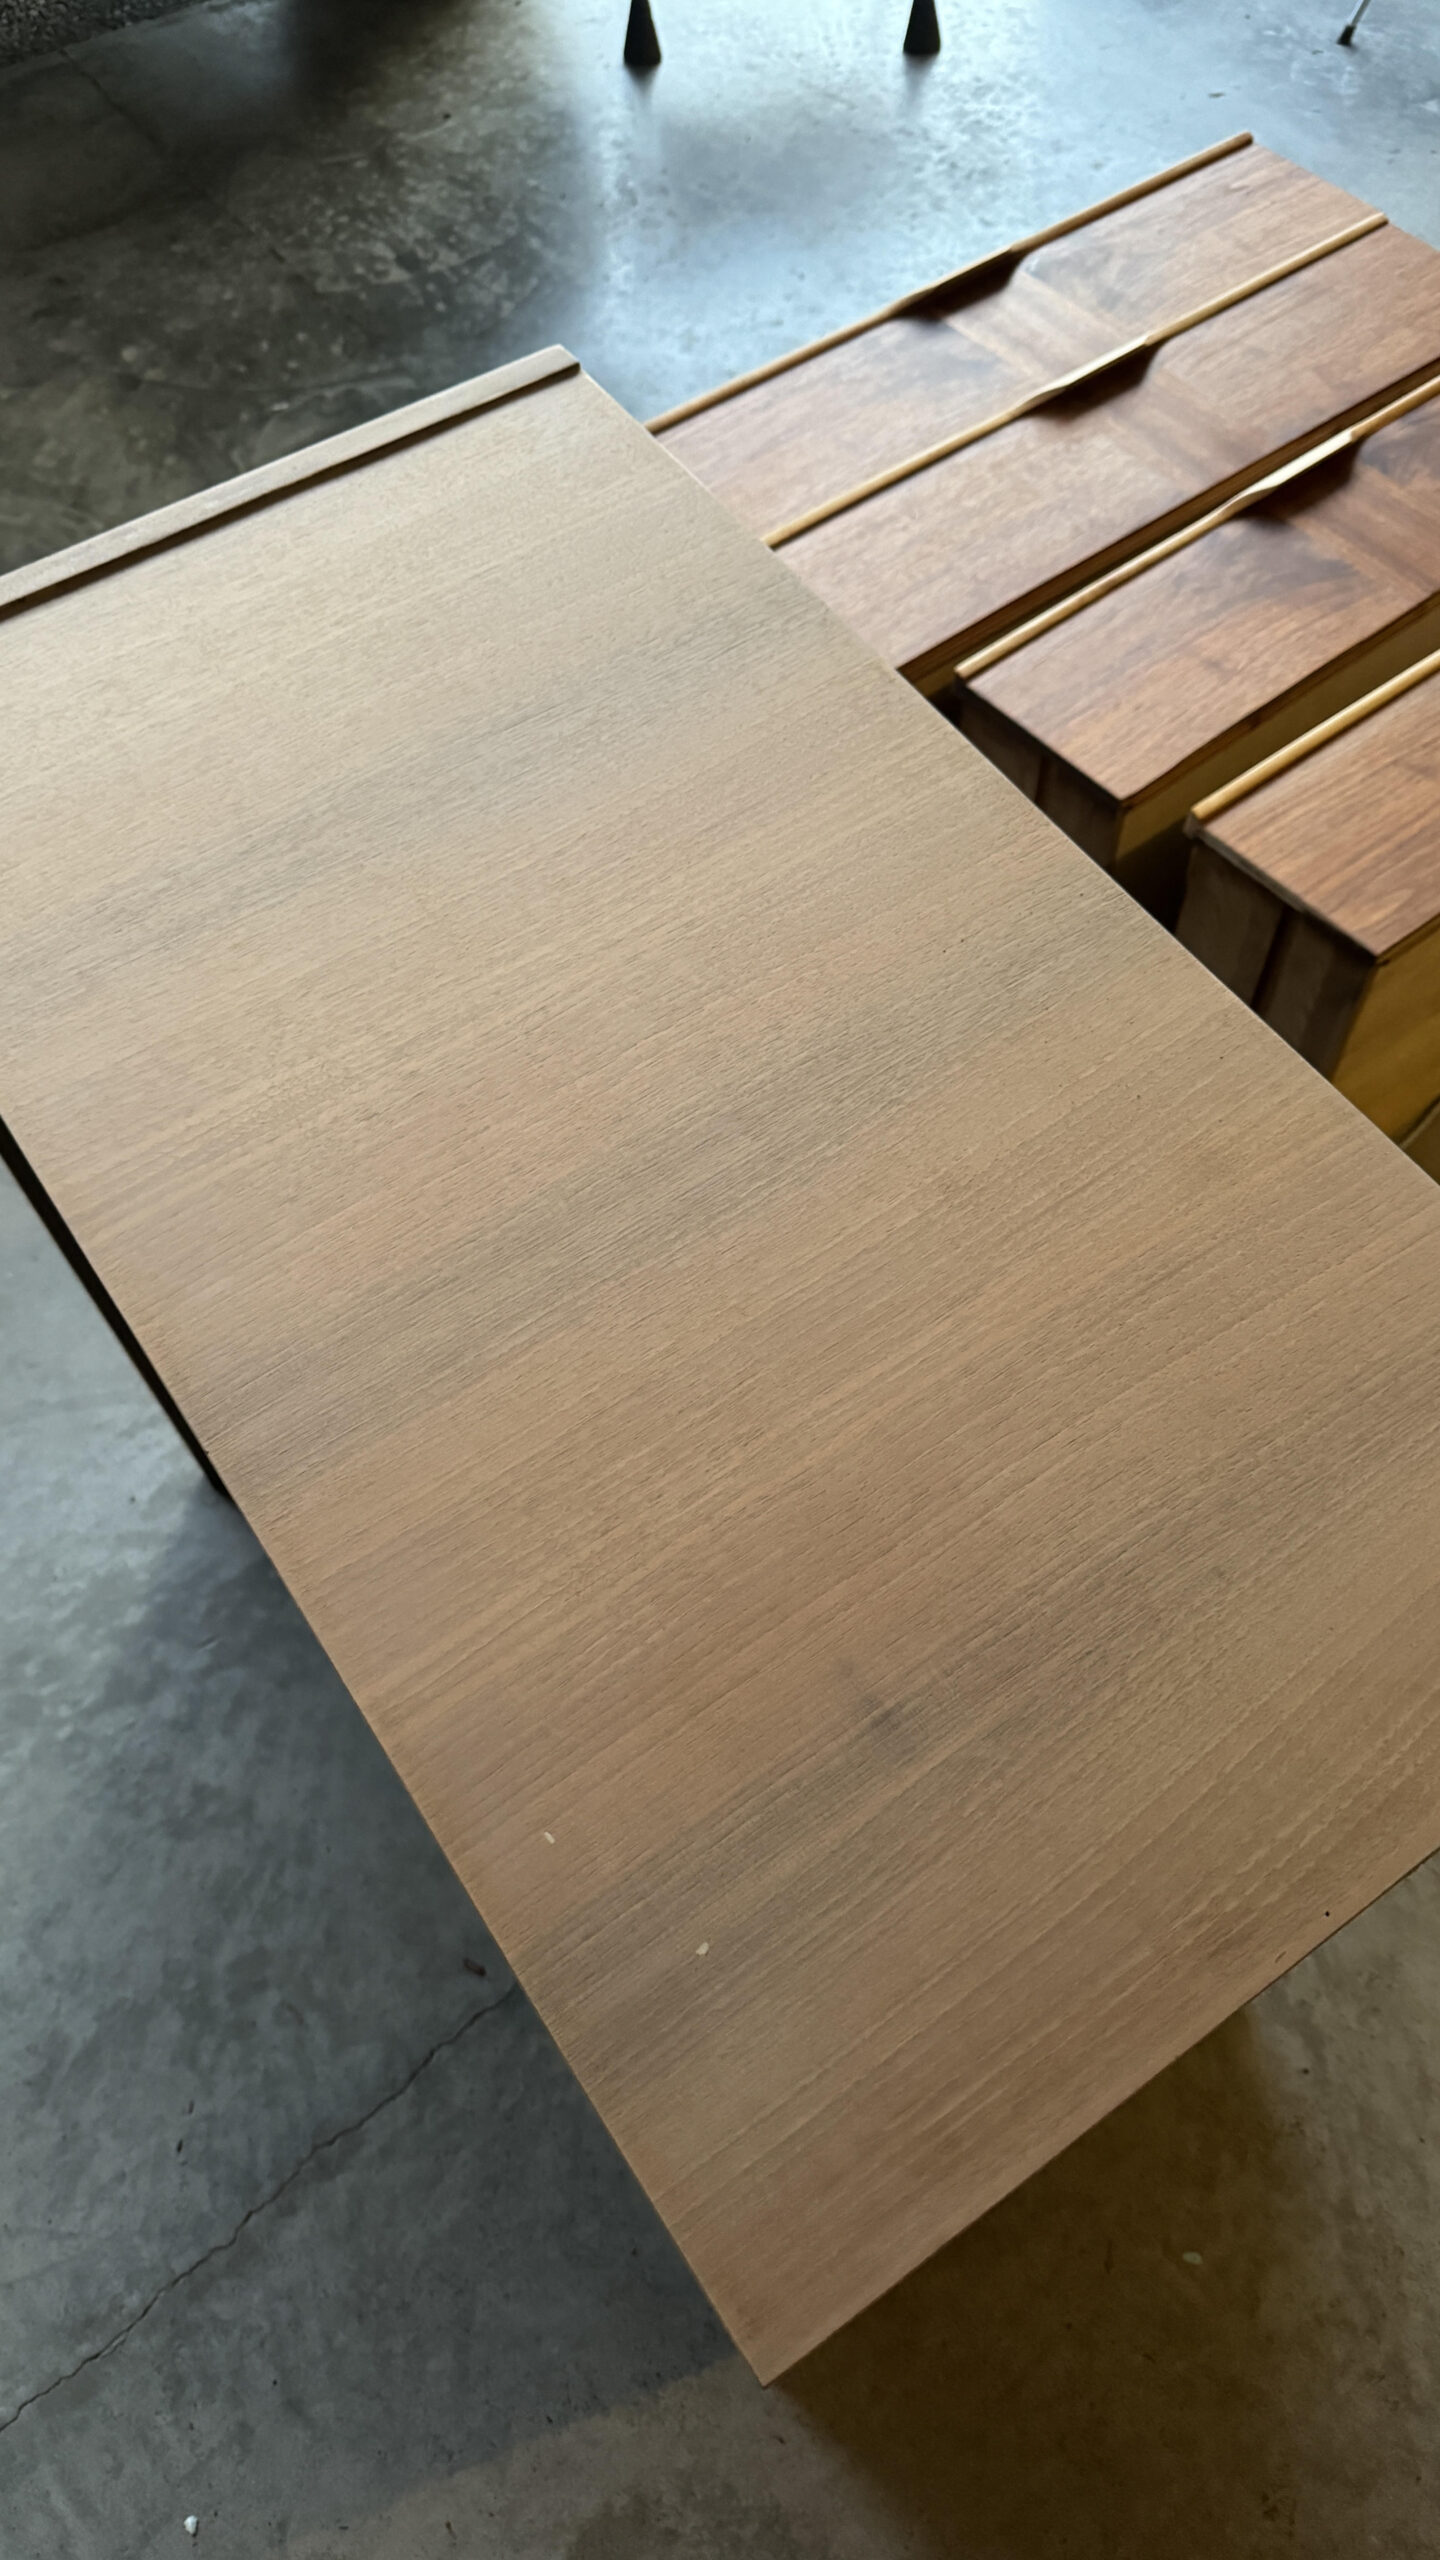
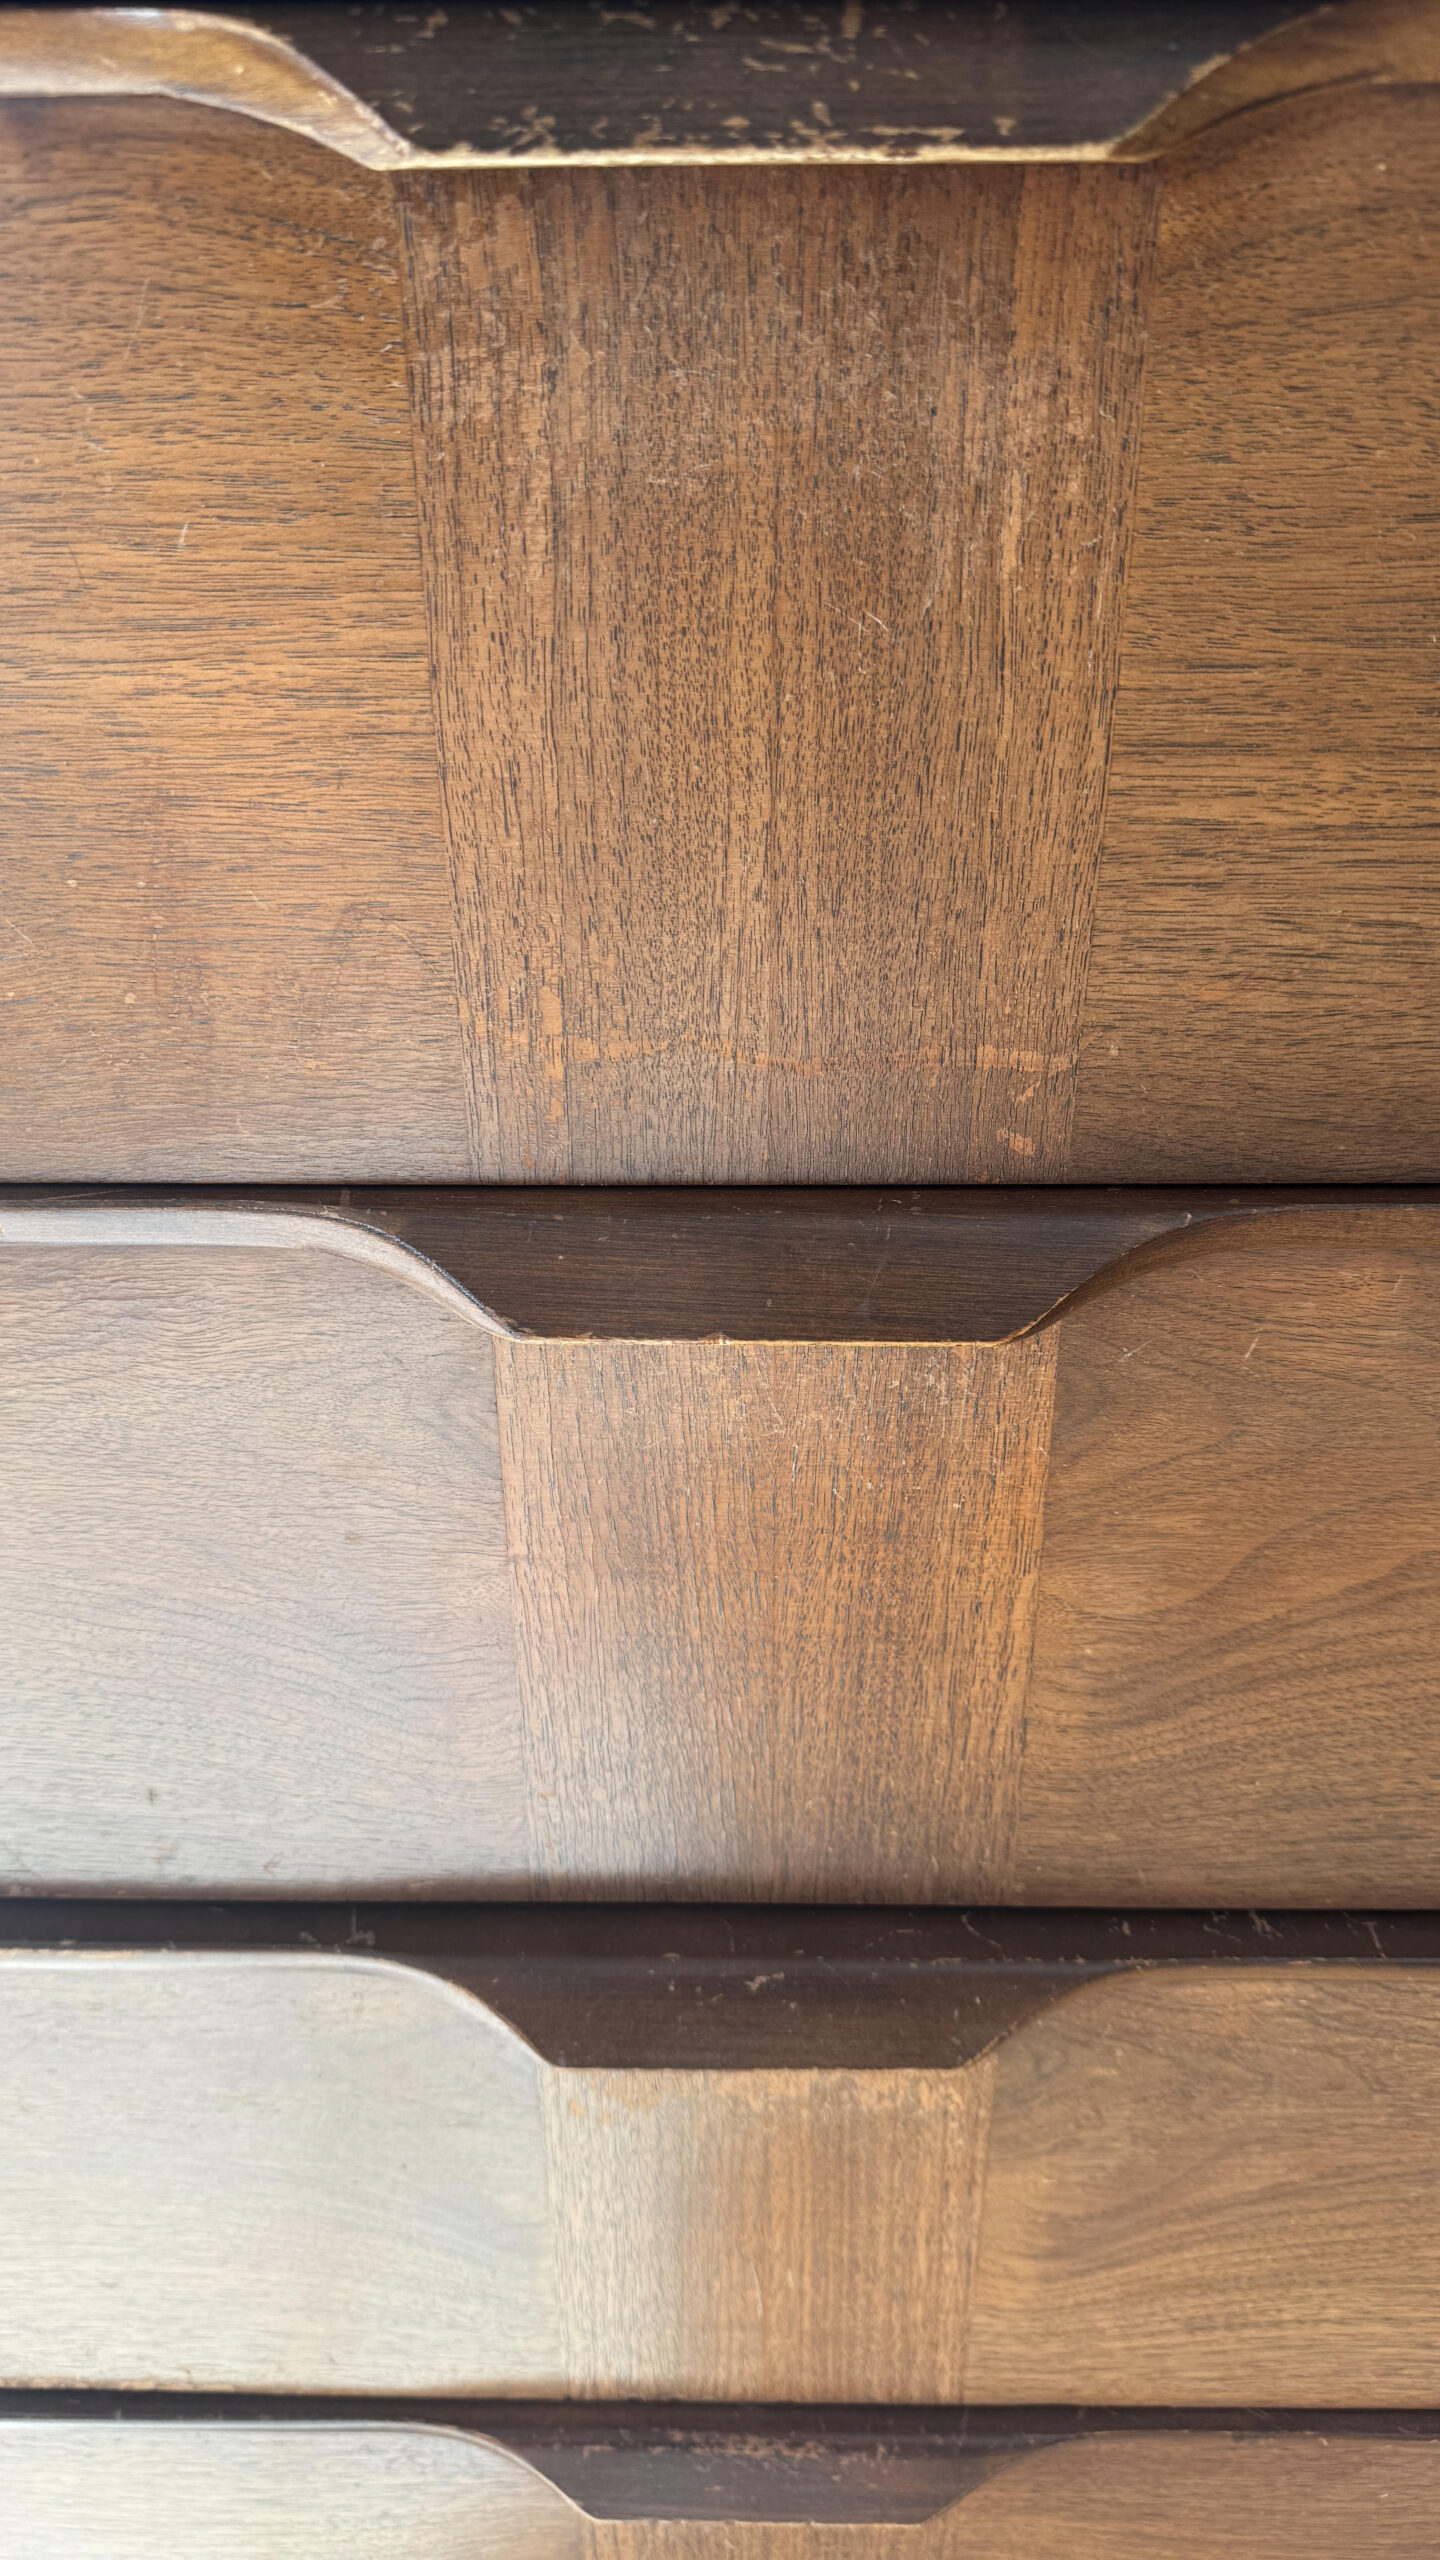
Once I got all of the paint off, I started sanding. I started with 80 grit sandpaper to take up most of the varnish. Then I worked my way down to 220 grit. Veneer is super thin, so you have to go slowly and carefully so not to go right through the veneer (which I did in some spots and will use a stain pen to touch them up). Isn't that raw walnut beautiful?! Wipe down your dresser with tack cloth or a clean rag before moving on to the next step.
The legs were really banged up , so I wrapped a piece of sandpaper around each leg and sanded them down by hand.
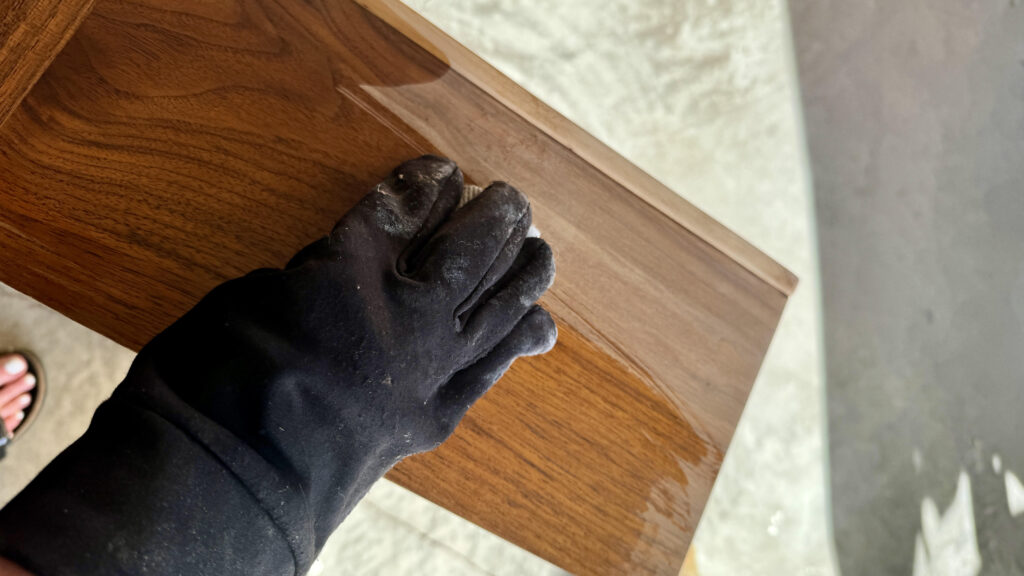
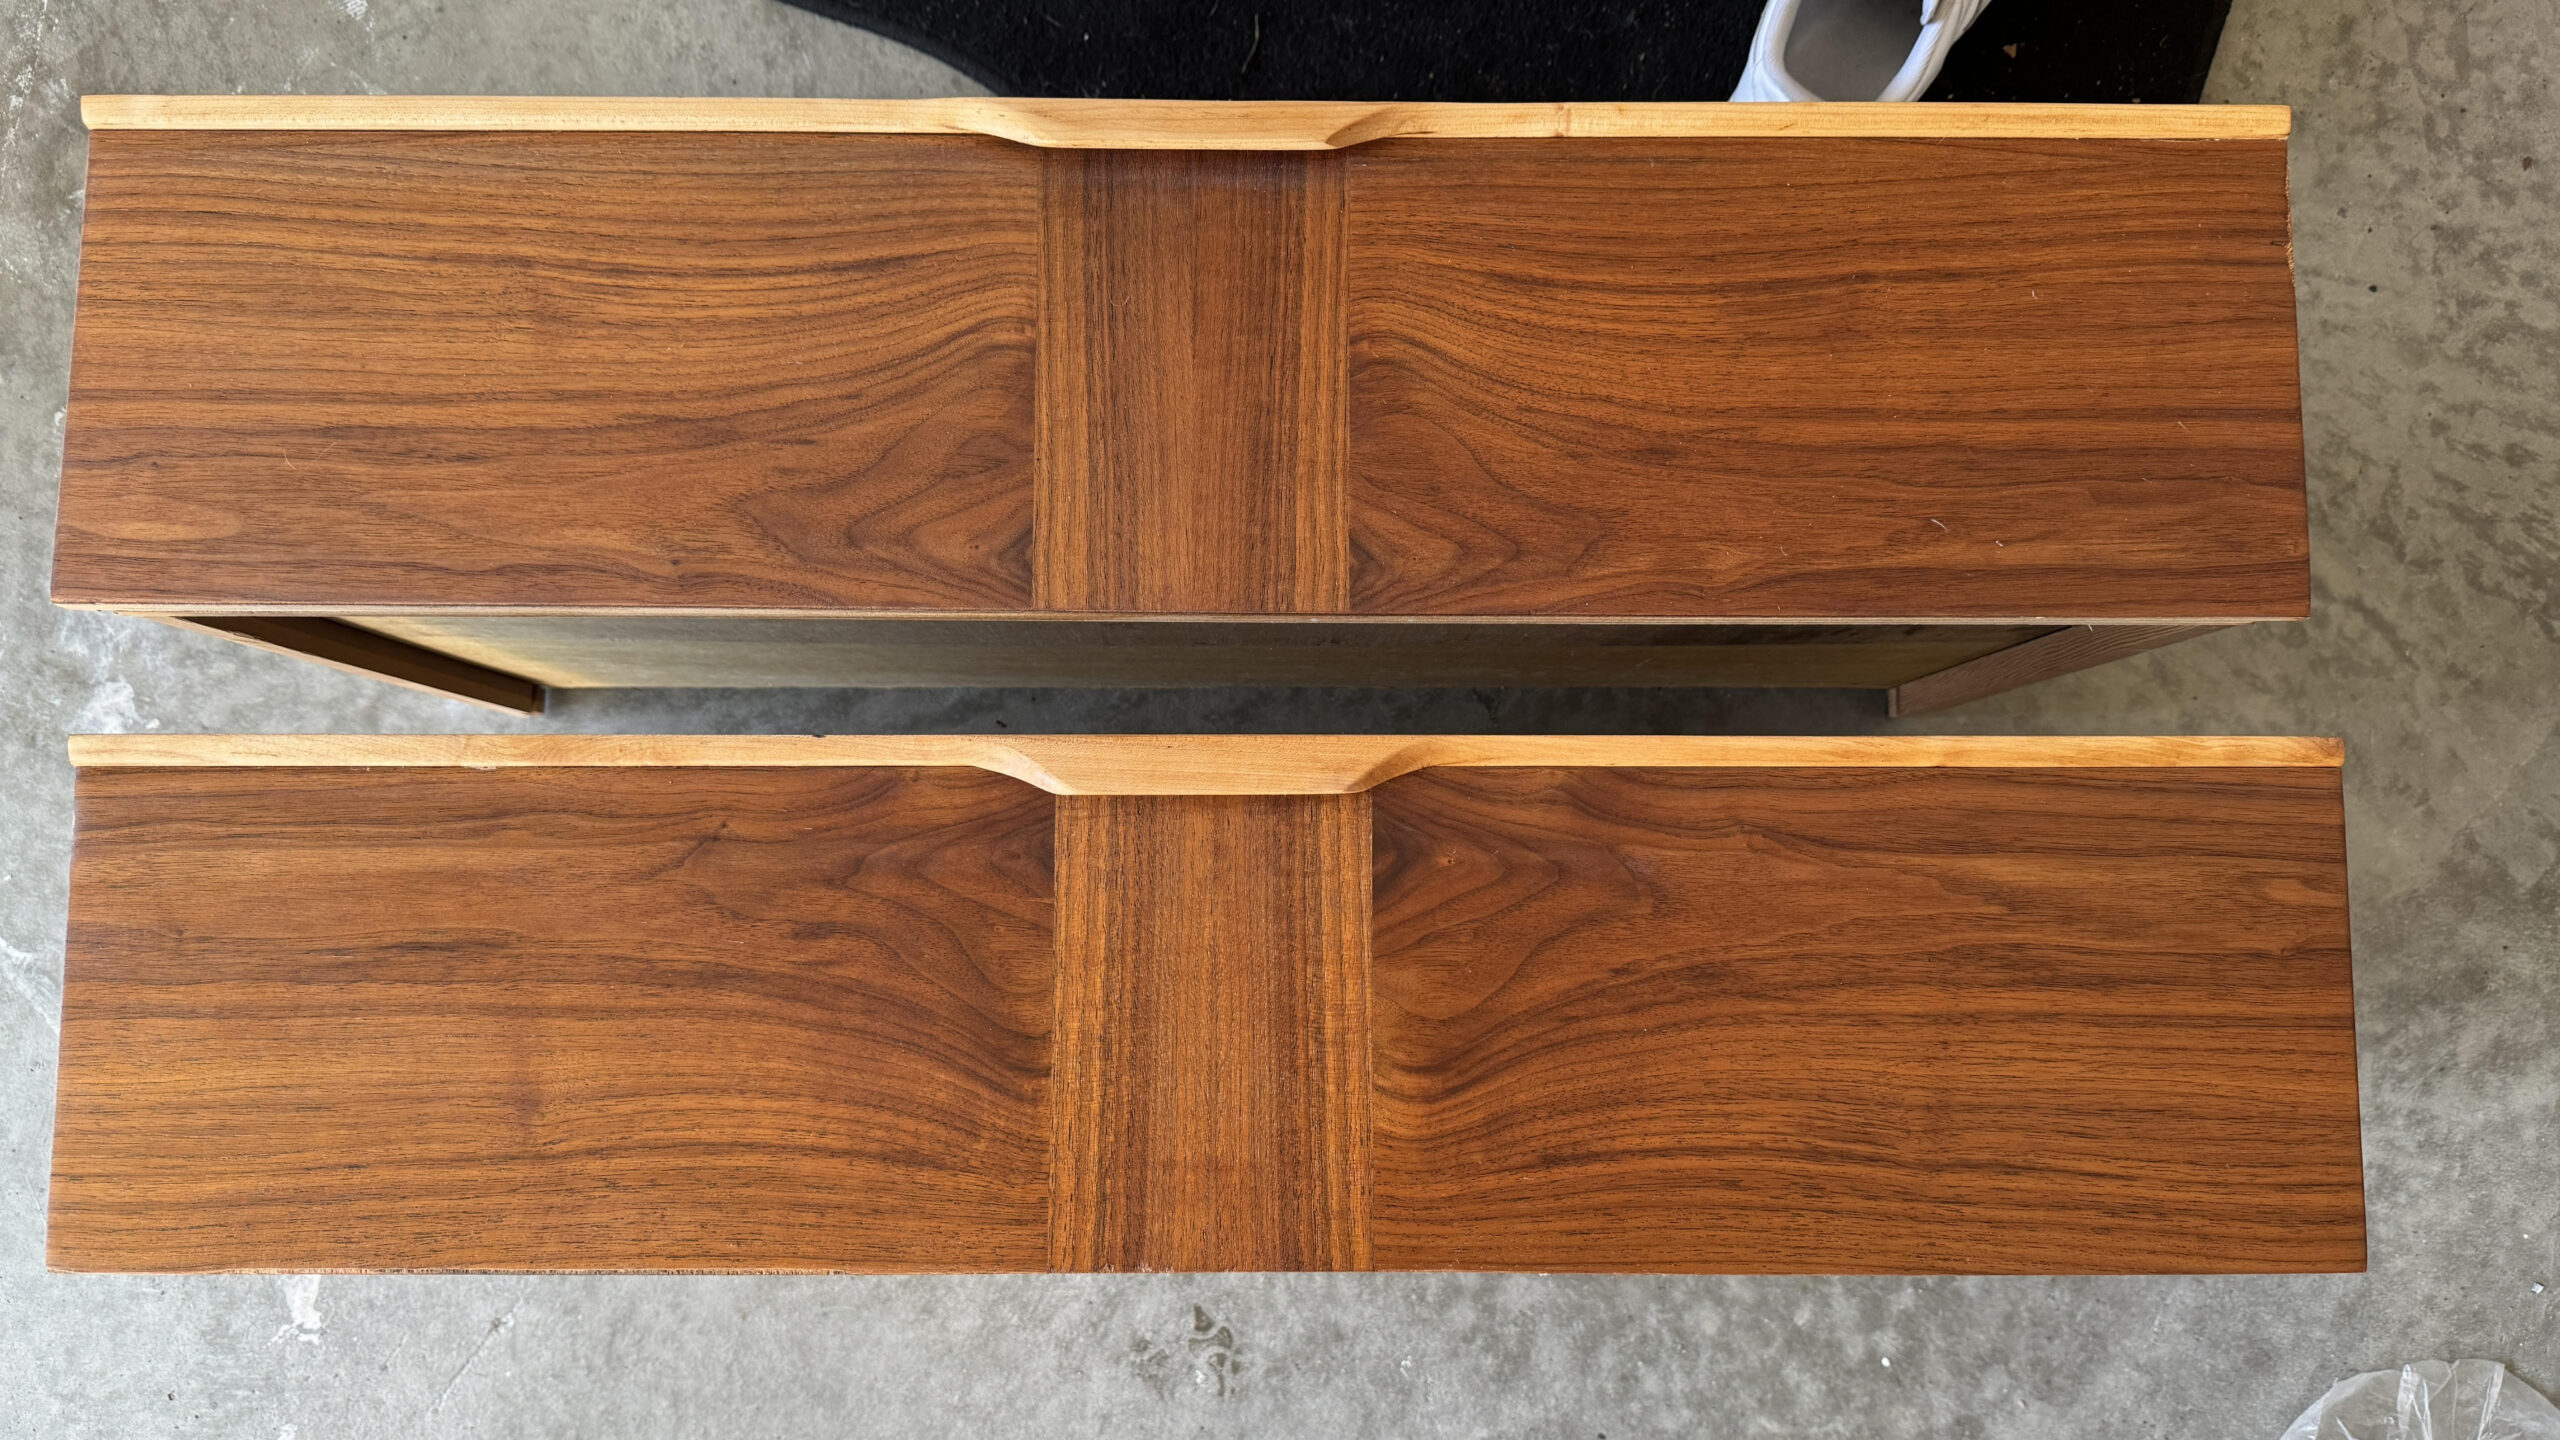
Walnut is beautiful in itself, so I did not want to change its natural color. If you have a lighter species of veneer you may choose to stain darker. I recommend Minwax furniture stain. I used Linseed oil to enhance the natural color and grain of the wood, and to give it a protective coating. Linseed oil gives a low luster finish which is what I was after.
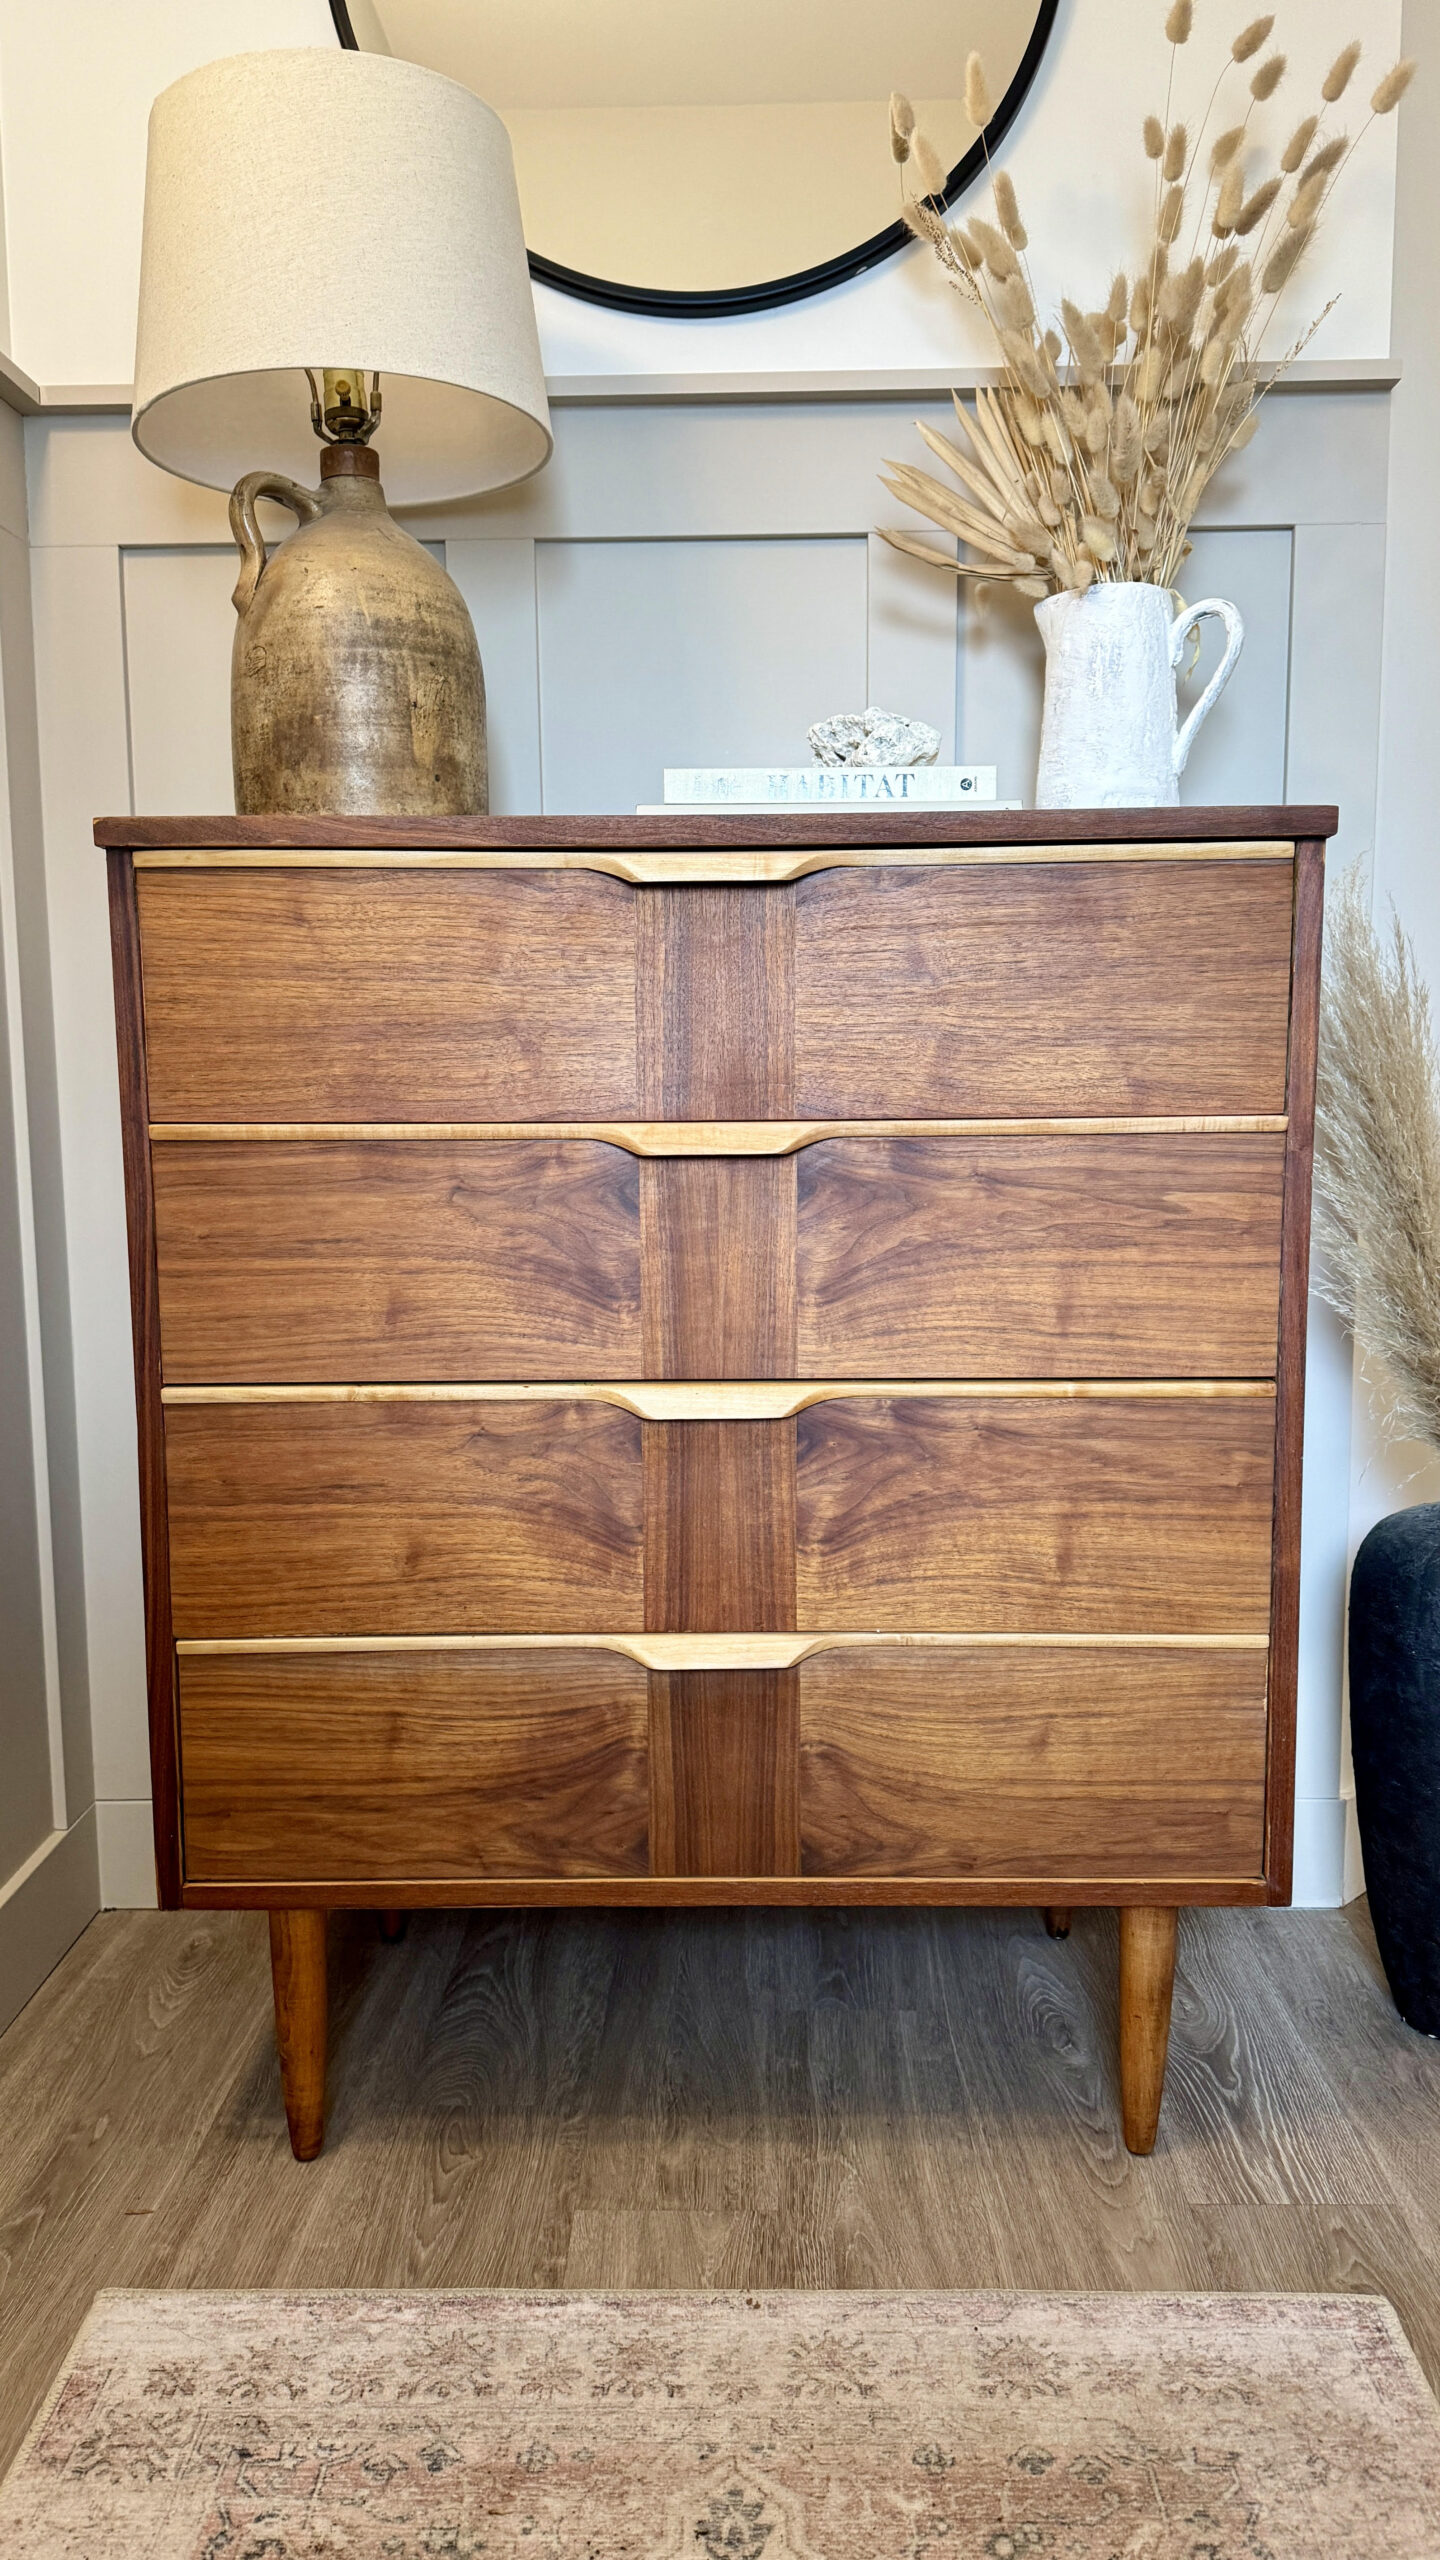
The drawer pulls were in rough shape, and once I sanded them down, I saw that the pulls were a different species and made of solid wood, unlike the drawer fronts, top and case.
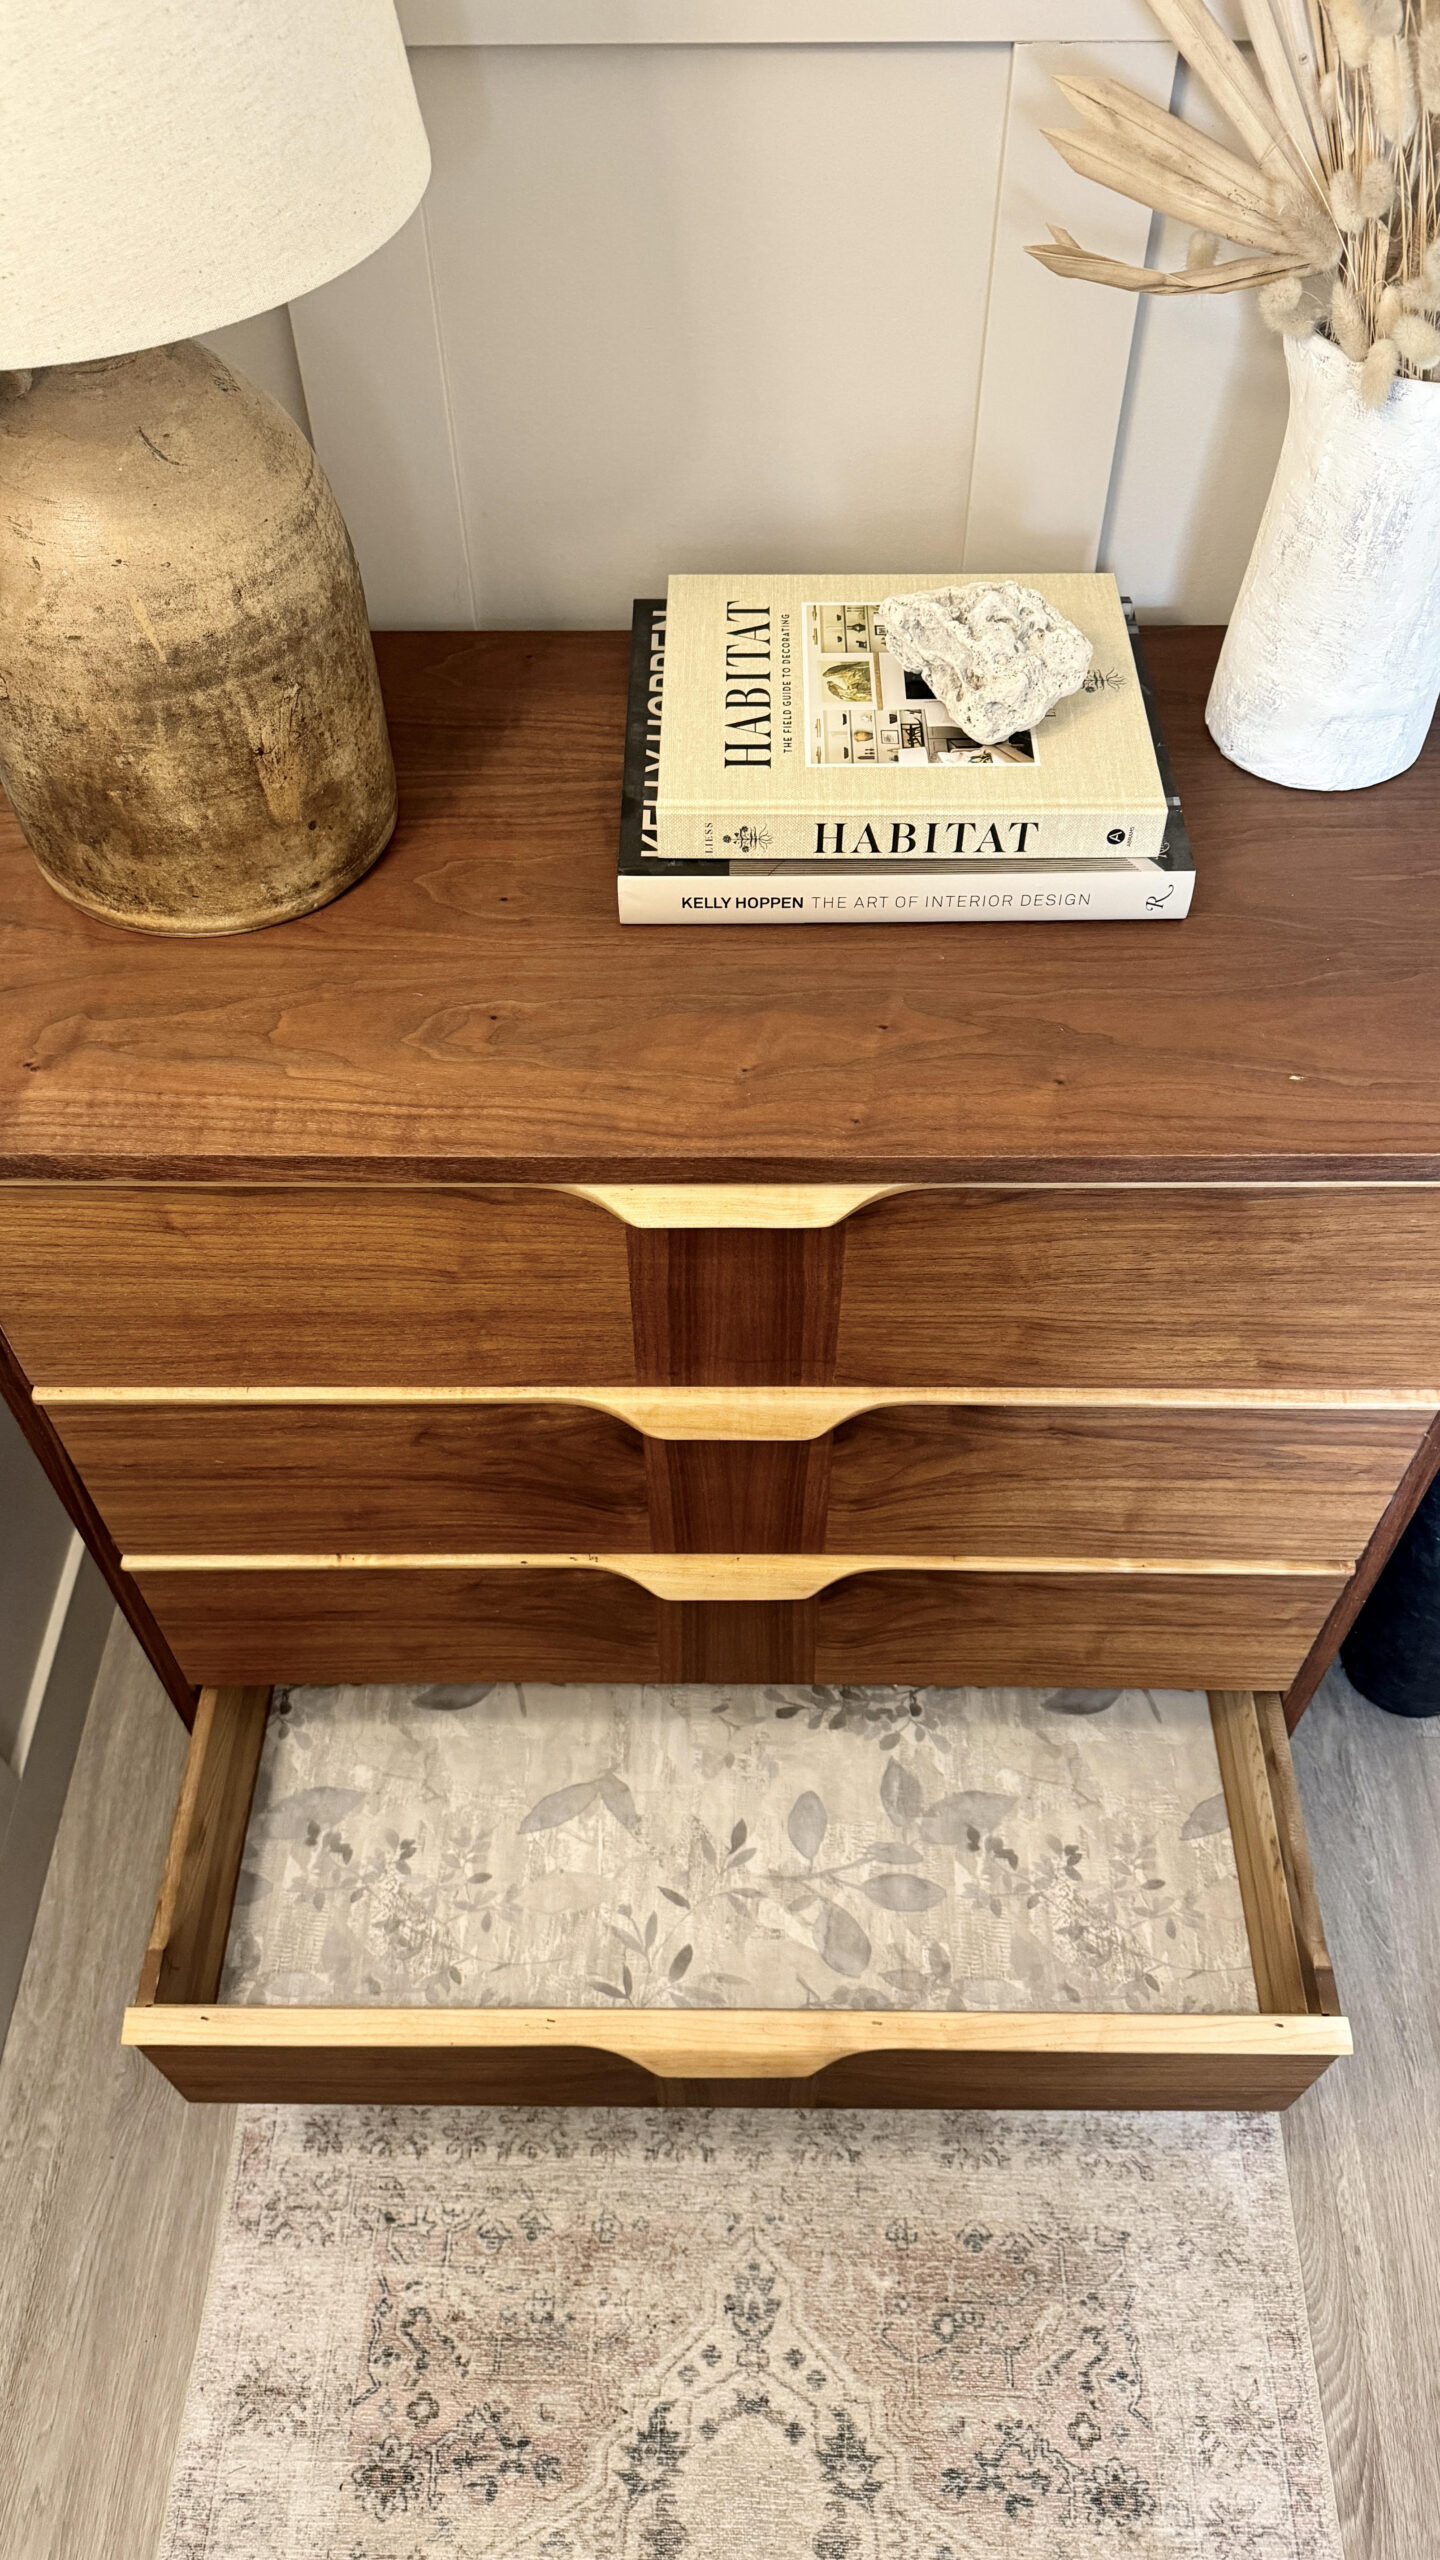
Look how beautifully they turned out! Although I wasn't expecting this, I love the contrast between the drawer fronts and pulls. Like Bob Ross said, "there are no mistakes, only happy accidents."
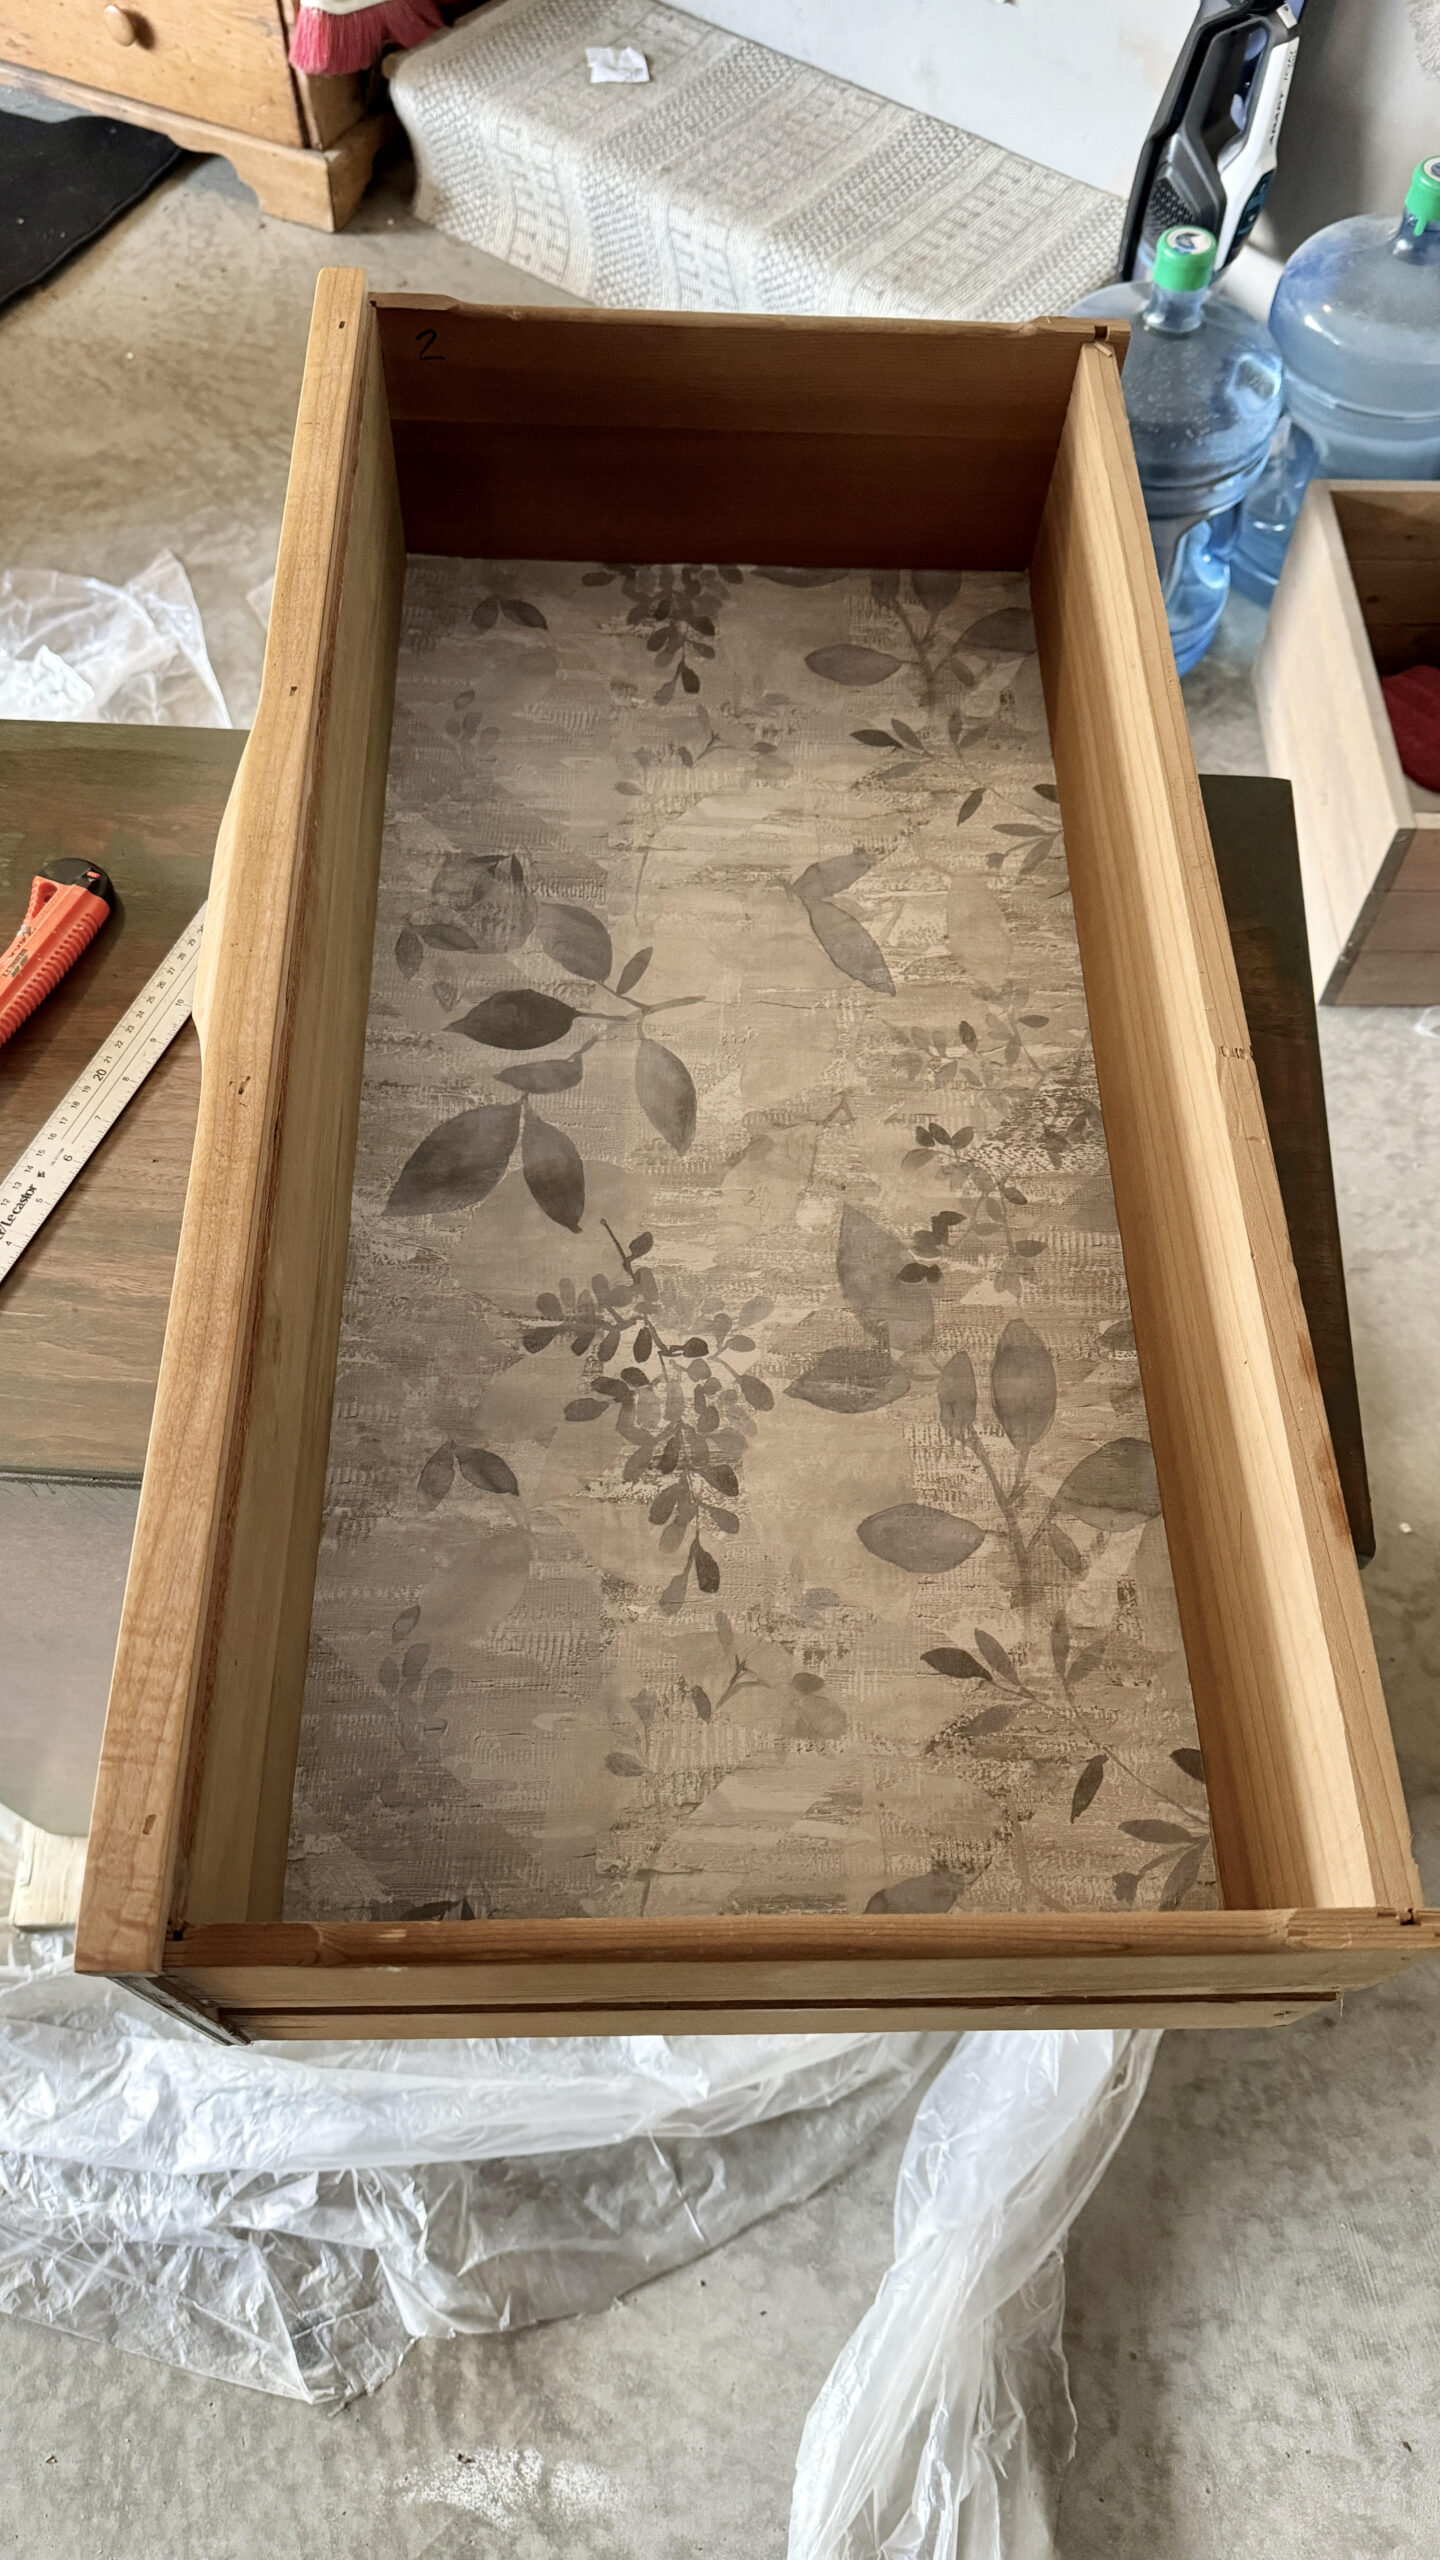
I chose to line the drawers with peel & stick wallpaper I got from Amazon . This is a great way to cover up damage, save yourself time on refinishing the inside of the drawers and make them pretty at the same time.
I completed this dresser in an evening, it is not as daunting as you might think! I could not be more pleased with how it turned out. Our front entry does not have a hall closet, weird I know. This dresser serves as our shoe storage to keep the entry neat and tidy.

If you need helping planning your next design project, please reach out. I’d love to discuss it with you!