How to refinish an MCM dresser


In recent years, Mid-Century Modern (MCM) furniture trends have continued to evolve, blending the timeless appeal of classic designs with contemporary twists. Characterized by clean lines, organic forms, and a blend of both natural and industrial materials, MCM furniture evokes a sense of sophistication and simplicity. MCM furniture trends remain at the forefront of interior design, offering a perfect balance of style, functionality, and sustainability. Lucky for us DIY'ers and lovers of classic, quality furniture, MCM furniture is often found at thrift stores, estate sales and on Facebook Marketplace for cheap and often free.

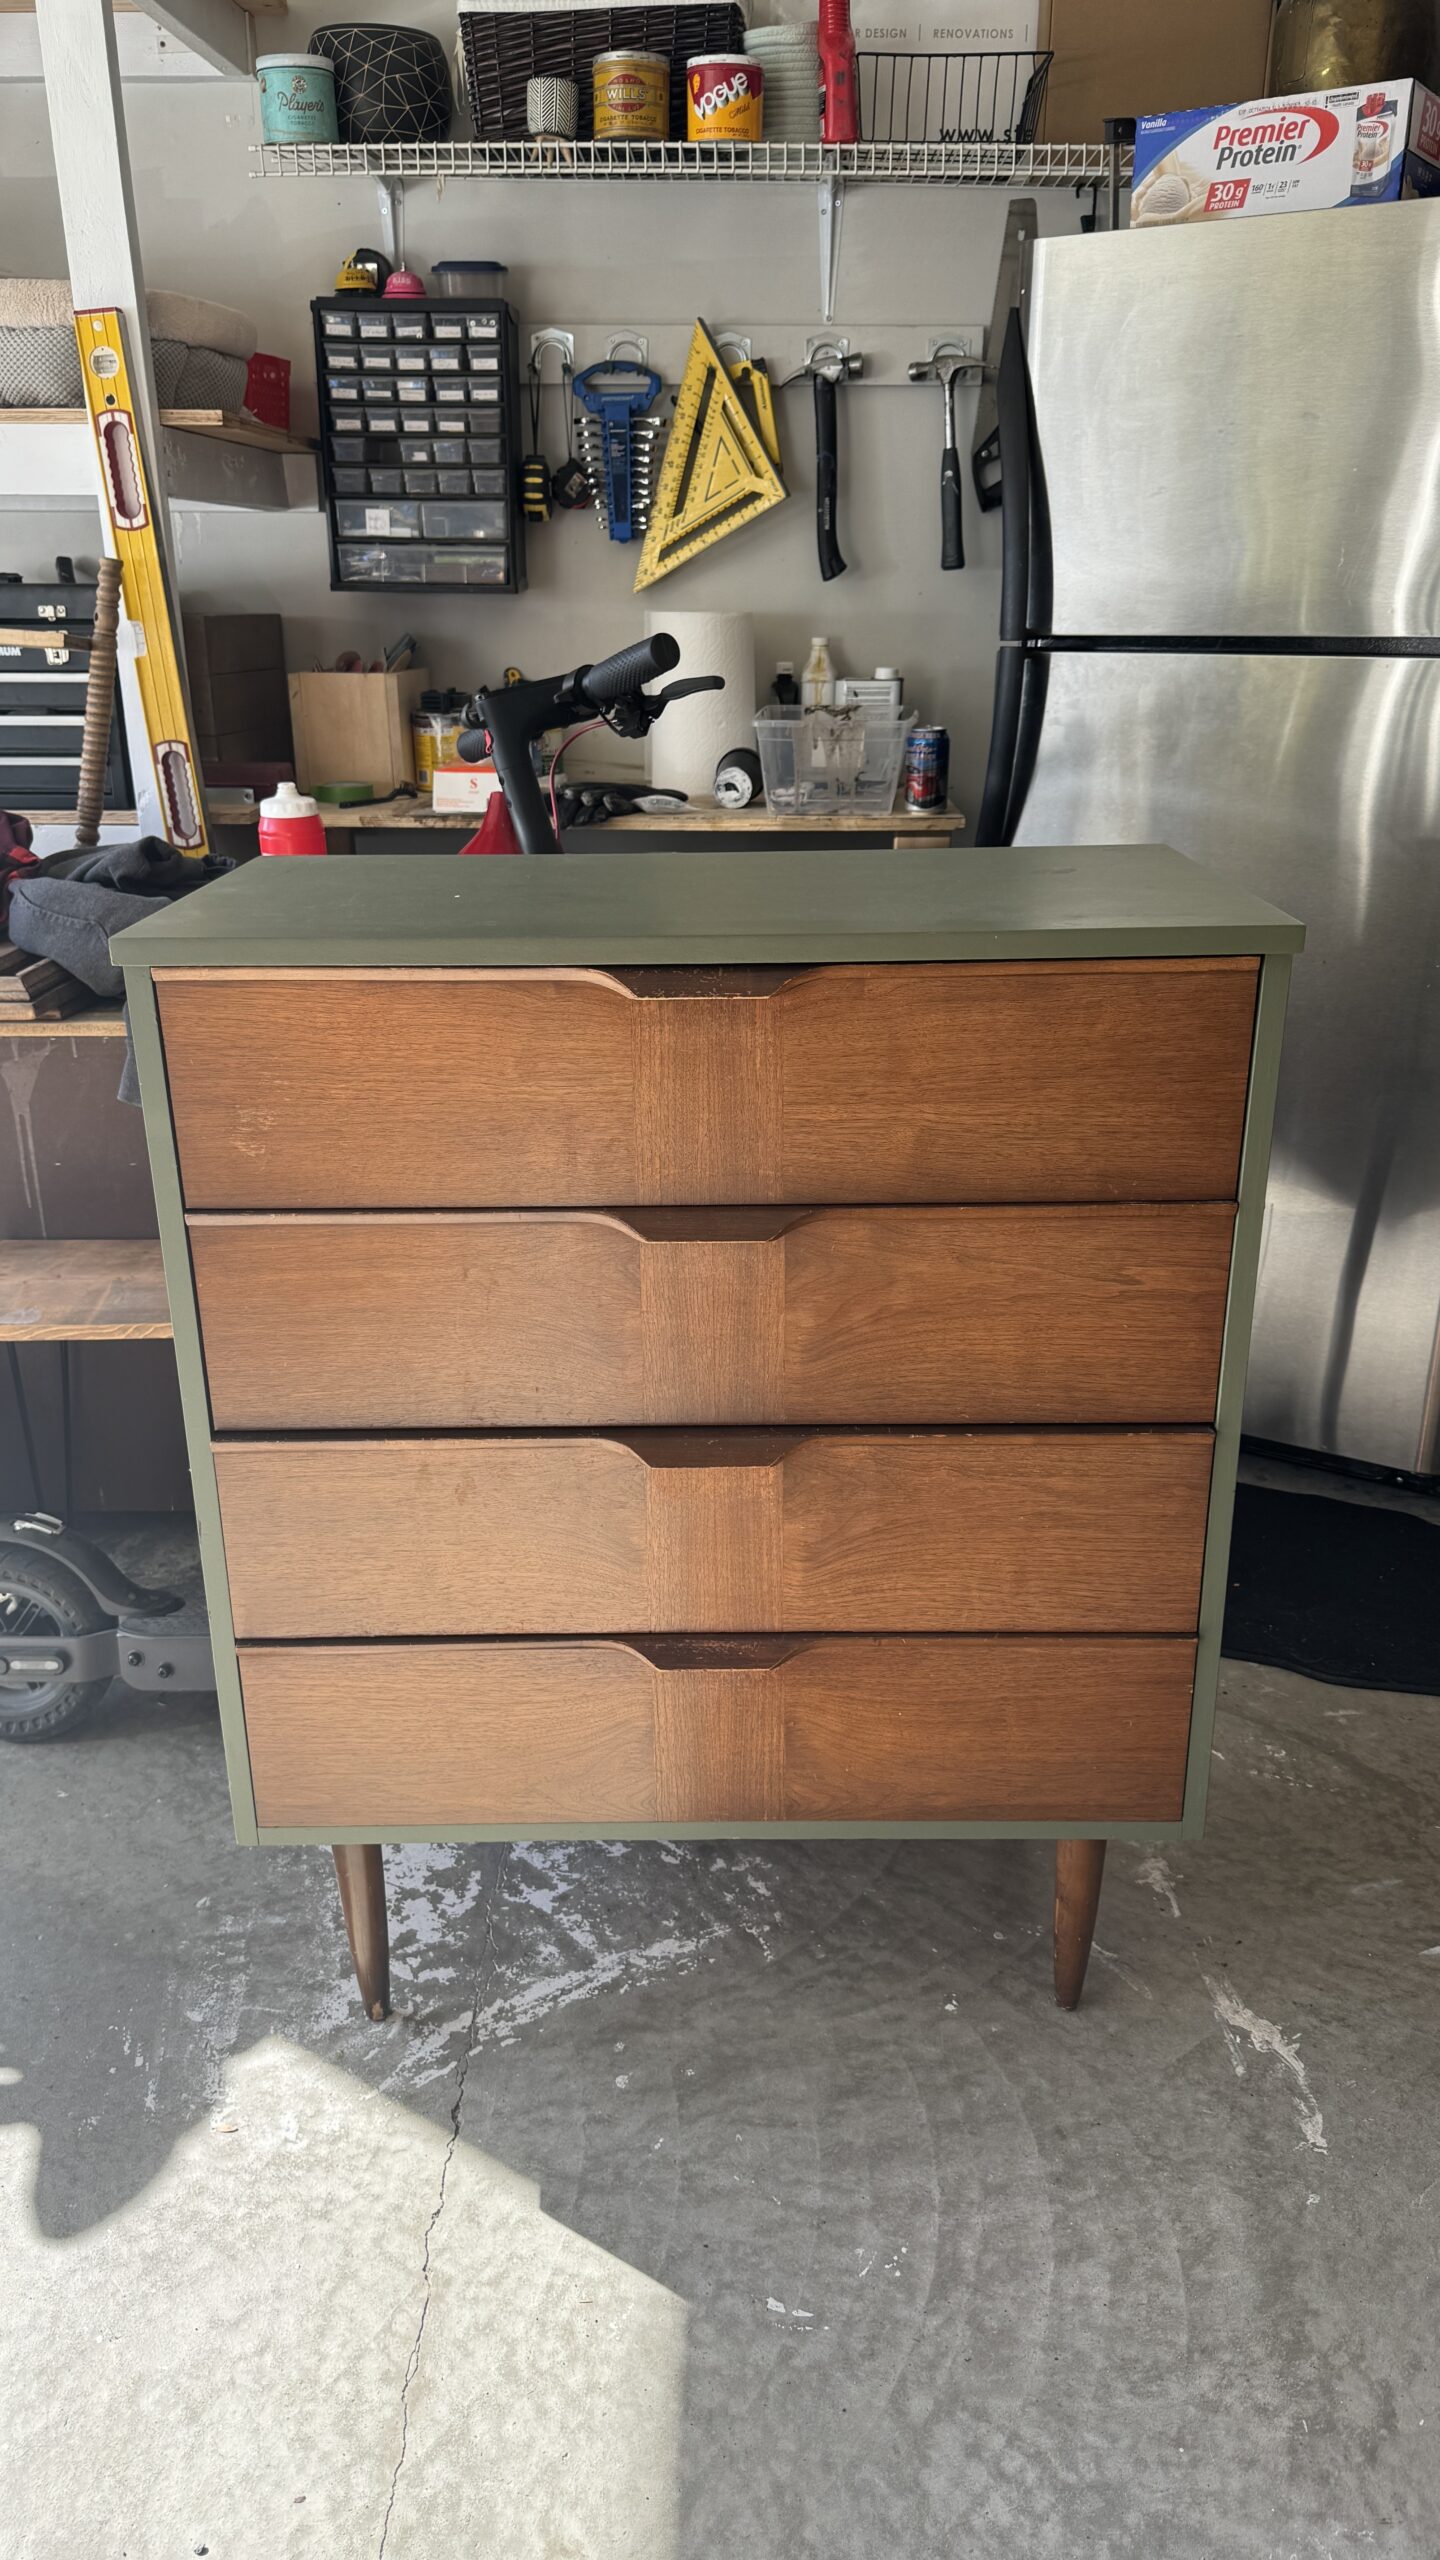
The Before...

I picked up this dresser a few years ago for FREE and chalk painted it for my son's bedroom because I didn't think it was possible to refinish veneer, it was really rough. The stain was a sprayed on glossy varnish which took away from the beauty of the natural walnut.
Material List:

1 / Strip & Sand

If your dresser is not painted, you may choose to skip the stripping and go right into sanding. Brush on the furniture stripper generously until to see it starting to loosen the paint. Use your scraper to start removing the paint. I started with plastic but it was too flexible so I carefully use a metal scraper. Be careful not to damage the veneer, it is very thin!
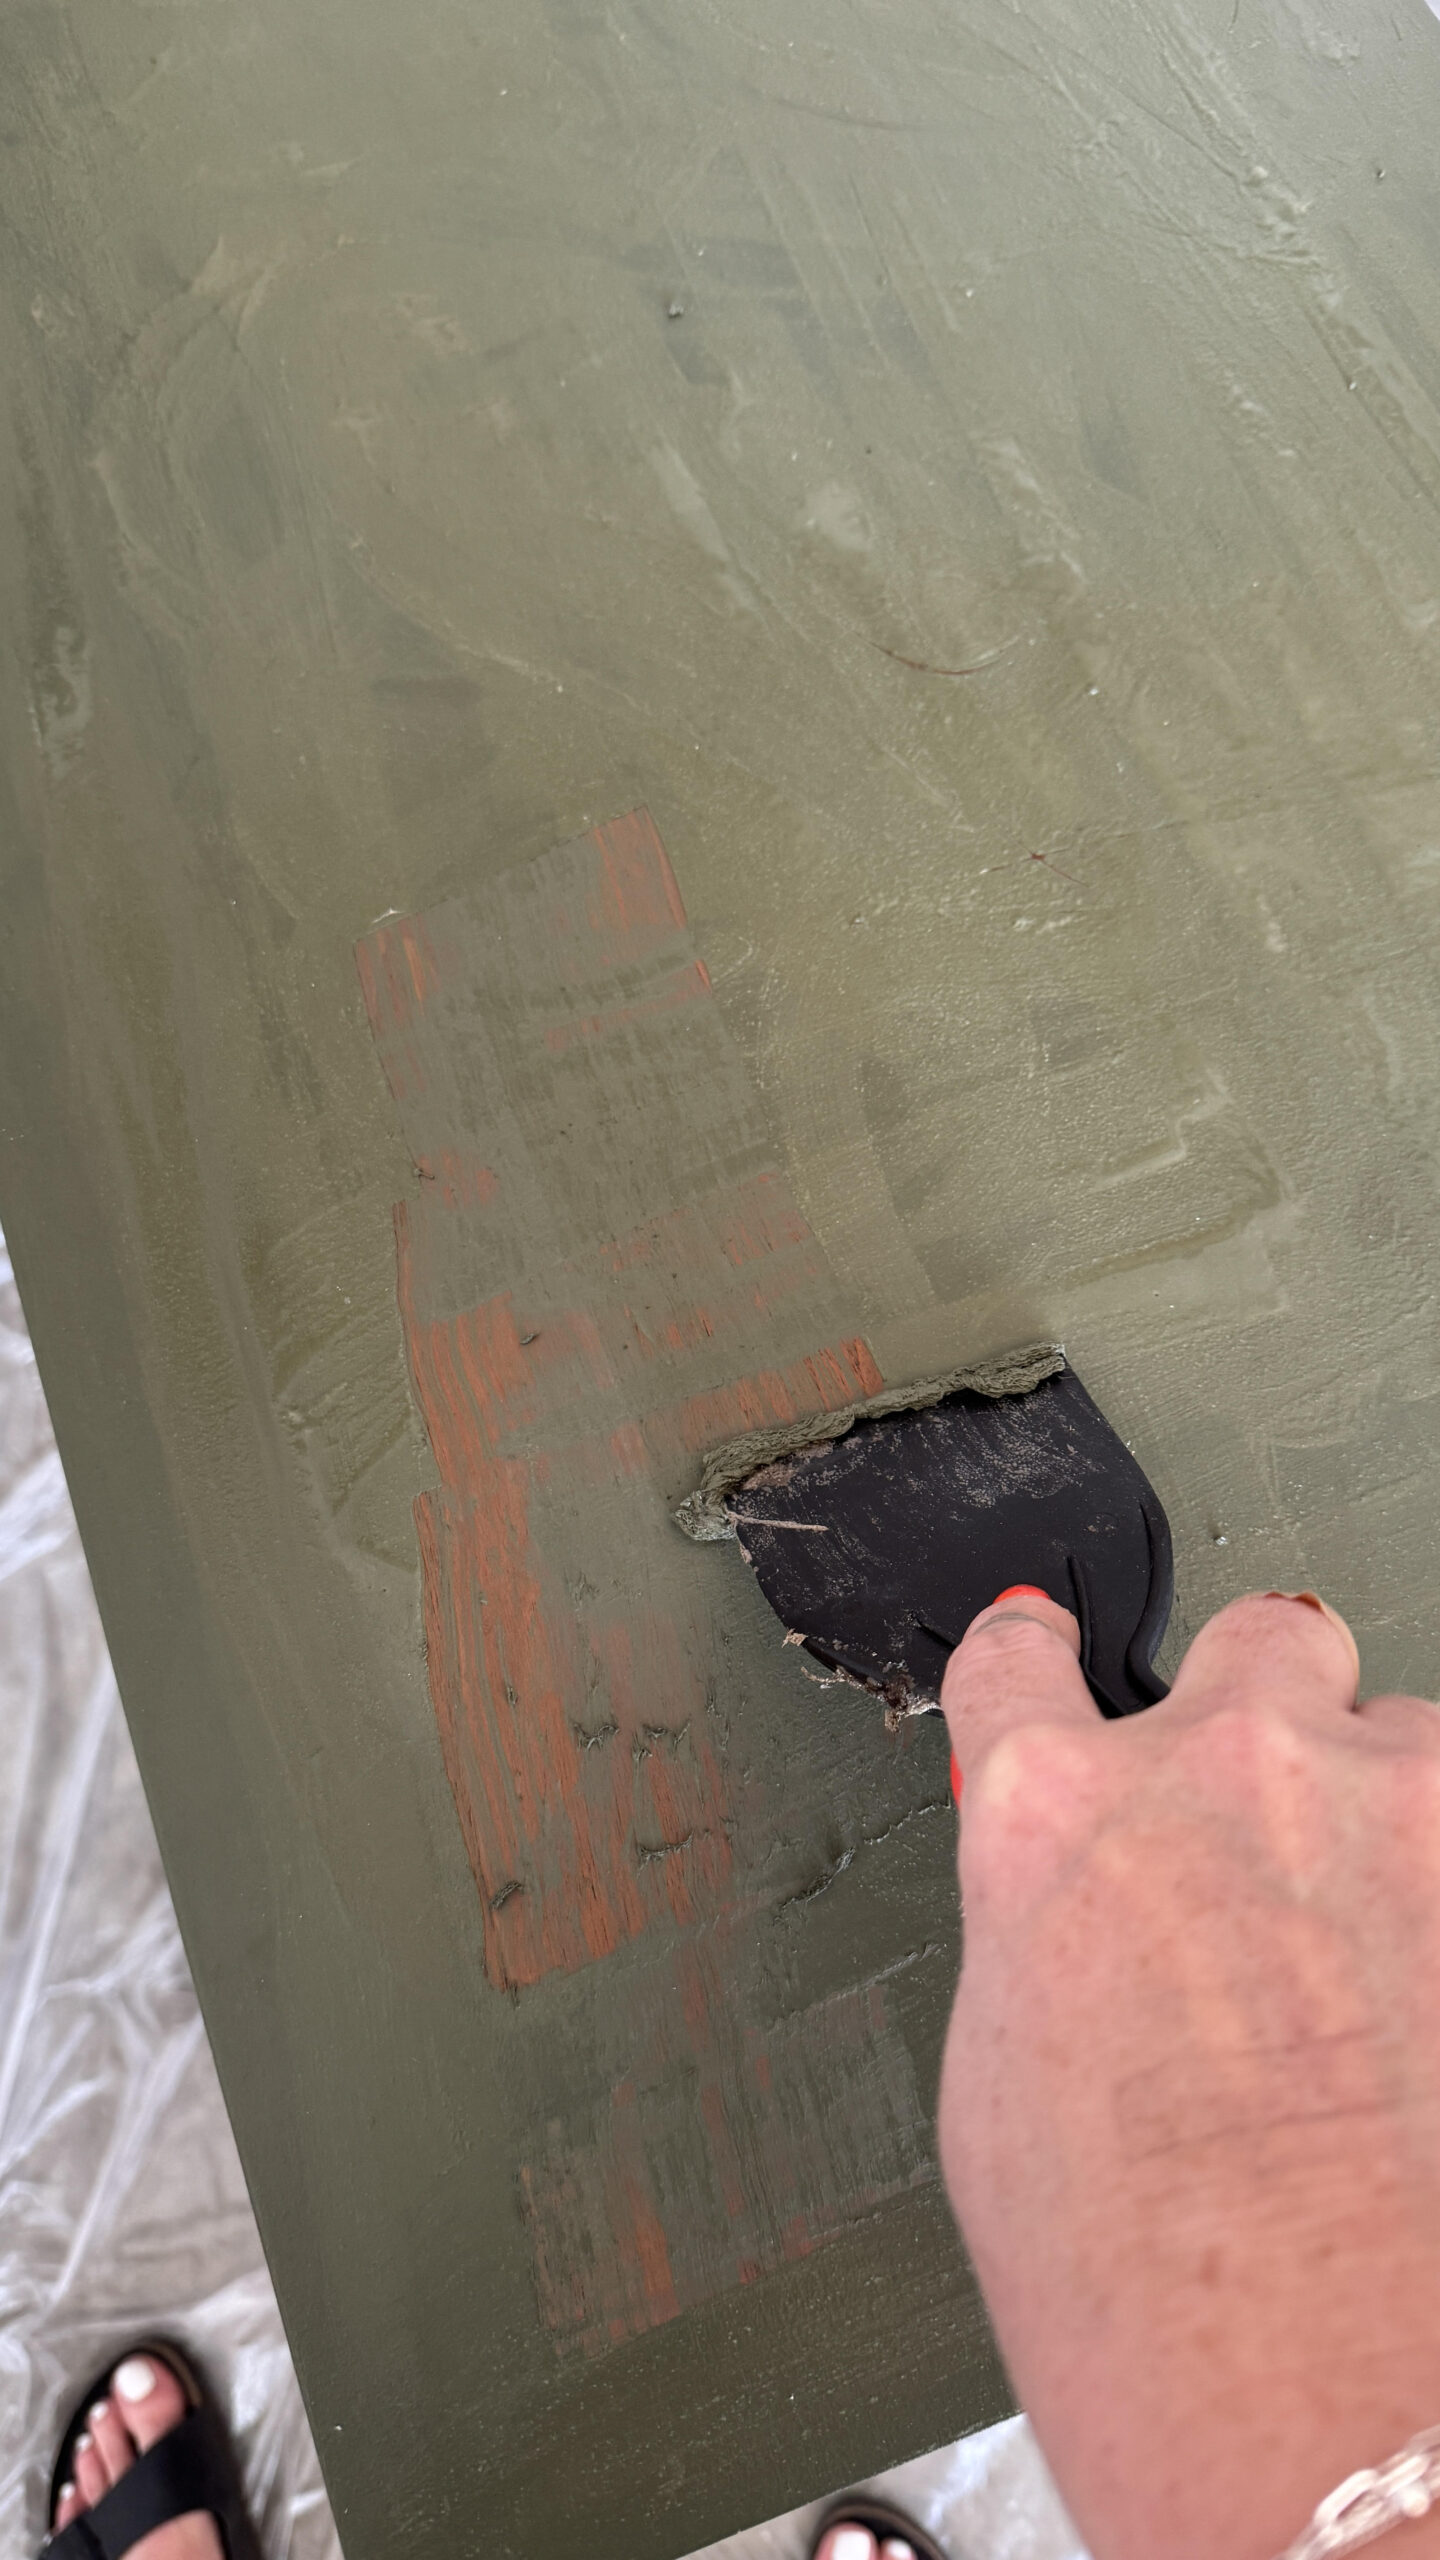
Once I got all of the paint off, I started sanding. I started with 80 grit sandpaper to take up most of the varnish. Then I worked my way down to 220 grit. Veneer is super thin, so you have to go slowly and carefully so not to go right through the veneer (which I did in some spots and will use a stain pen to touch them up). Isn't that raw walnut beautiful?! Wipe down your dresser with tack cloth or a clean rag before moving on to the next step.
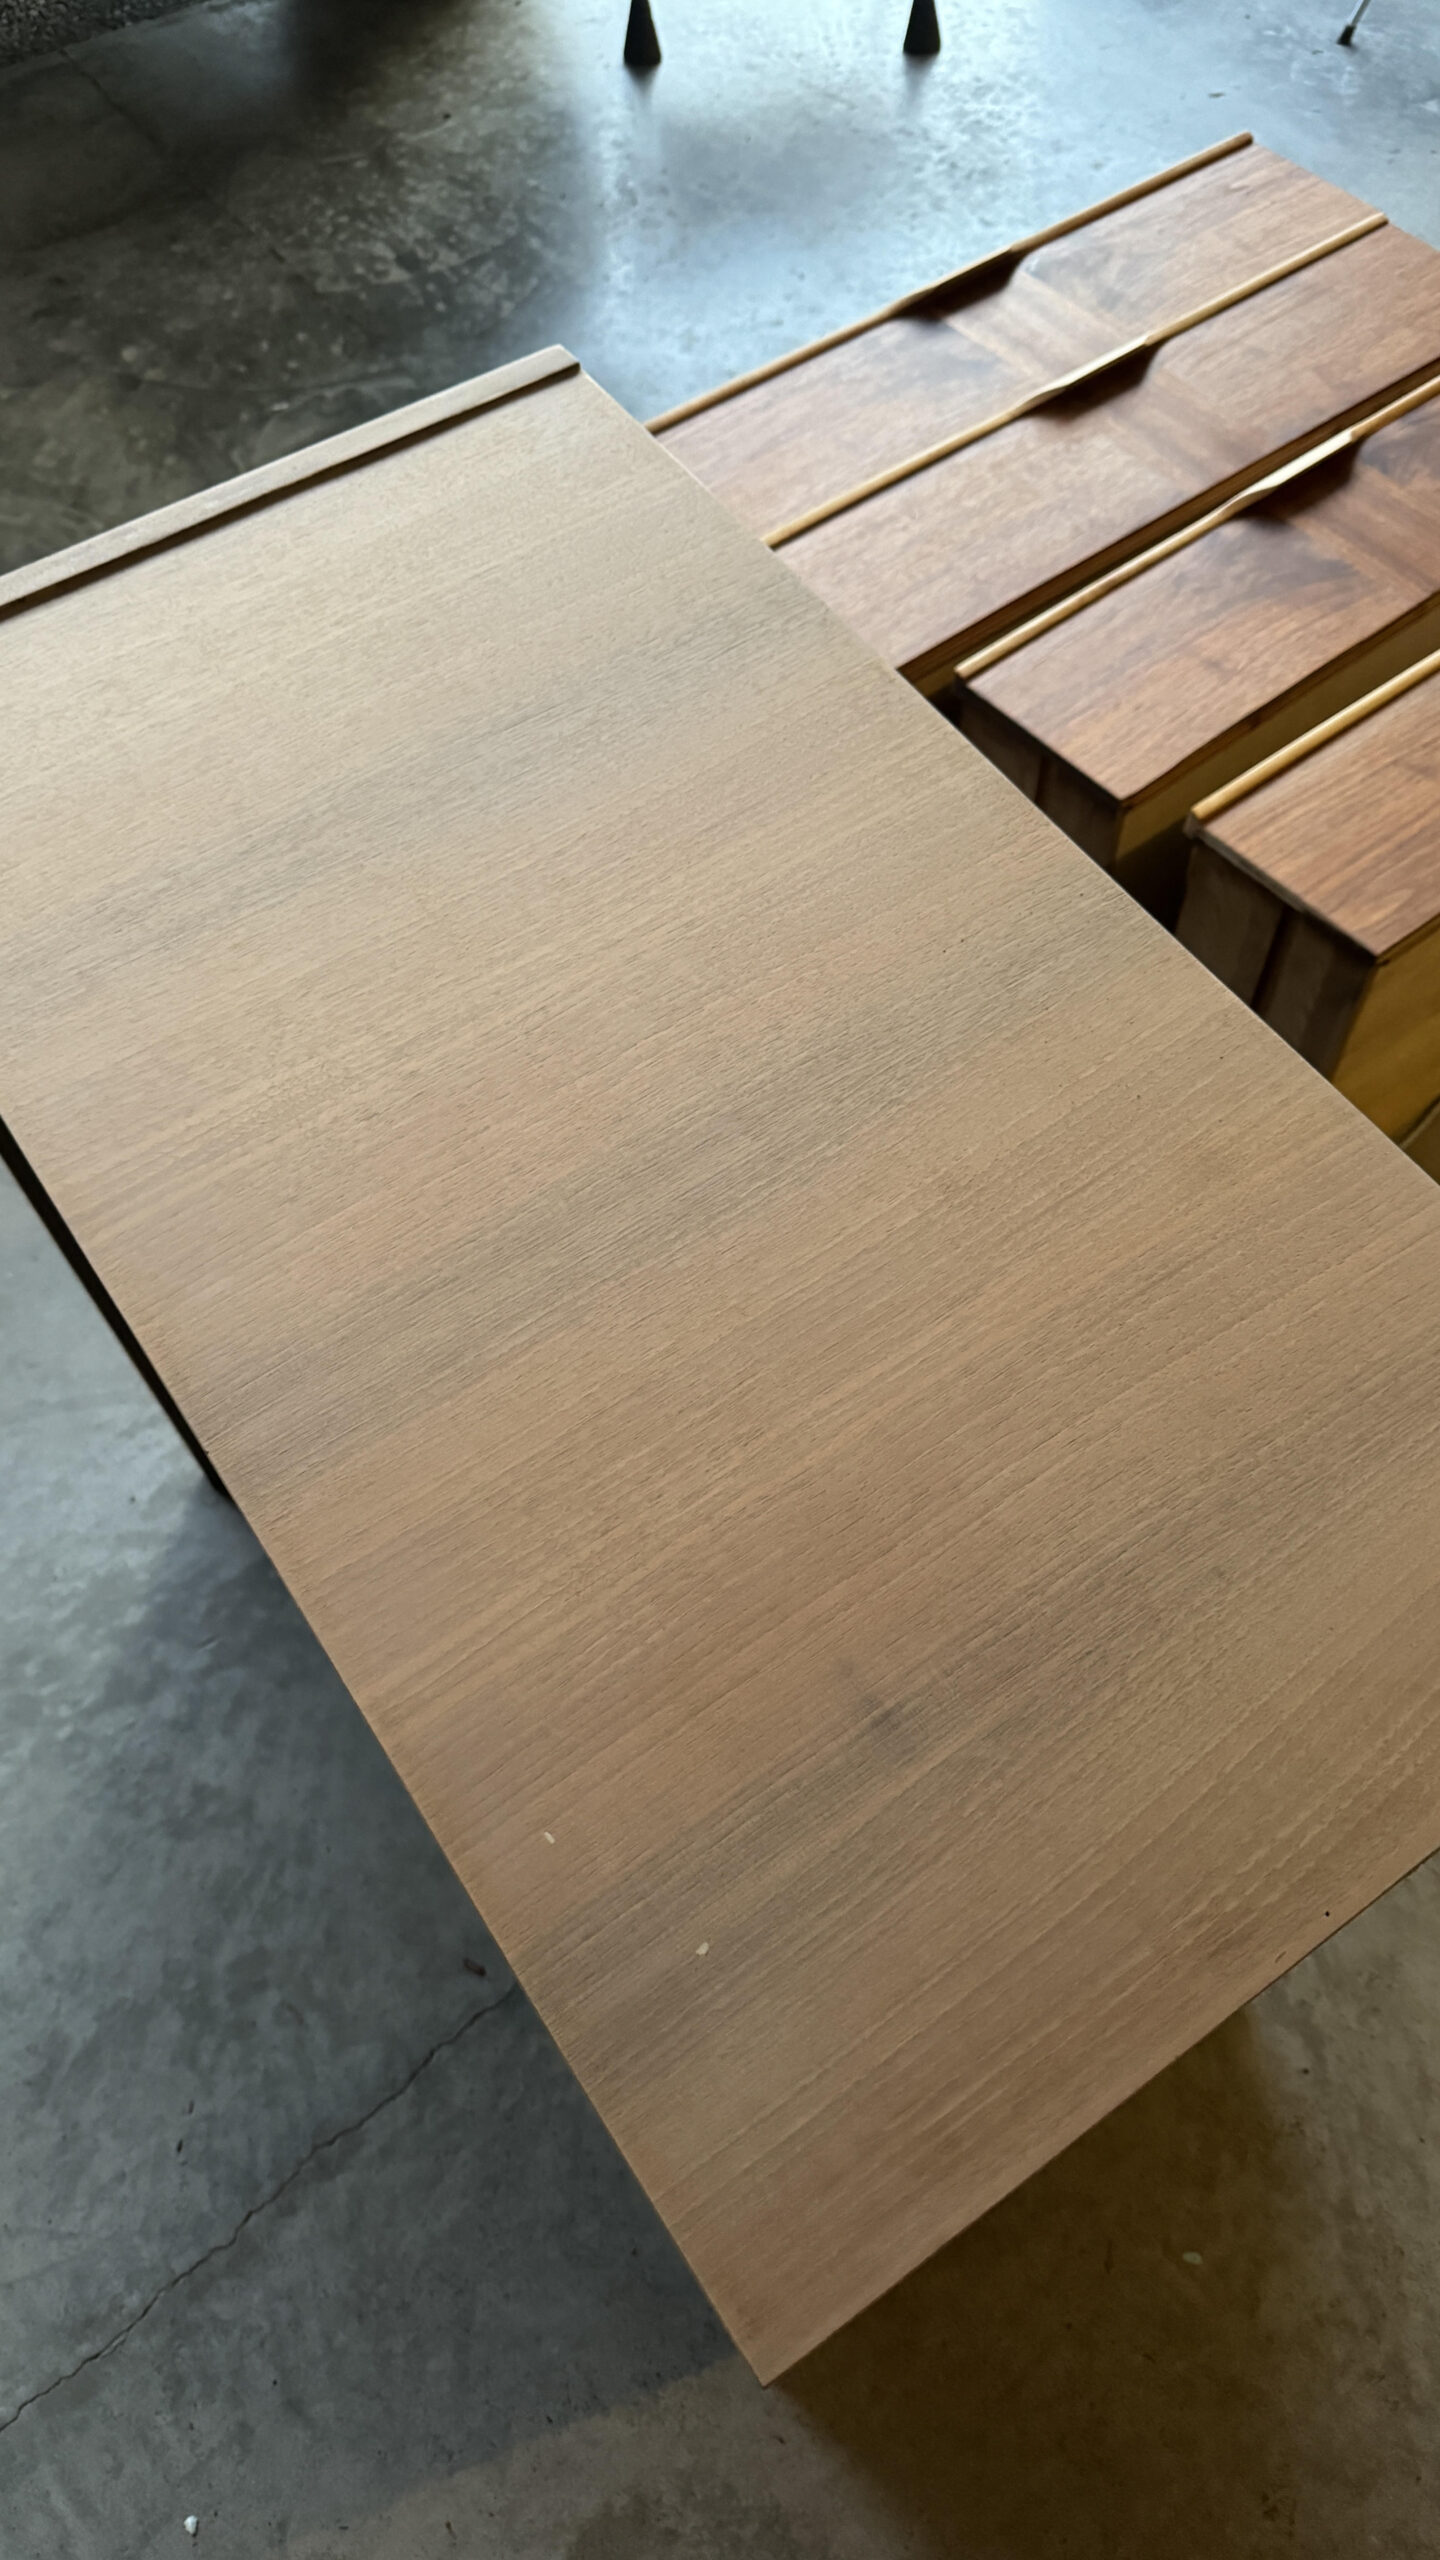
The legs were really banged up , so I wrapped a piece of sandpaper around each leg and sanded them down by hand.

2 / Stain or Oil

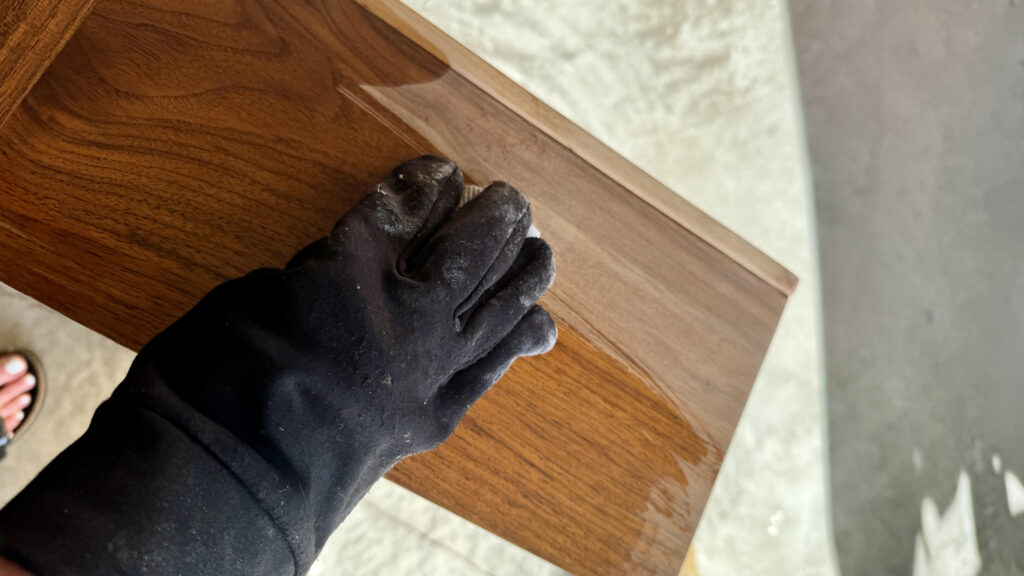
Walnut is beautiful in itself, so I did not want to change its natural color. If you have a lighter species of veneer you may choose to stain darker. I recommend Minwax furniture stain. I used Linseed oil to enhance the natural color and grain of the wood, and to give it a protective coating. Linseed oil gives a low luster finish which is what I was after.
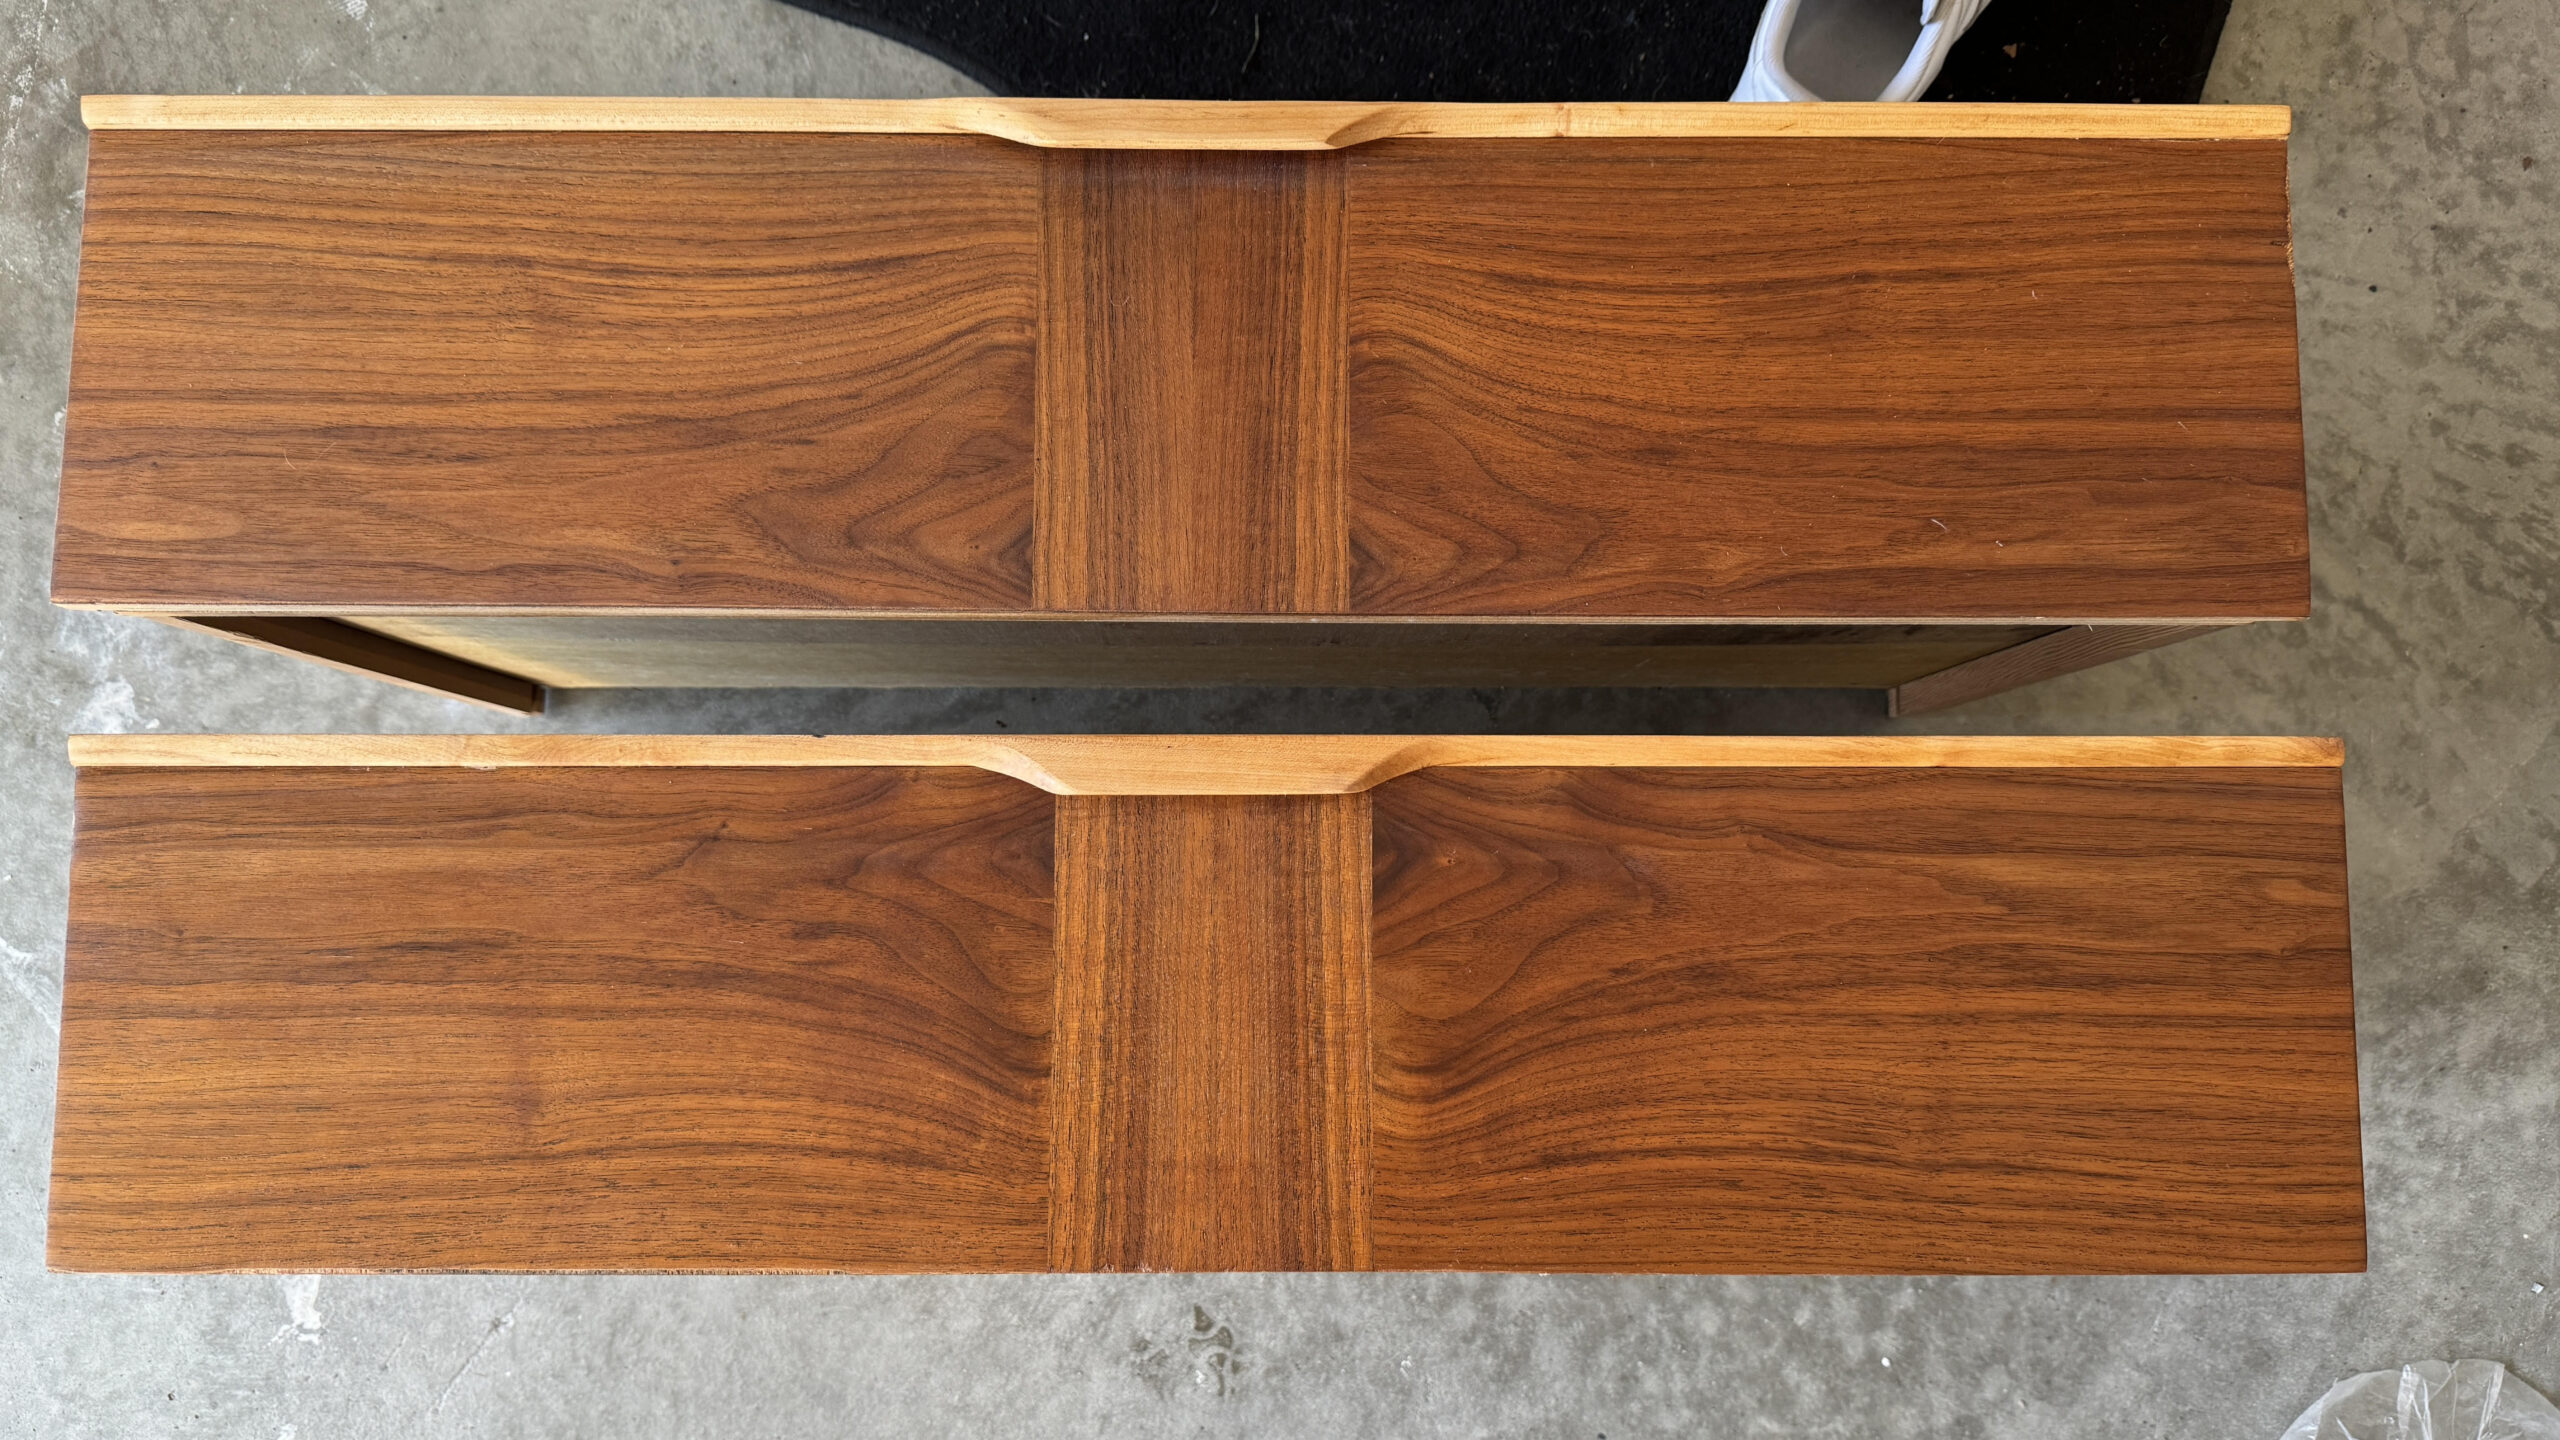
The drawer pulls were in rough shape, and once I sanded them down, I saw that the pulls were a different species and made of solid wood, unlike the drawer fronts, top and case.
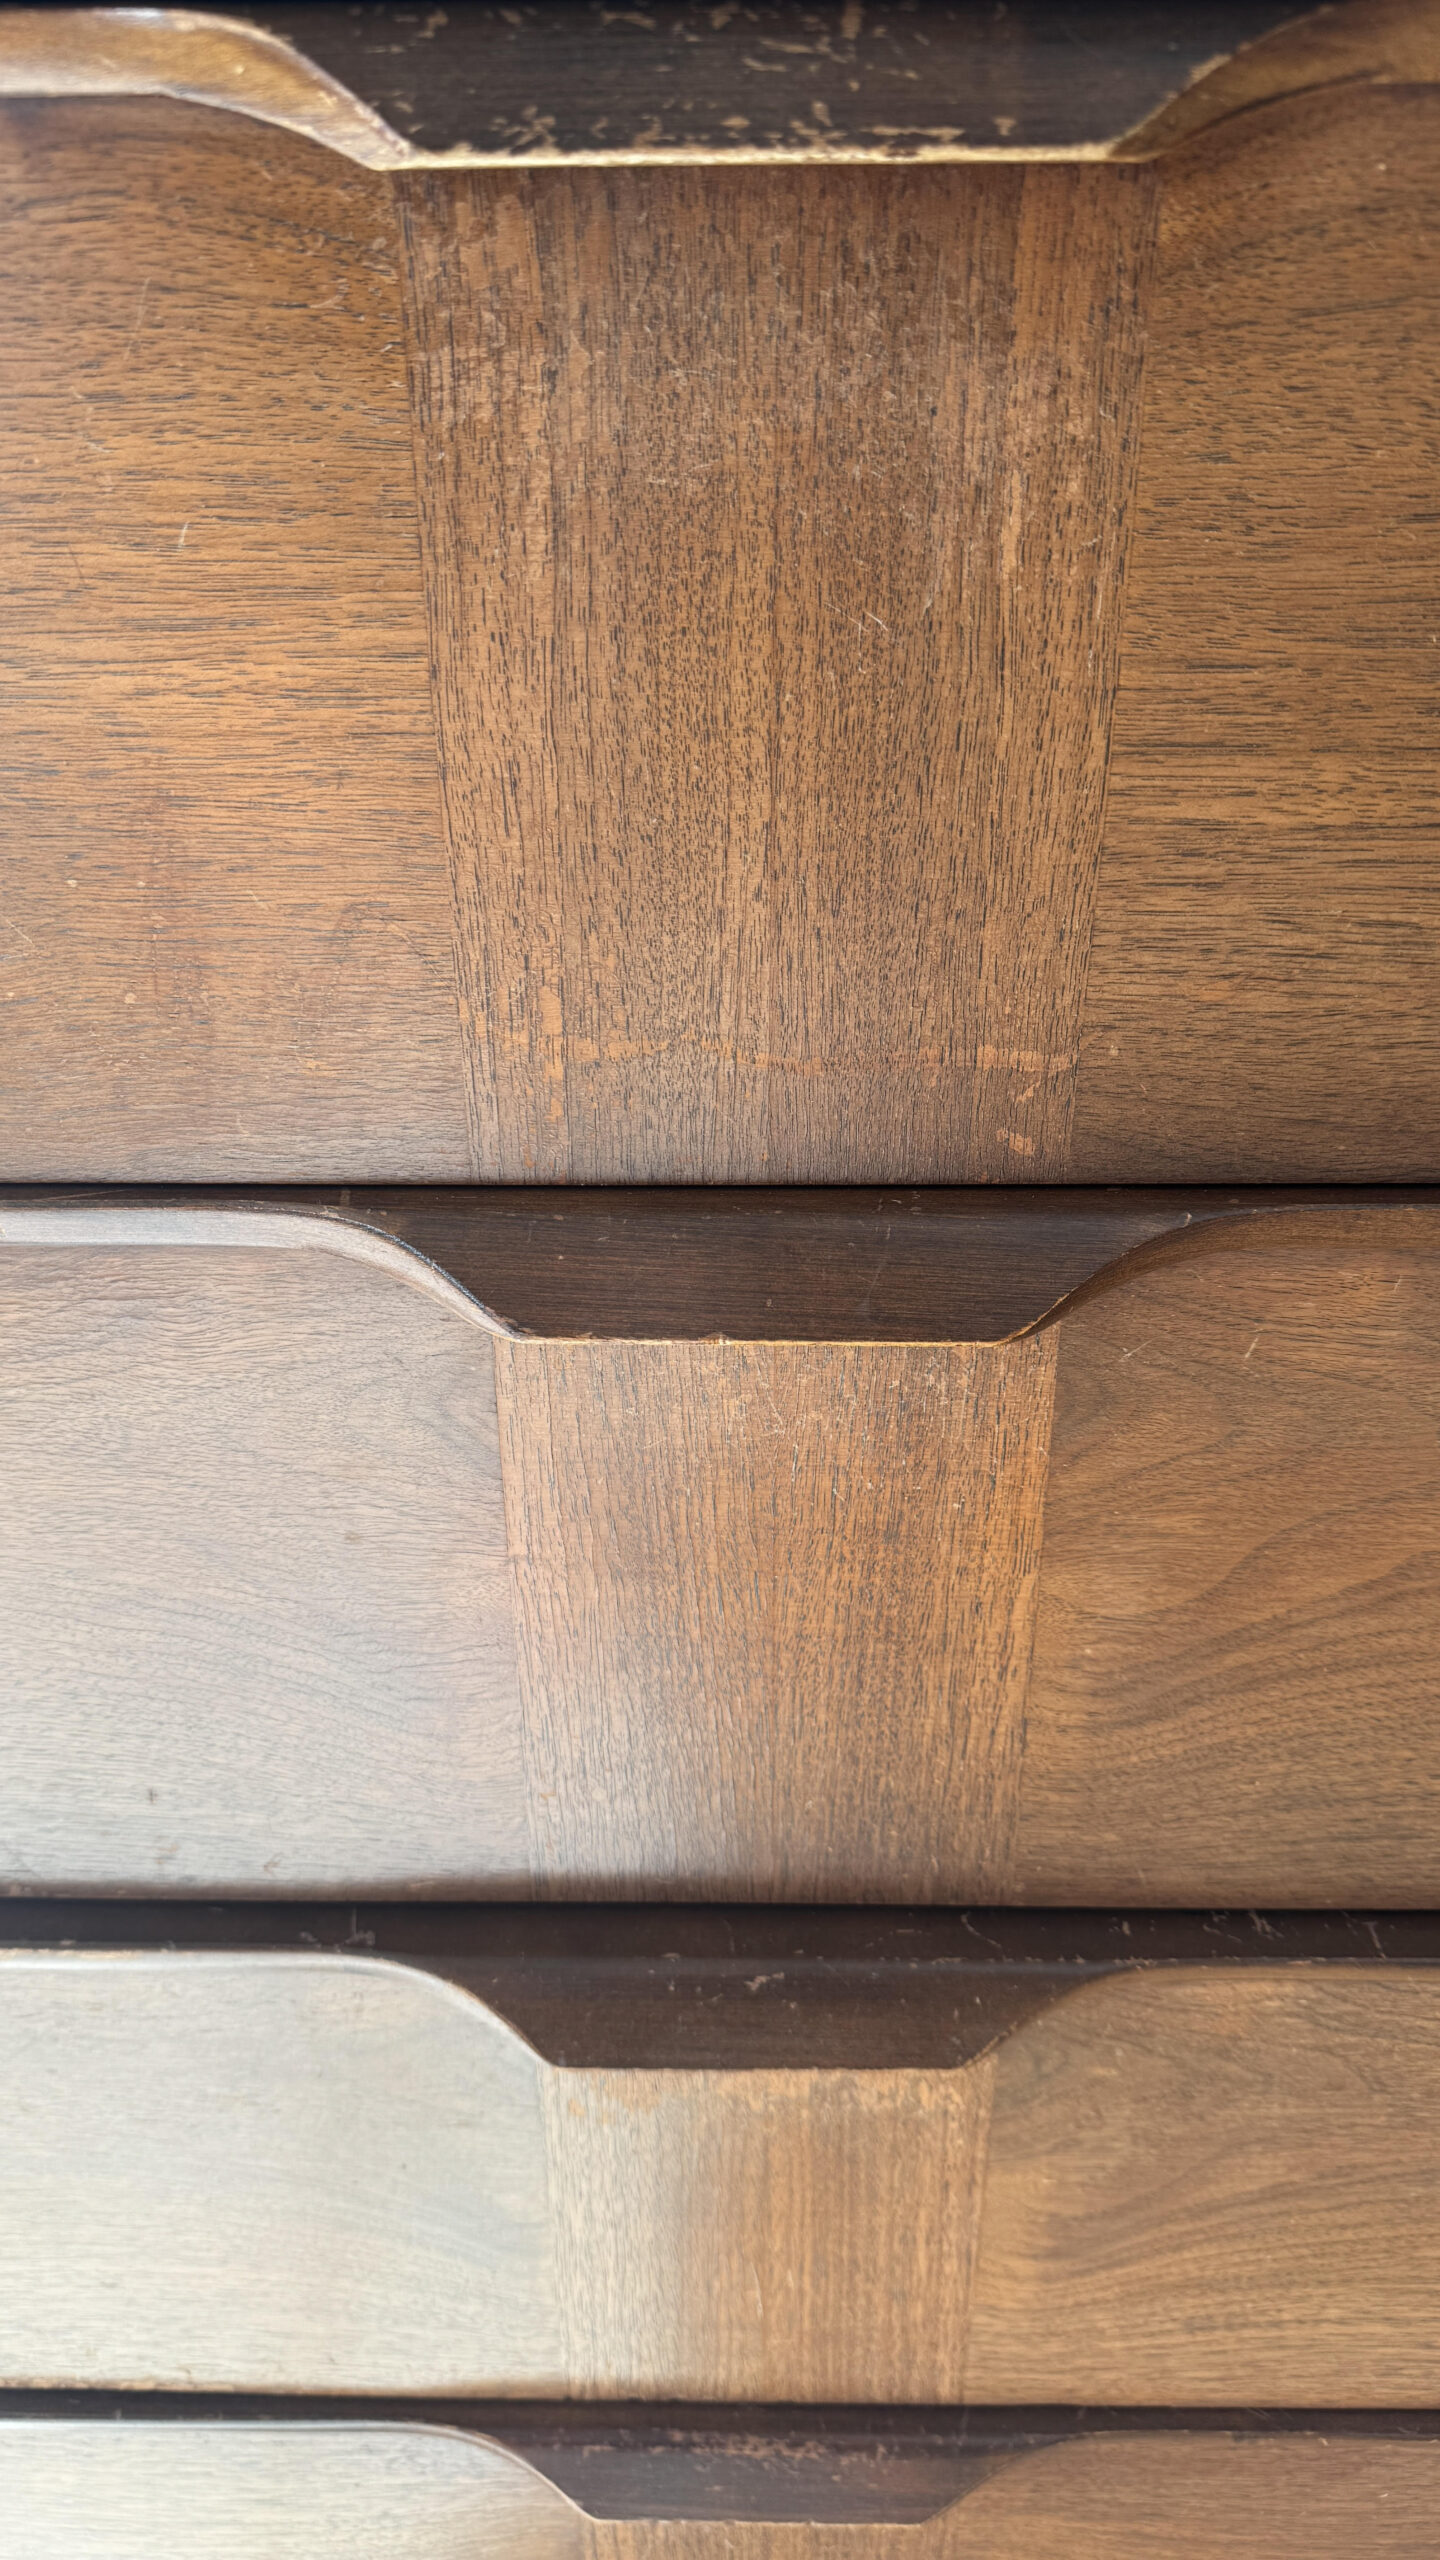
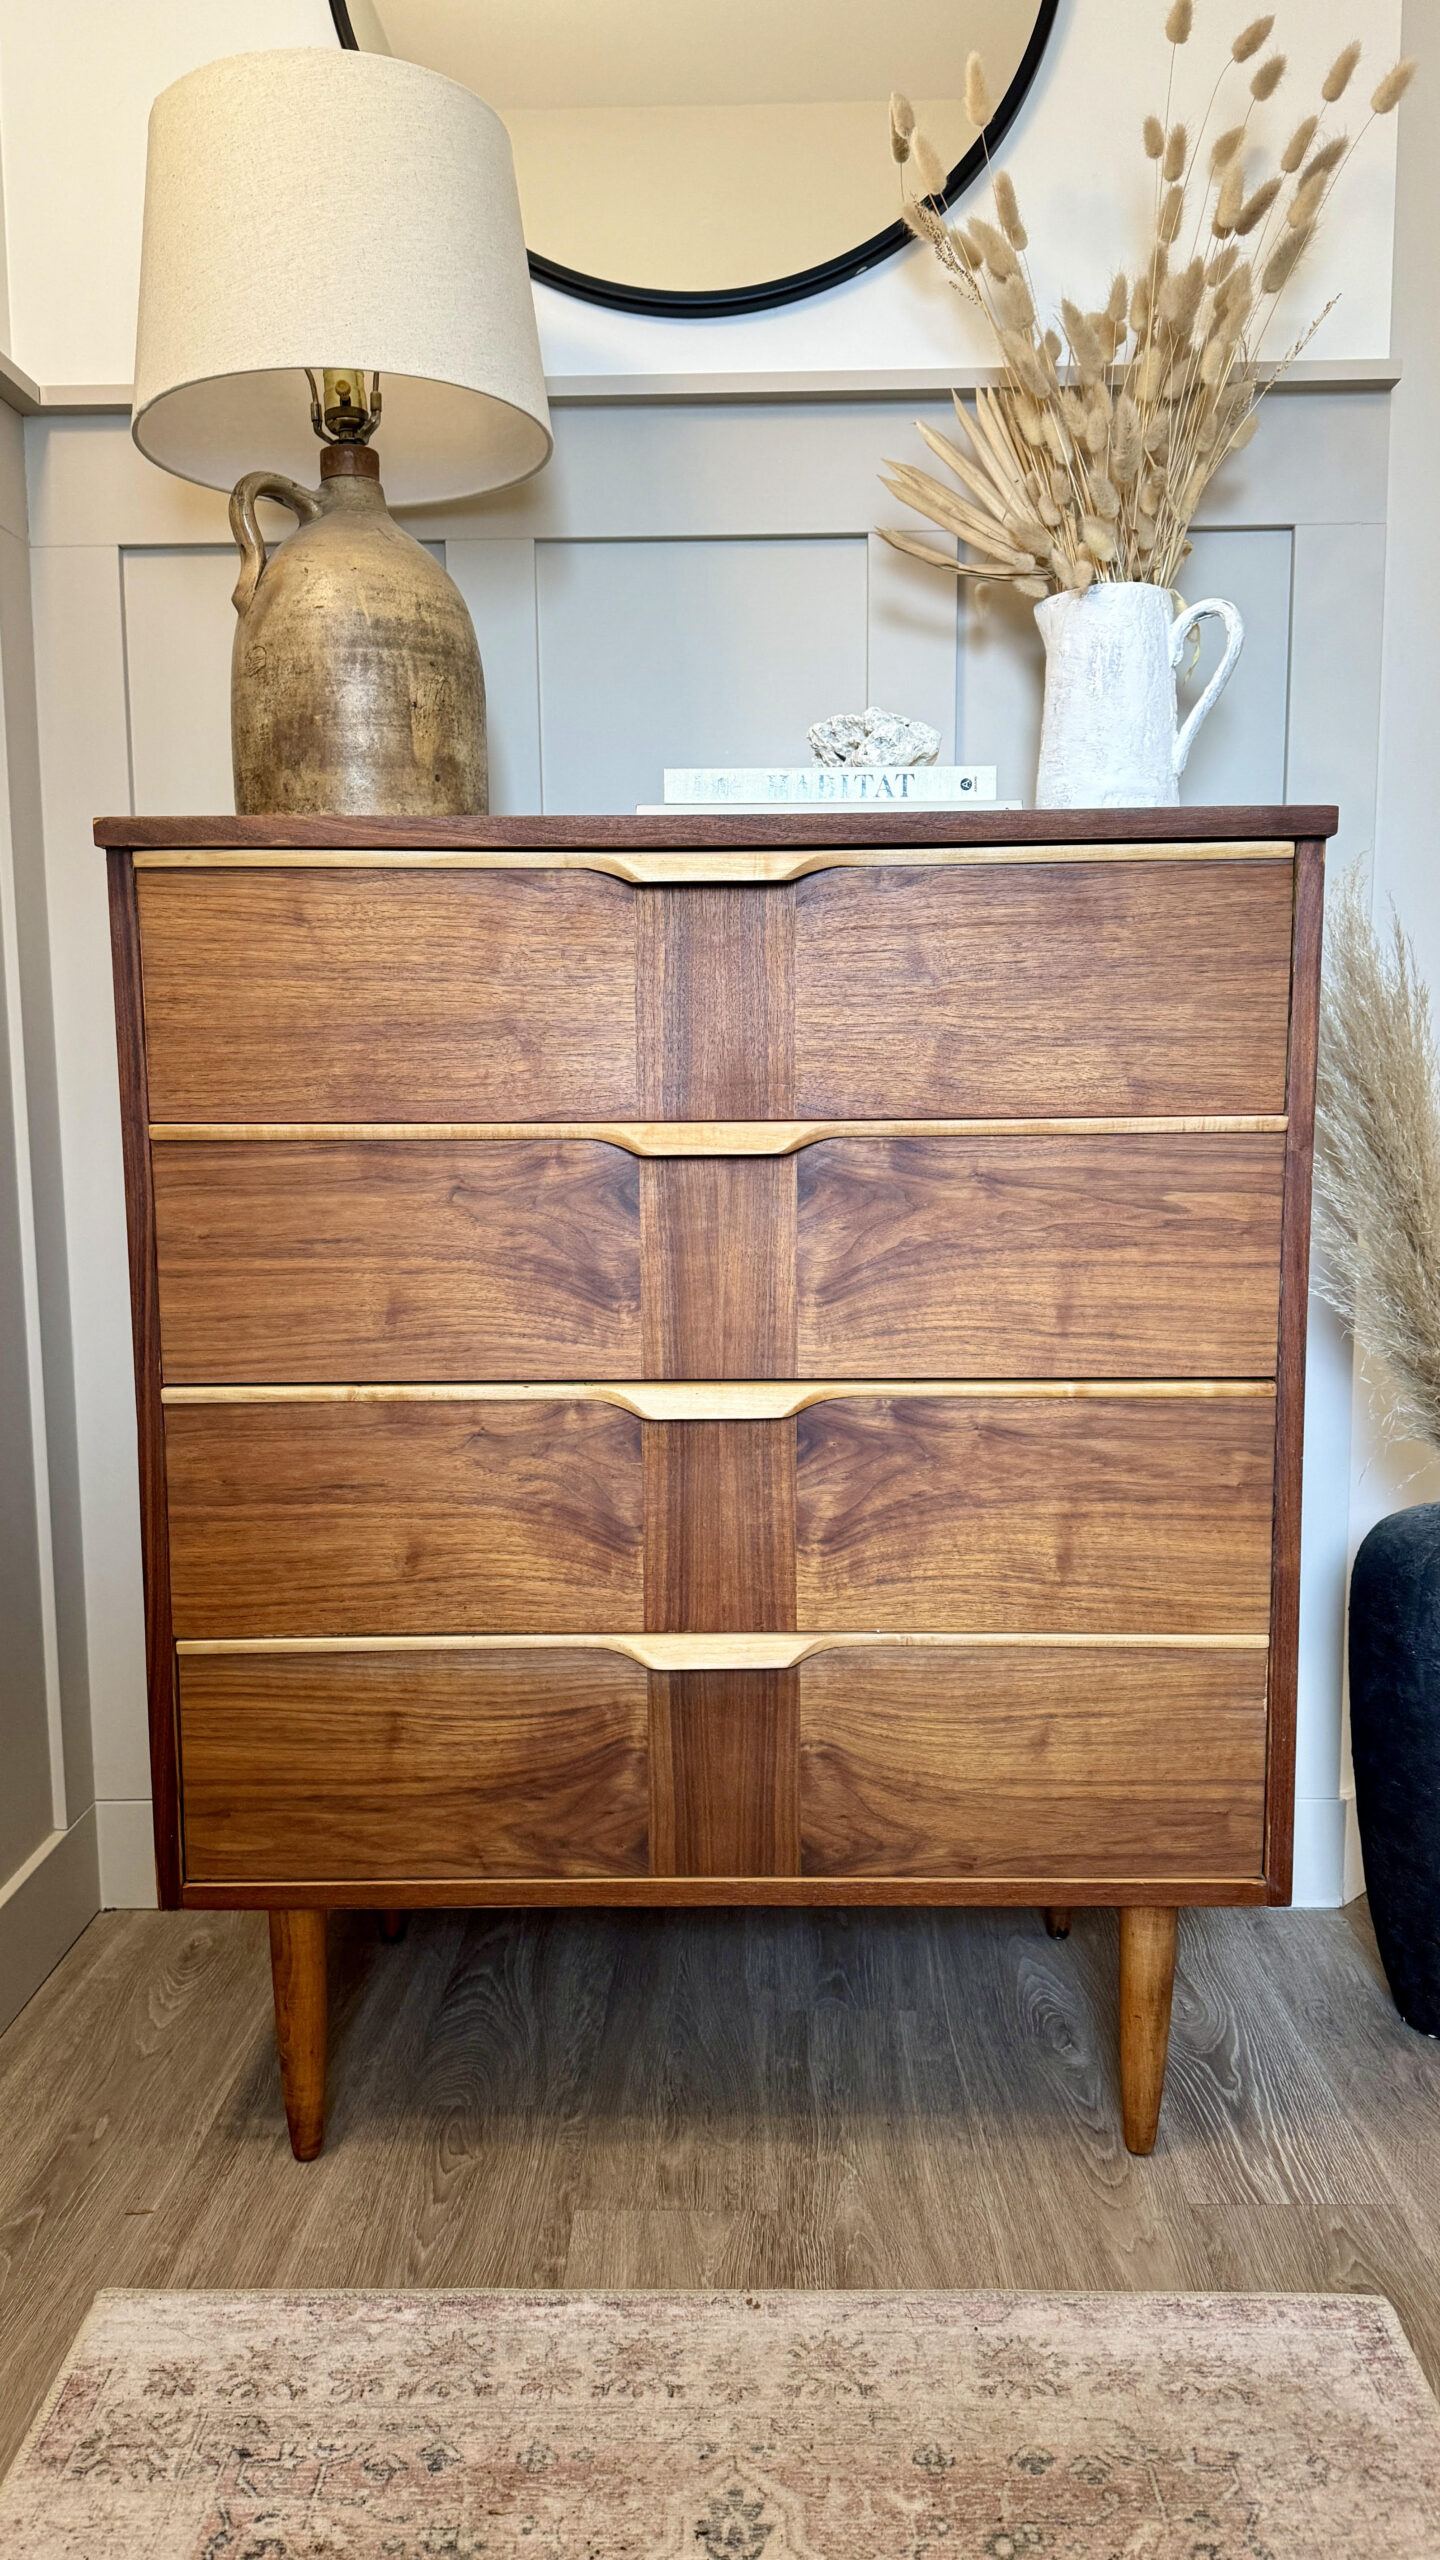
Look how beautifully they turned out! Although I wasn't expecting this, I love the contrast between the drawer fronts and pulls. Like Bob Ross said, "there are no mistakes, only happy accidents."
3 / Line the drawers

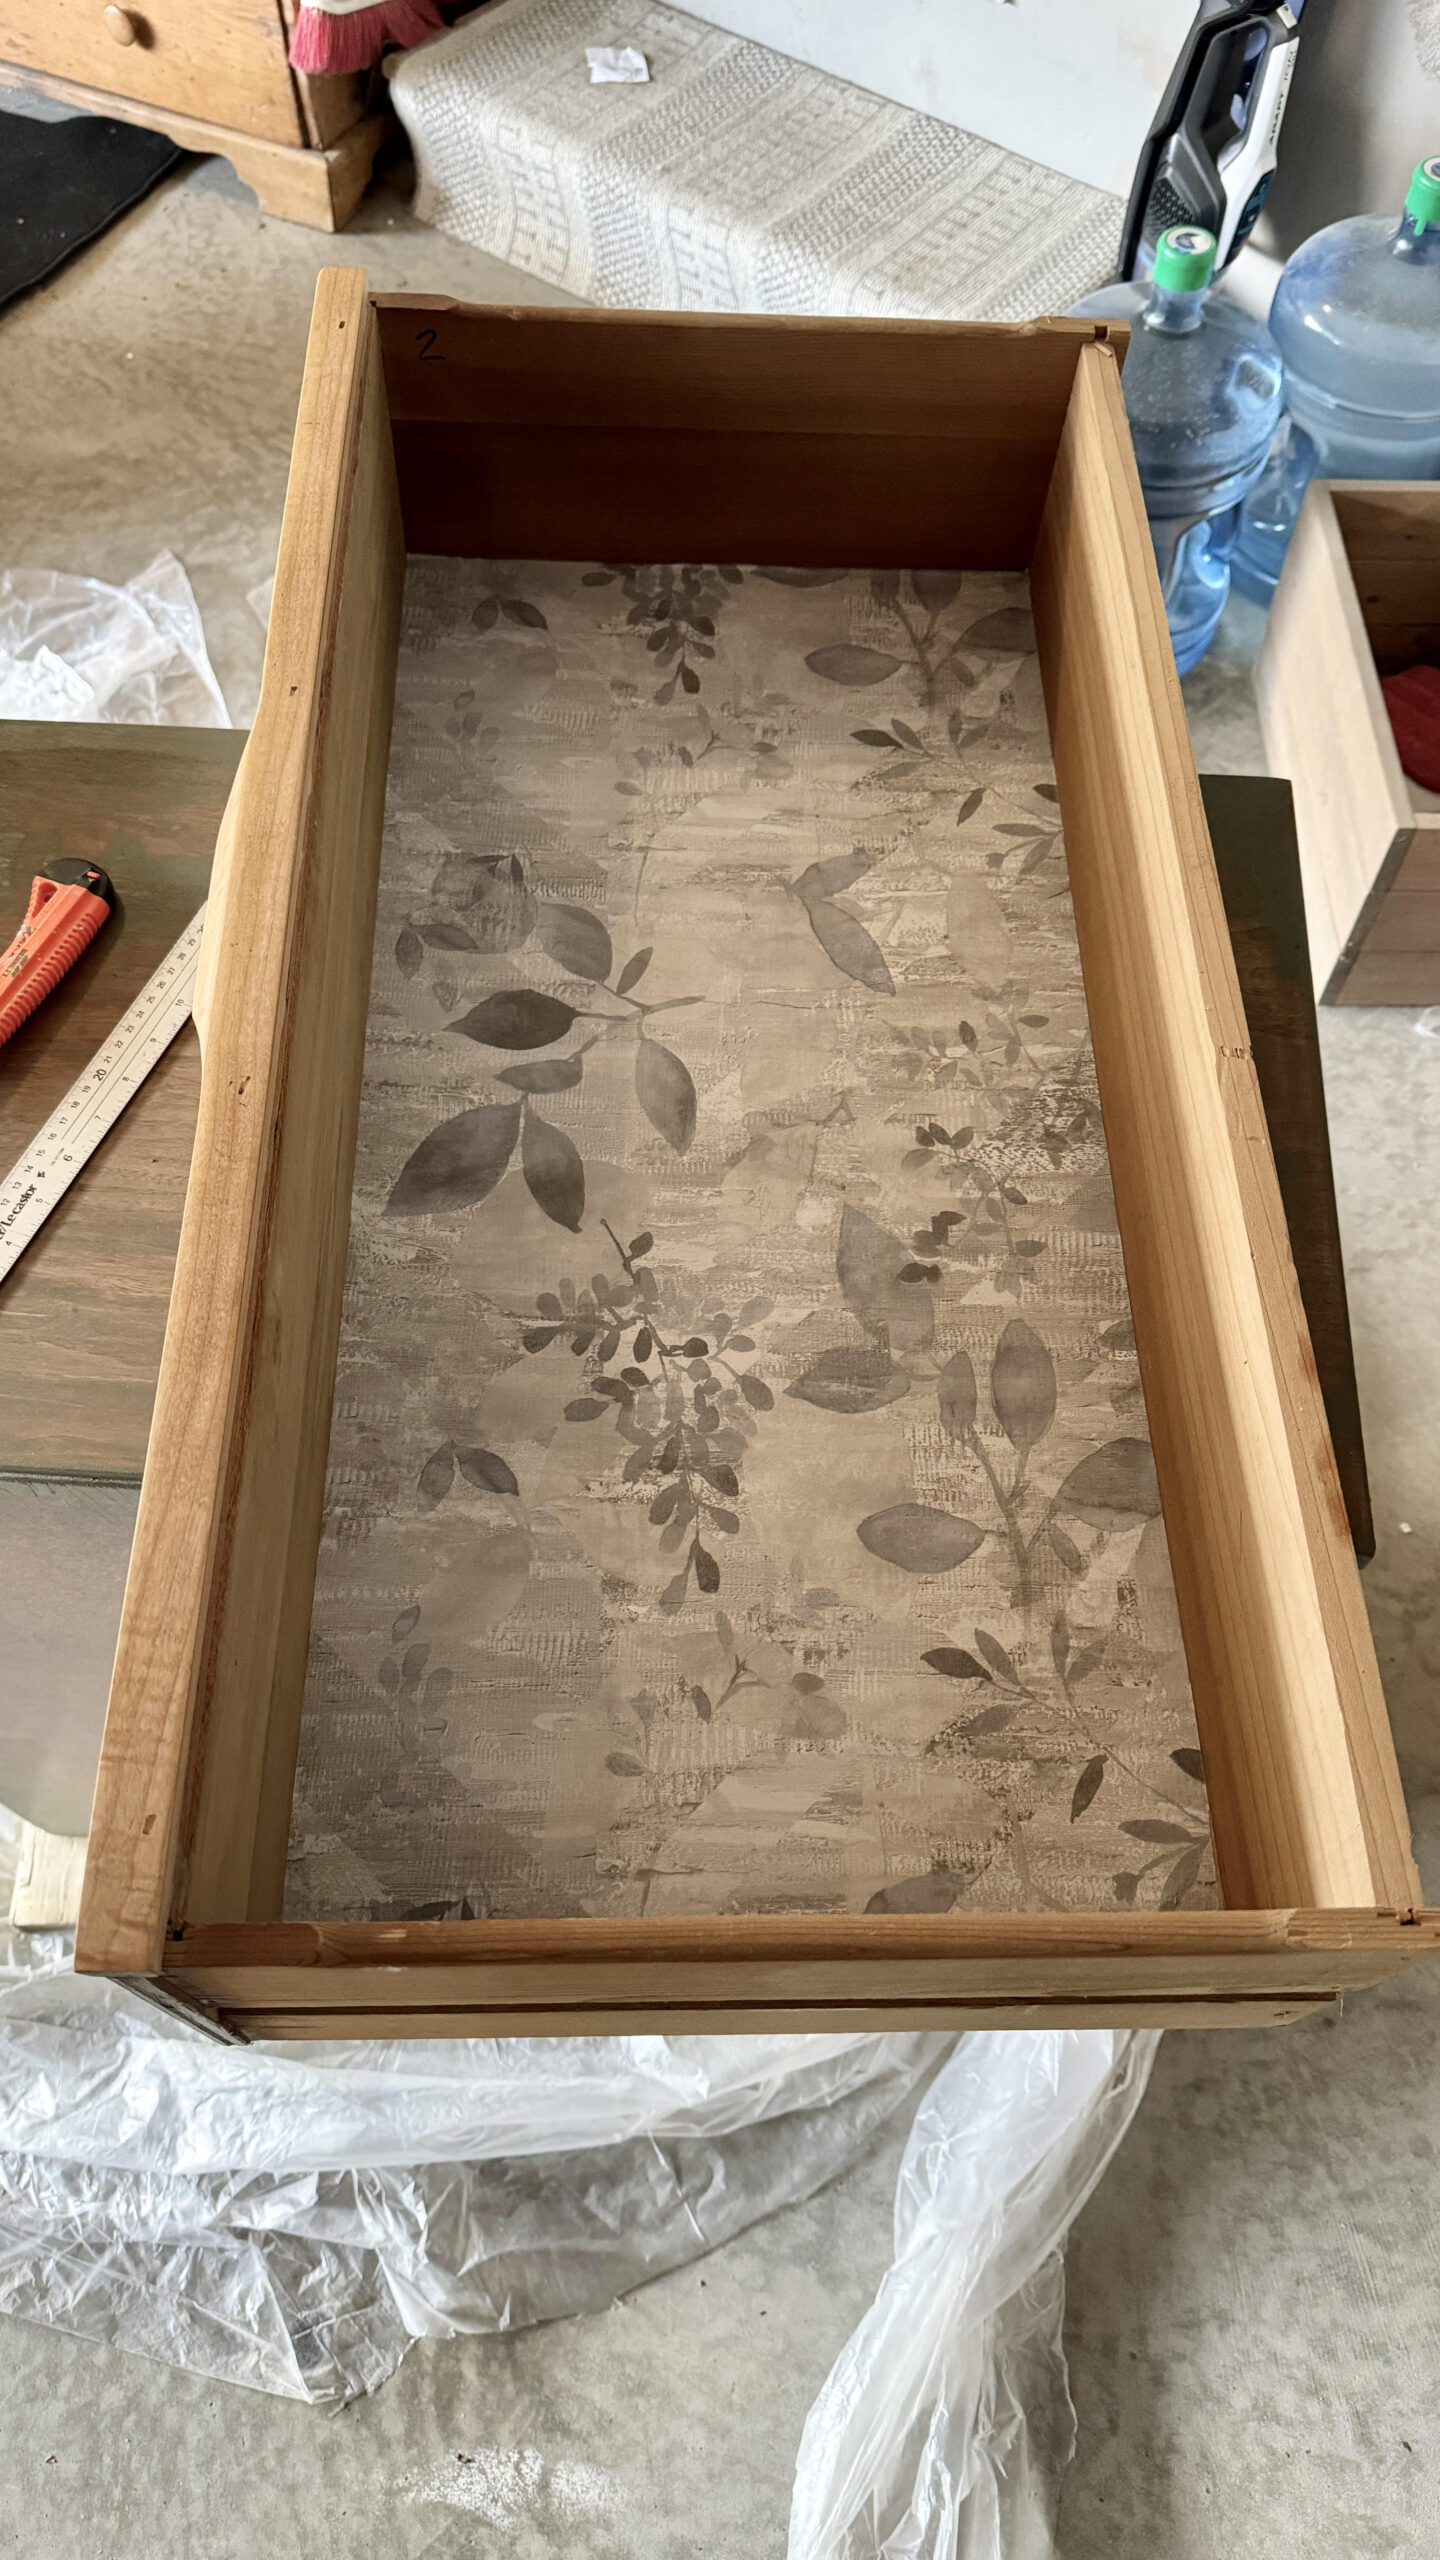
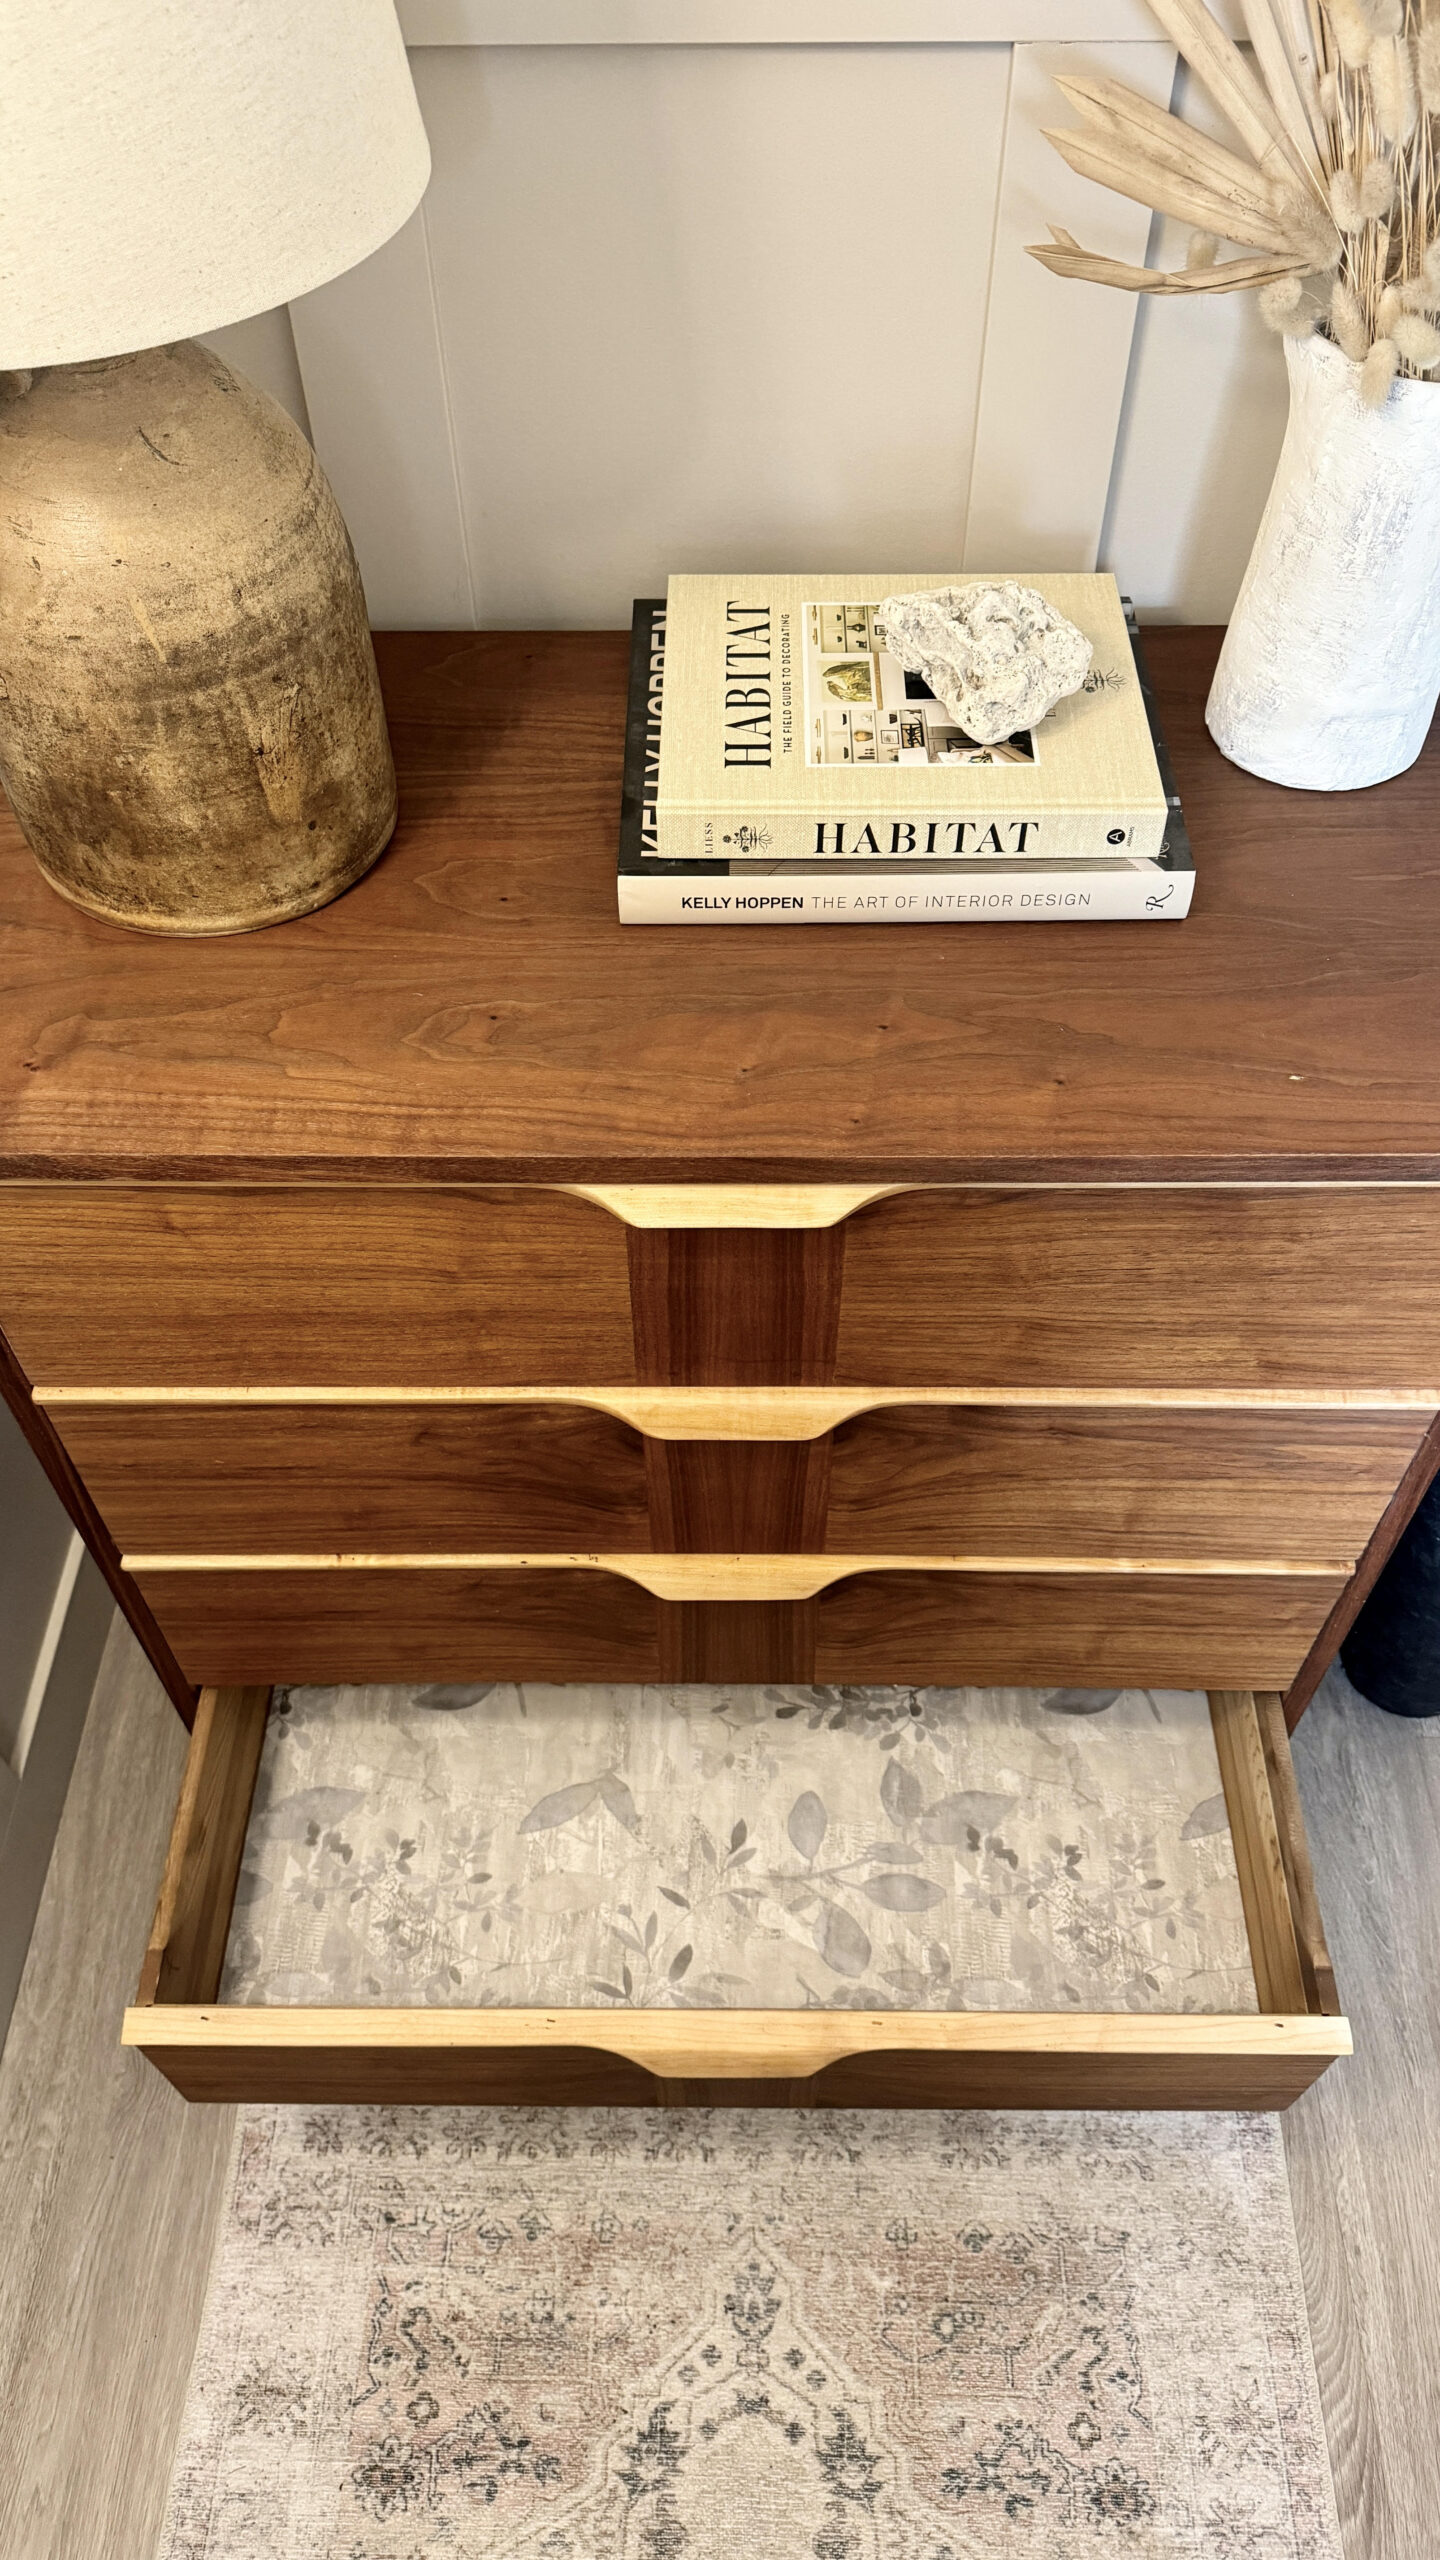
I chose to line the drawers with peel & stick wallpaper I got from Amazon . This is a great way to cover up damage, save yourself time on refinishing the inside of the drawers and make them pretty at the same time.
The After....

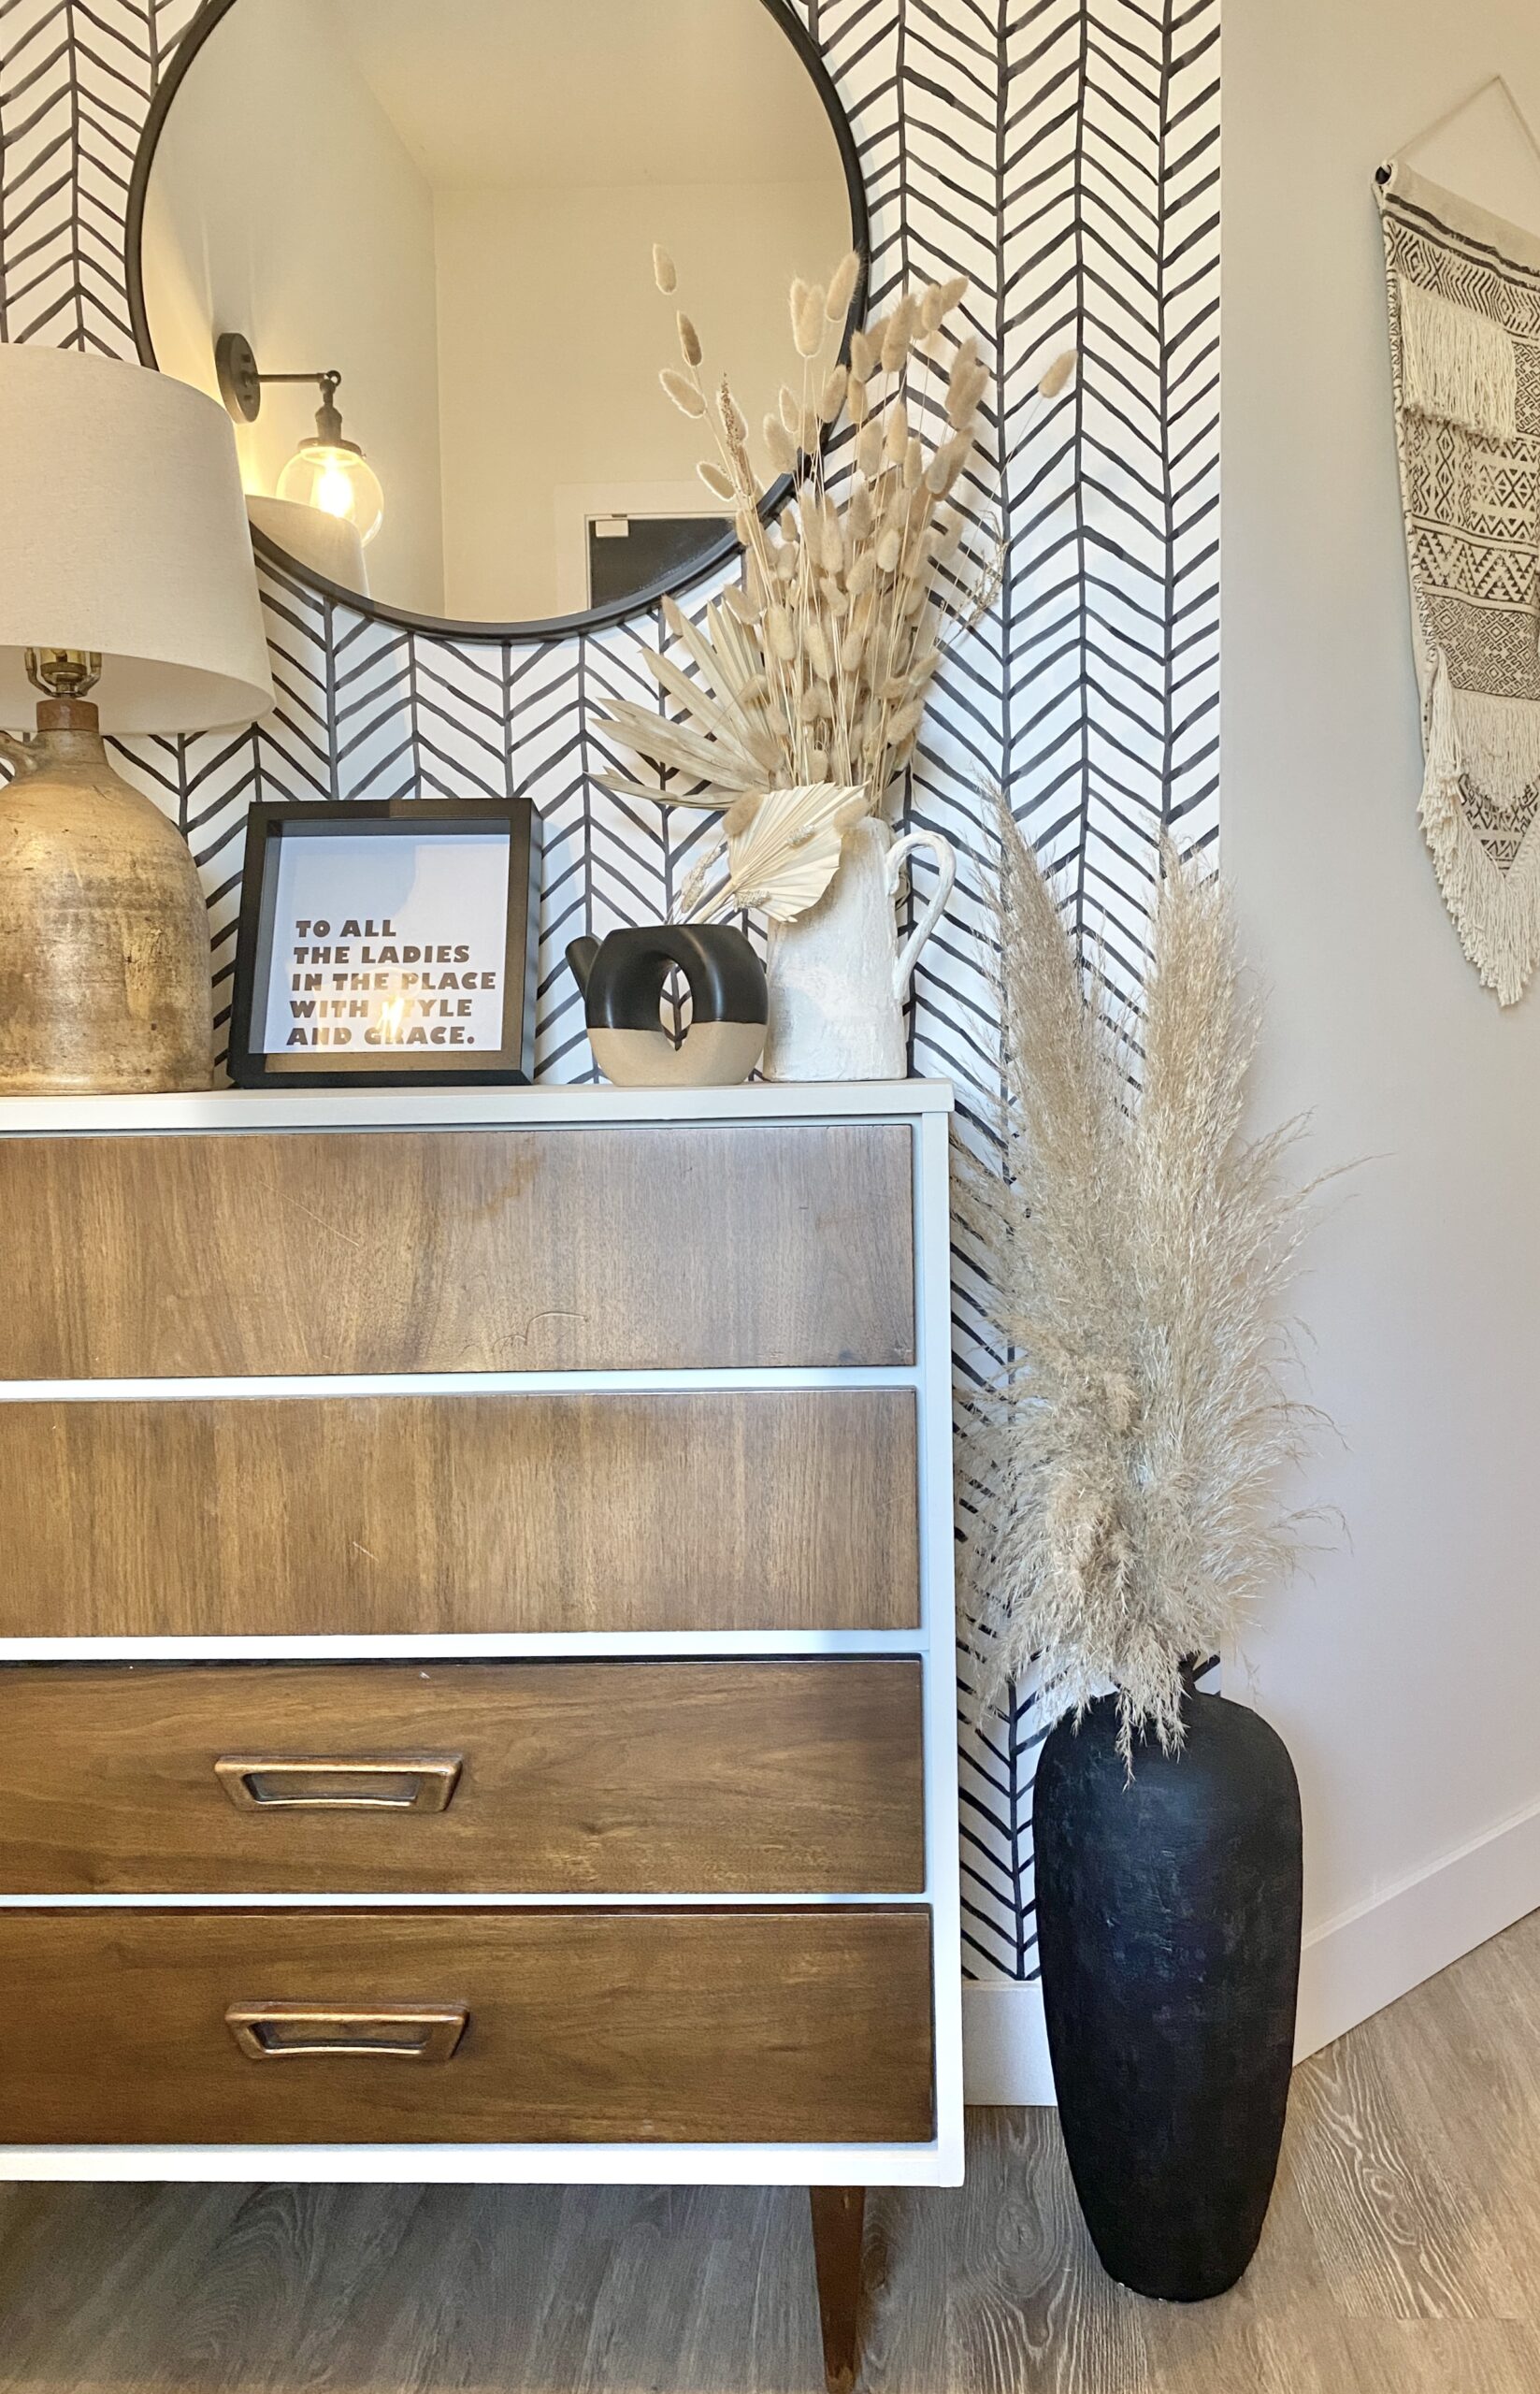
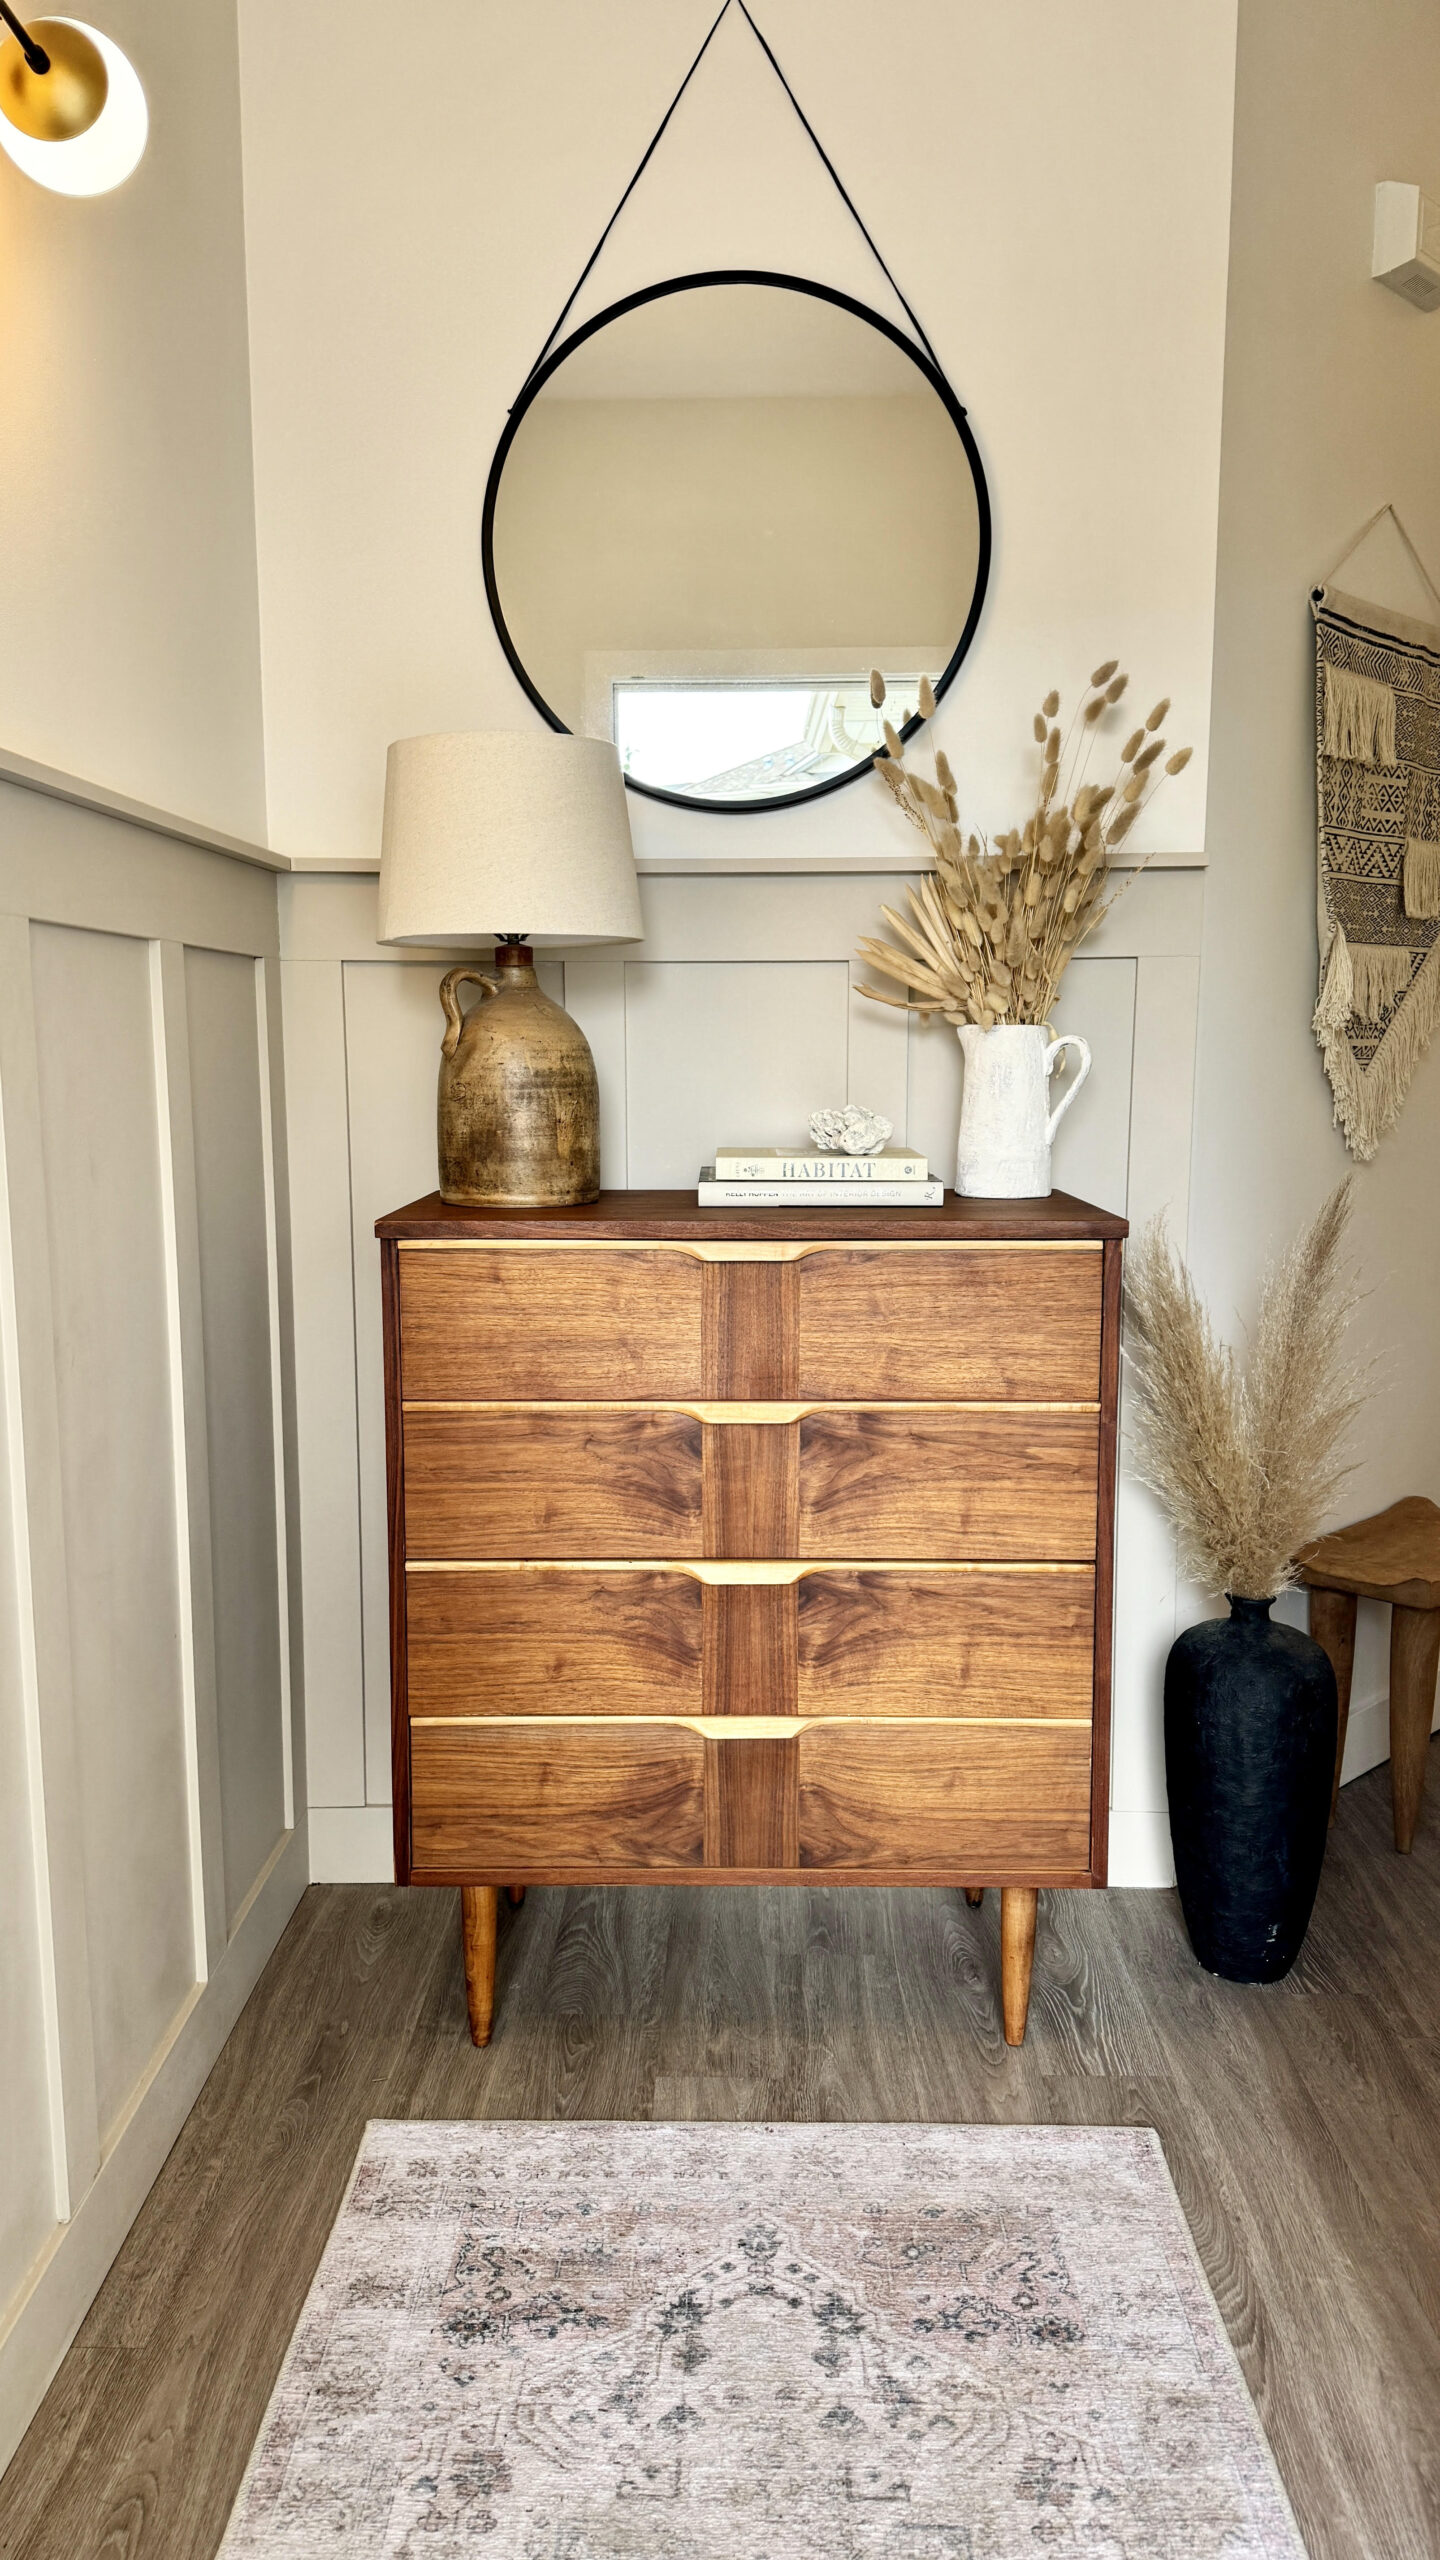
I completed this dresser in an evening, it is not as daunting as you might think! I could not be more pleased with how it turned out. Our front entry does not have a hall closet, weird I know. This dresser serves as our shoe storage to keep the entry neat and tidy.
If you need helping planning your next design project, please reach out. I’d love to discuss it with you!
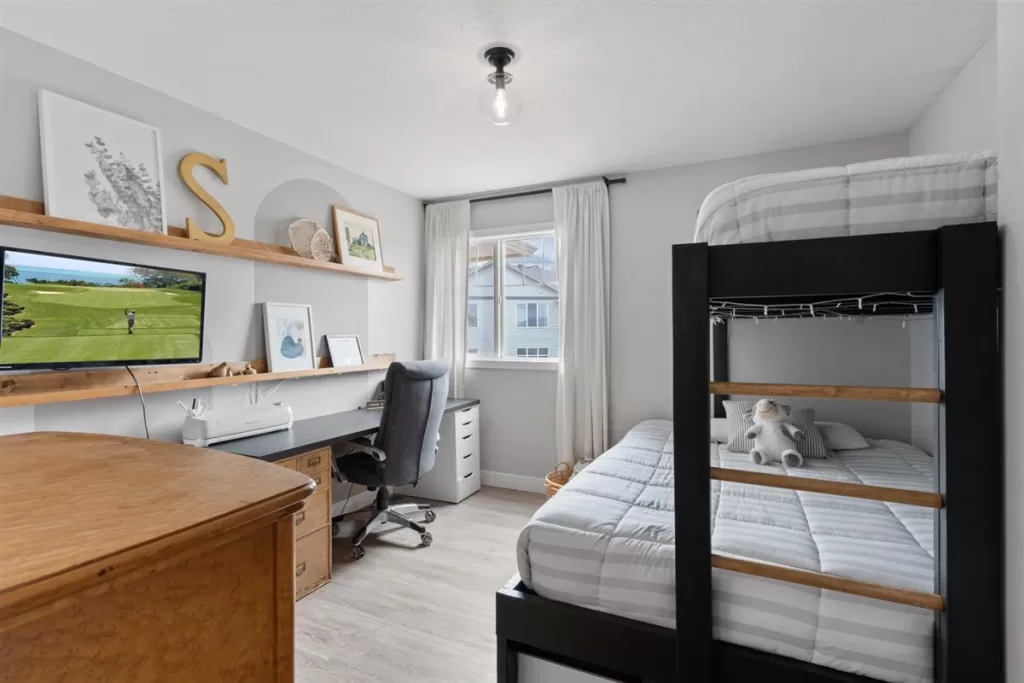
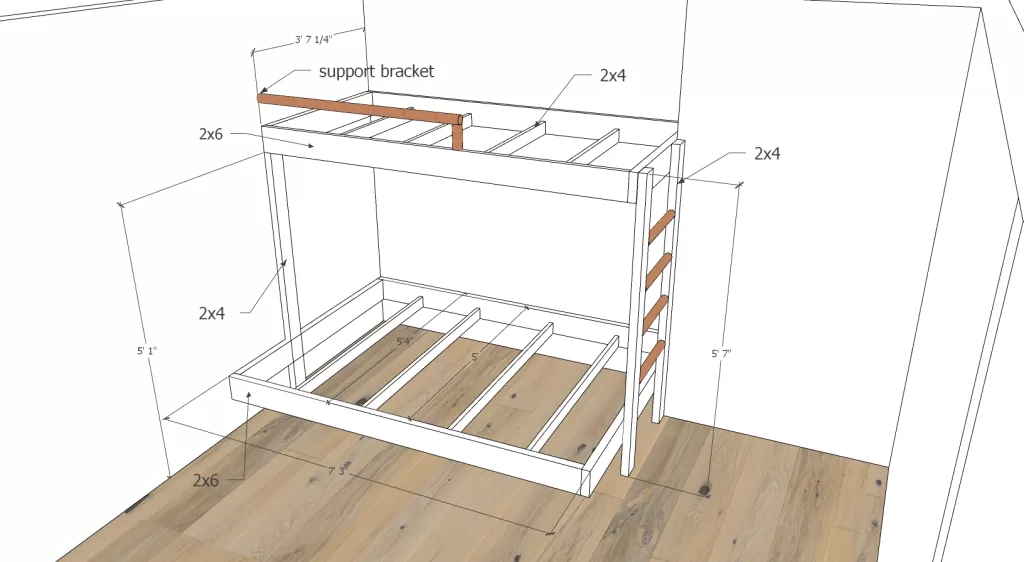
DIY bunk bed for under $200

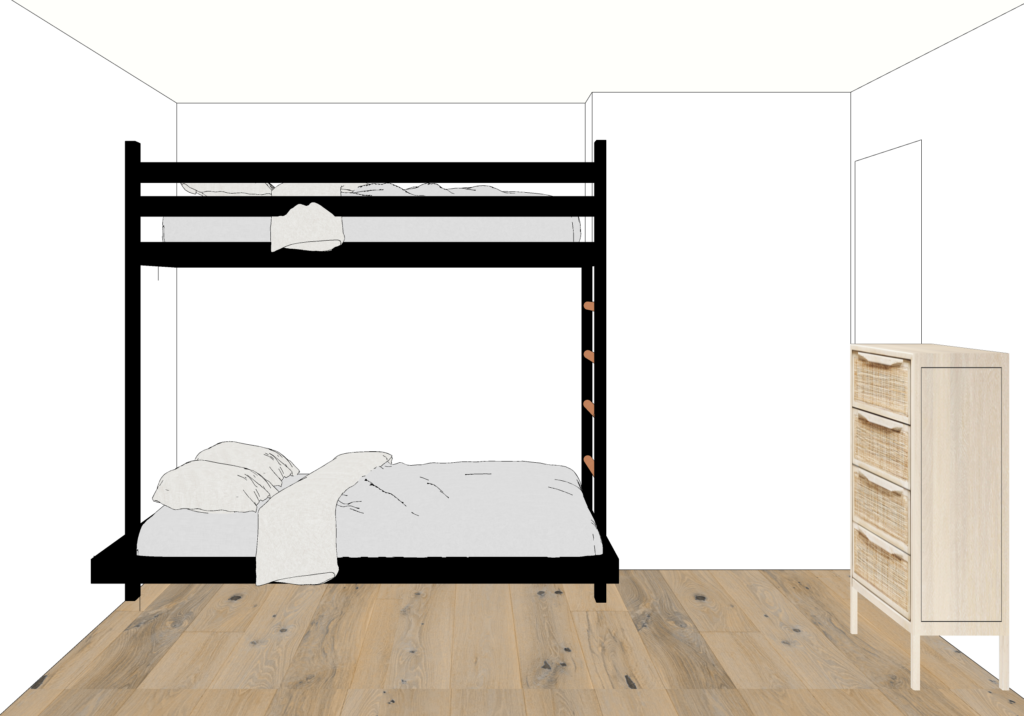
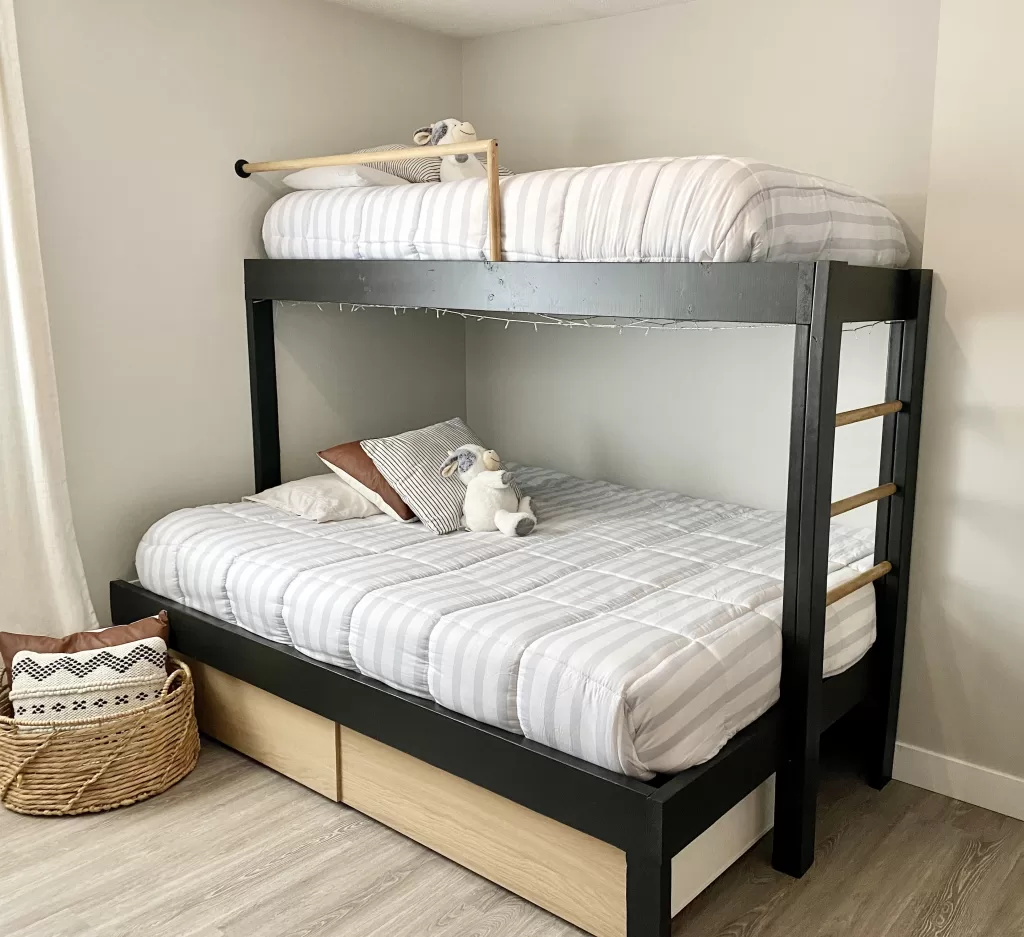
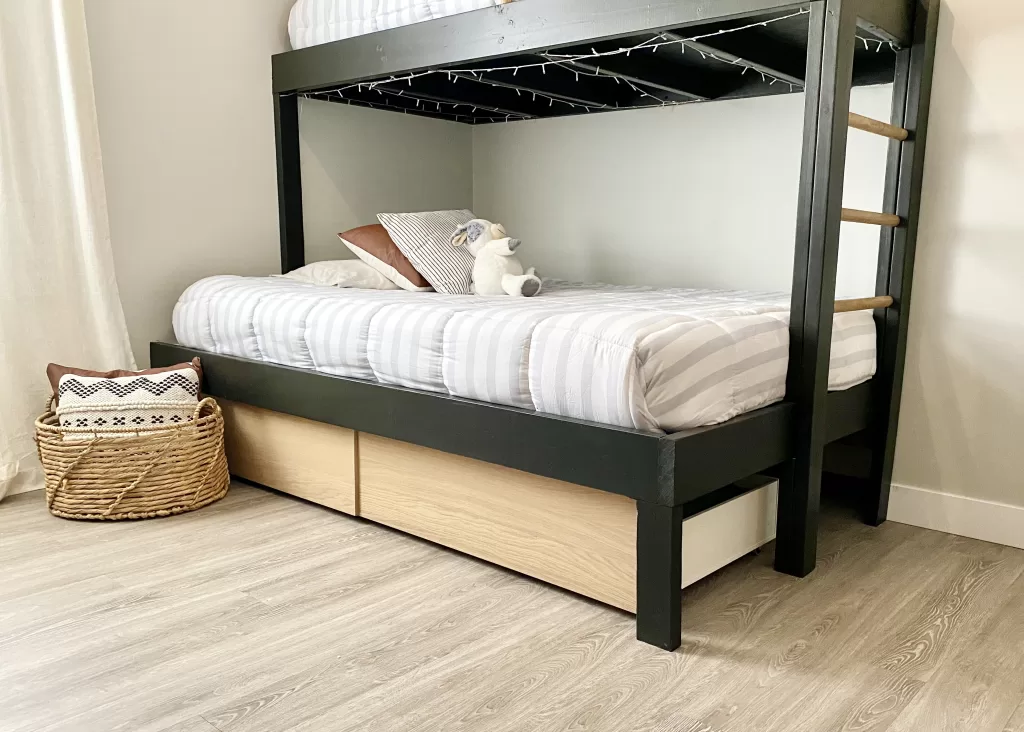
We desperately needed to add some extra space for guests and kids sleepovers, as this room also doubles as my home office. None of the store bought bunks beds were really our taste, and were super expensive for what you got. It is also hard to find bunks that have a queen bed on the bottom and a single on top, so we decided to build our own DIY bunkbed that would fit our space perfectly. This blog will give you step-by-step instructions, photos, and a material list so you can build your own DIY bunkbed for a fraction of the cost of store bought bunks.

MATERIALS LIST:

TOOLS REQUIRED:

THE DESIGN:

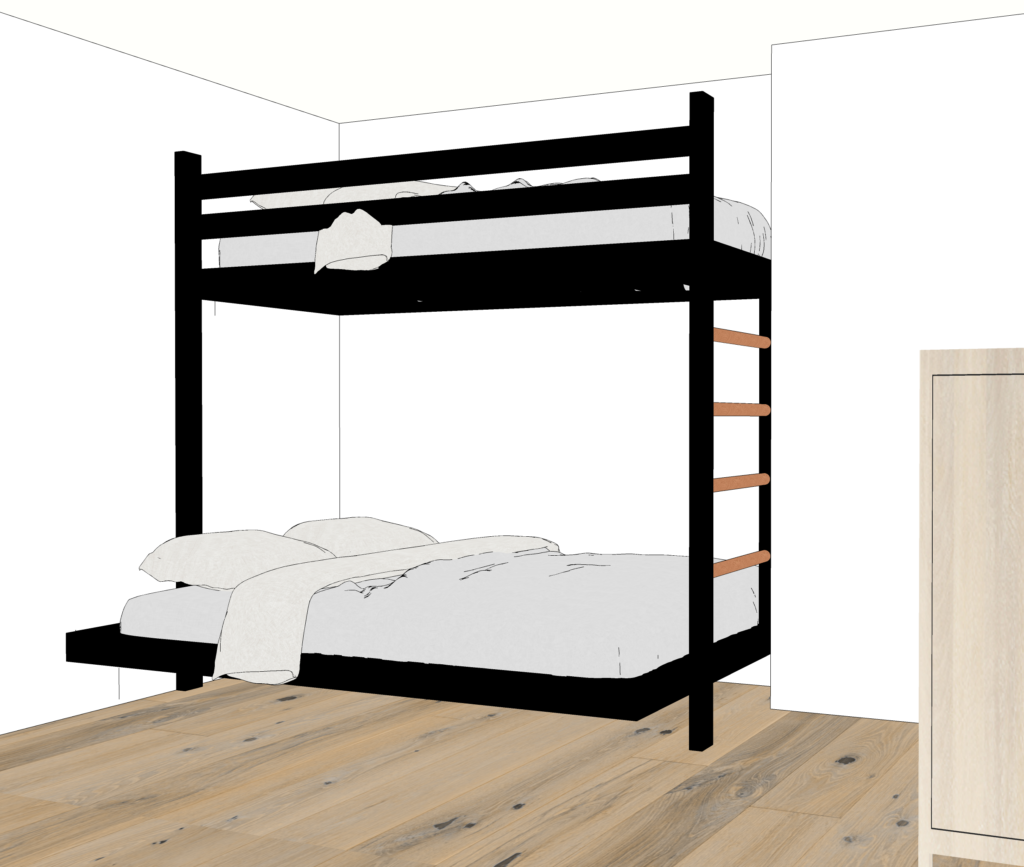
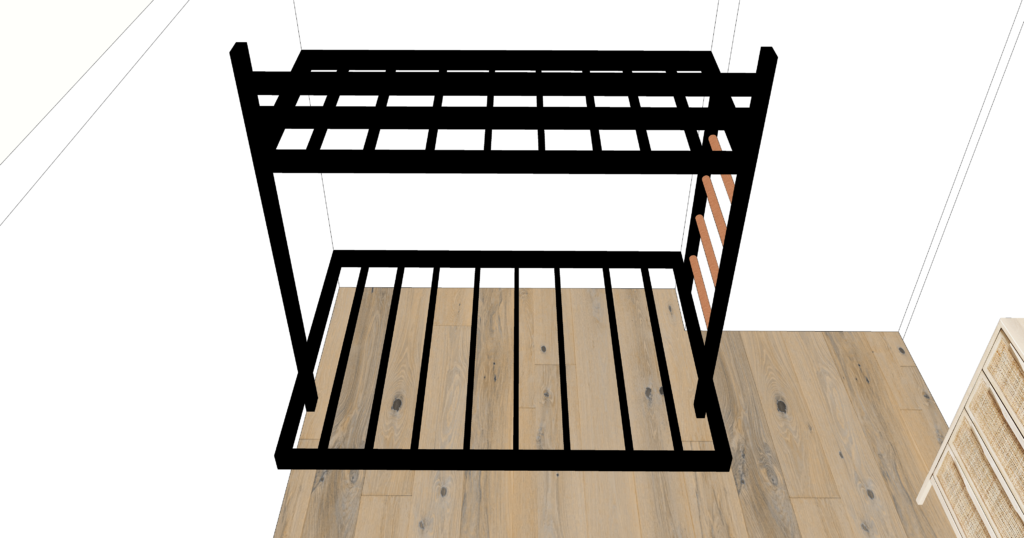
My design of our DIY bunkbed changed a a bit throughout the construction of the bunks, and we made some modifications on the fly to add additional support. I originally had 2x4's as the safety rail, then changed that to round dowel to complement the ladder, didn't need as many cross supports as I had originally thought, and changed the construction of the ladder.

STEP 1: PREPAINT YOUR LUMBER

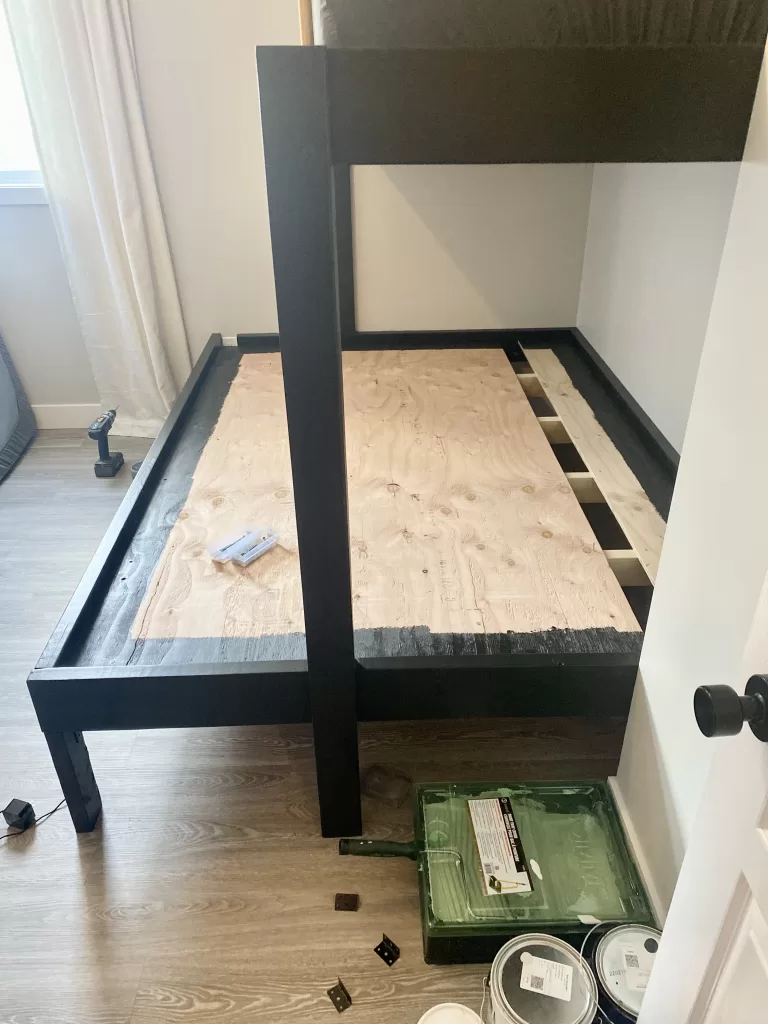
You will thank me later. Paint all lumber and plywood before starting your cuts. You can easily touch up after and not have to worry about getting paint all over your walls.

STEP 2: MEASURE YOUR SIDE & TOP RAILS & CUT

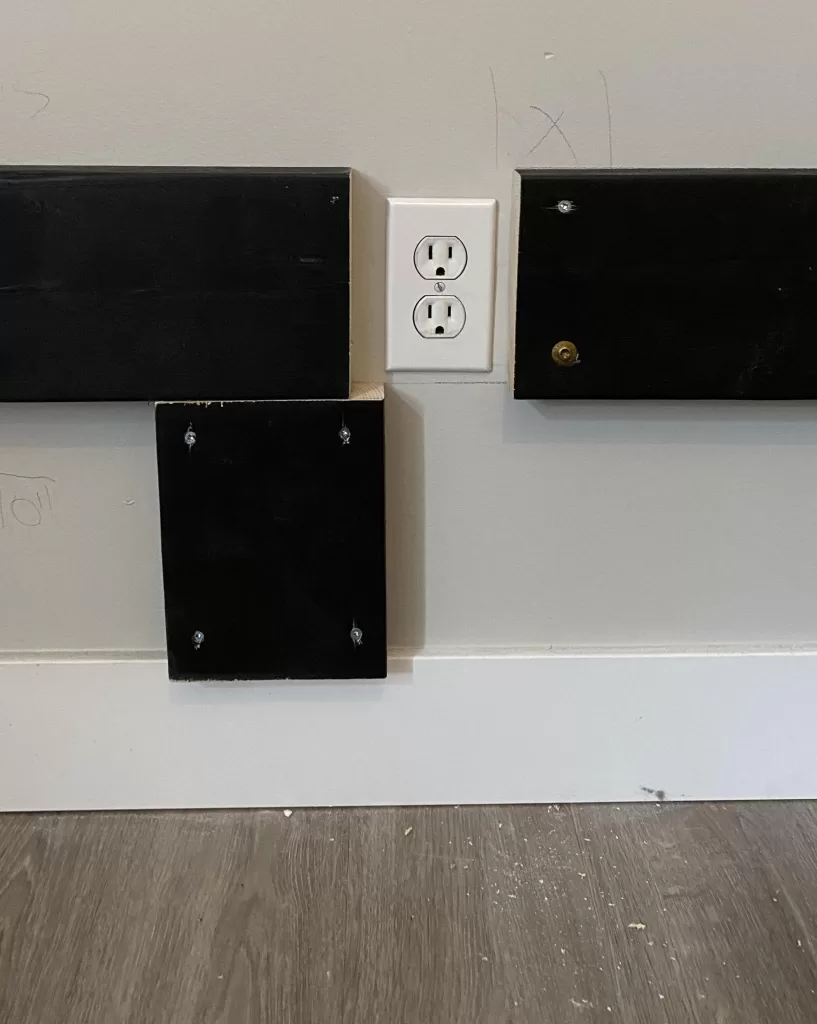
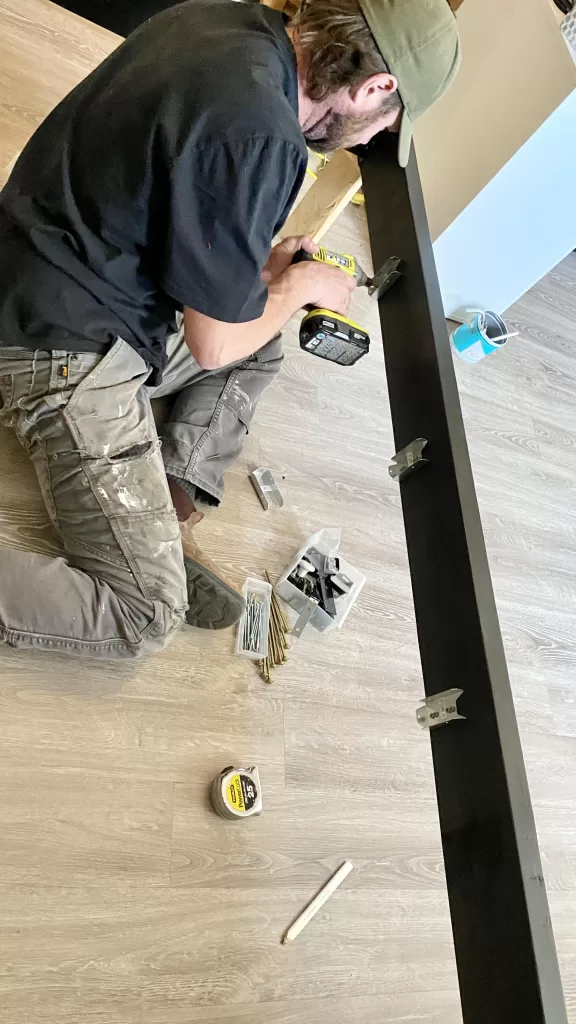
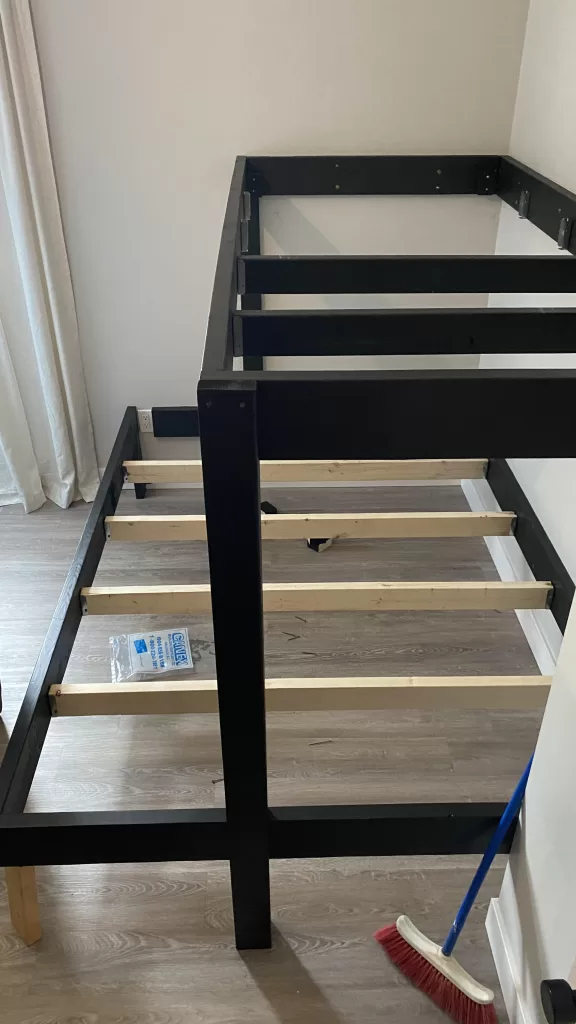
We had a nook in our guest bedroom so we decided to cut our boards to fit this nook to give us as much floor space as possible, and having walls on 3 sides would allow extra support. Remember, queen size mattresses are 60" x 80", and single mattresses are 38" x 75" so the top bunk will have a little extra room at the foot of the bed, or get a twin XL mattress which is 38" x 80". Attach the boards onto the wall directly into studs using the GRK Fasteners. We wanted 12" under the bed for storage bins, so we had electrical outlets to work around, we figured this out as we went along.

STEP 3: INSTALL OUTER SIDE RAILS & CROSS SUPPORTS

Attach the outer side rails by butting inside the top and foot rails and screwing in place. Use a temporary support in the corners if needed until you are ready to install the ladder.

Install the joist hangers spaced equally.

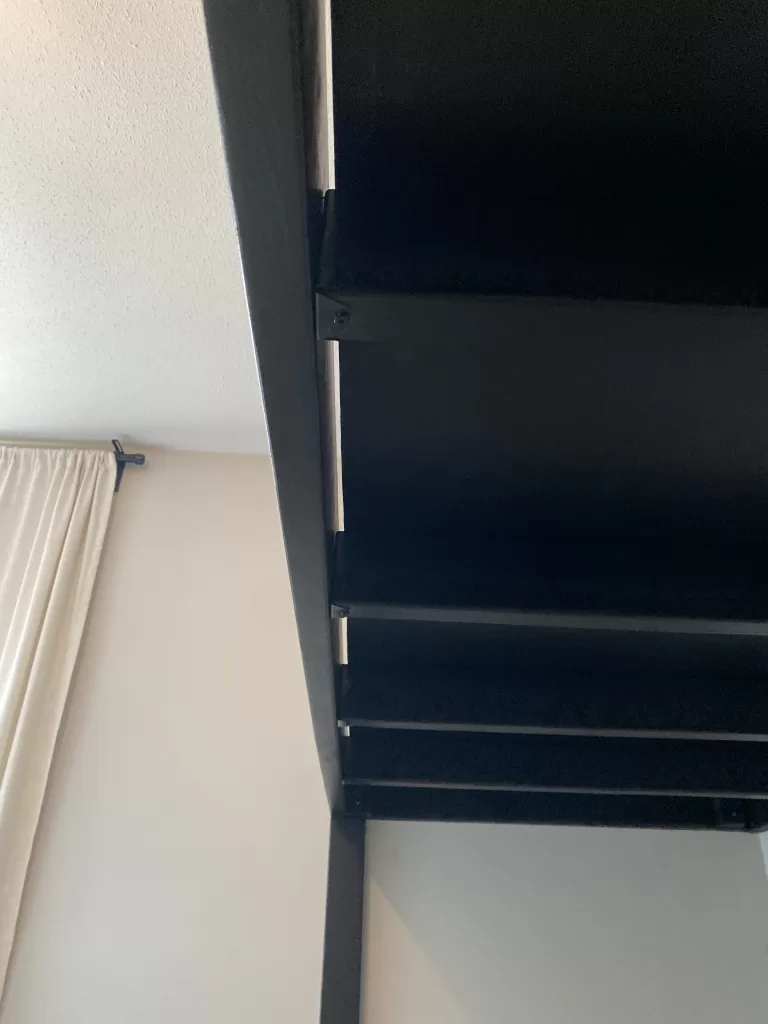
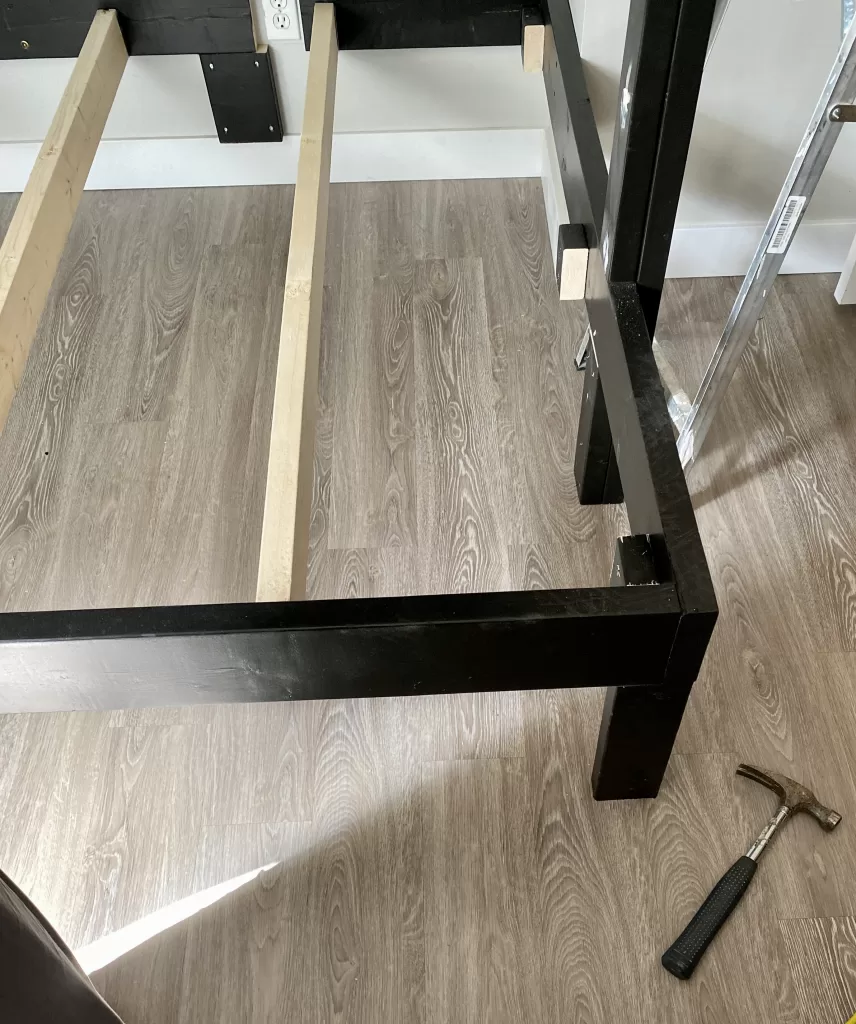
Measure (twice and cut once!) & install your 2x4 cross supports. These slide into the joist hangers, then get screwed in place. We saved paint and time by only painting the top bunk cross supports as you will never see the bottom bunk supports once the plywood and mattress are on top.

STEP 4: INSTALL THE PLYWOOD

Install your pre-painted plywood on each bunk by screwing the plywood into the cross supports. I am all about saving time, so again to save time & paint, we painted only the perimeter of the visible parts, and the bottom of the sheet going on the top bunk as you will see it from the bottom bunk. A 4x8 sheet doesn't cover the entire width of the bottom bunk so we used a cut off from the top bunk to save on materials. This will not affect support in any way, this thing is literally built like a deck and could withstand an earthquake.

STEP 5: BUILD & INSTALL THE LADDER

At this point we made some modifications on the fly. My original design of the DIY bunkbed created the illusion of a floating bottom bed, but we felt a little more support was needed and more important than aesthetics. I also changed the safety rail from 2x4's to the round dowel.

Although the ladder was going to provide most of the support, we decided to add some legs at the outer corners using cut-offs.

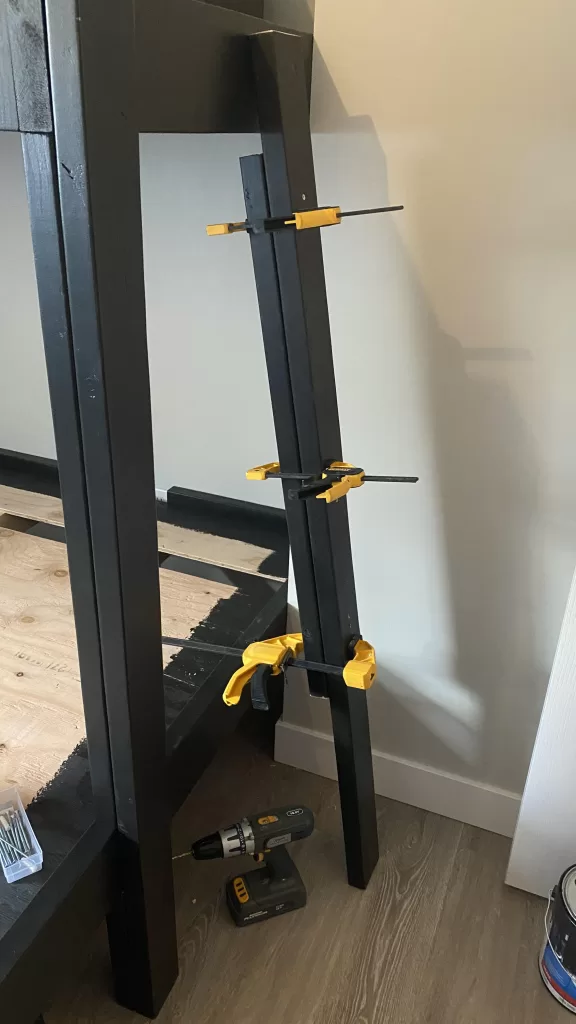
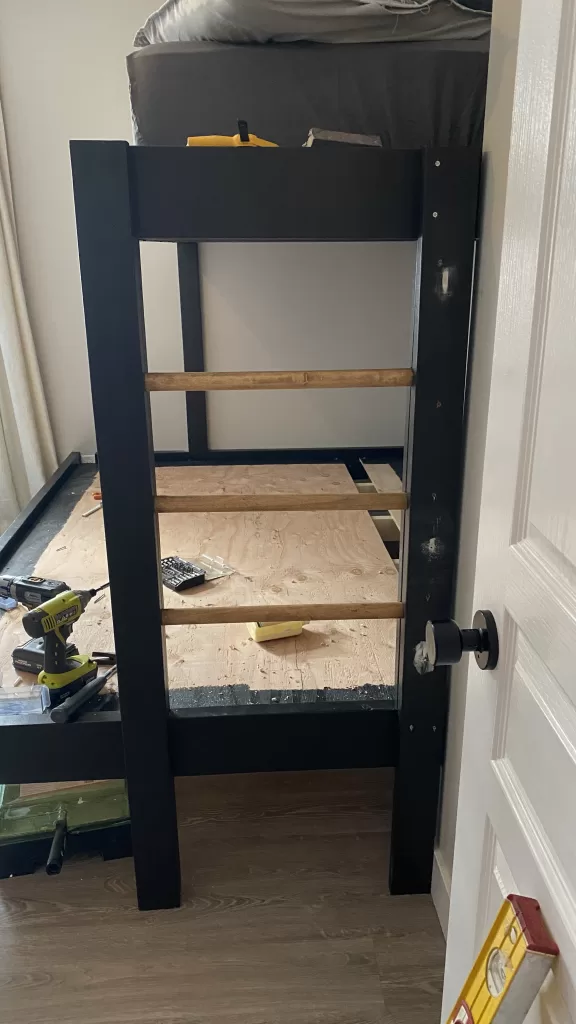
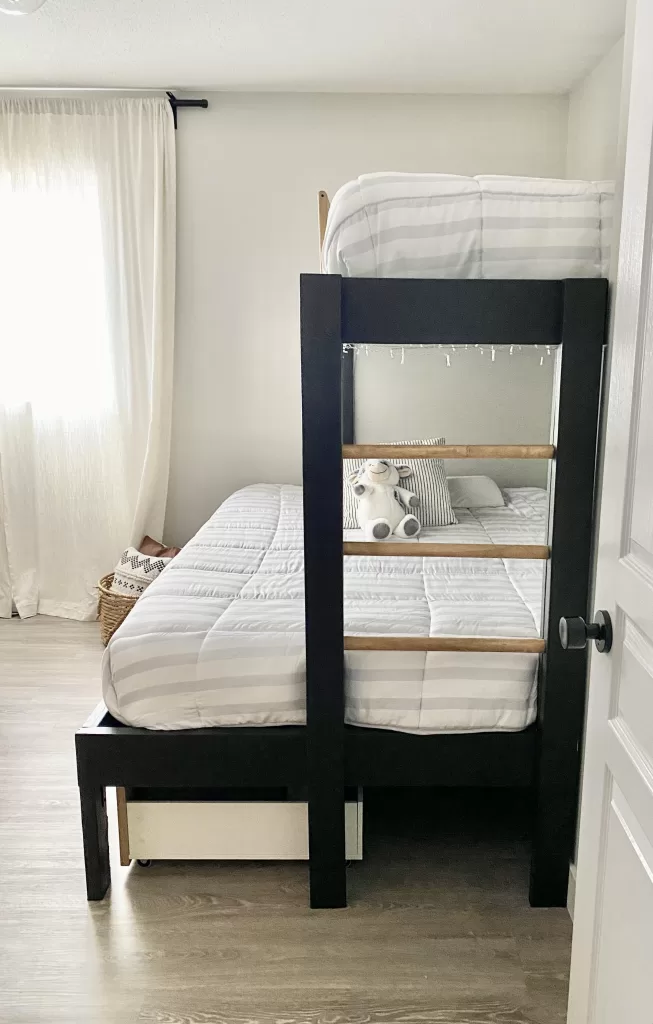
Measure the space between the bottom and top rail, cut two 2x4's to fit. Measure the outside from floor to the top of the top rail, cut two pieces. Assemble your ladder and dry fit it to ensure it fits the space.

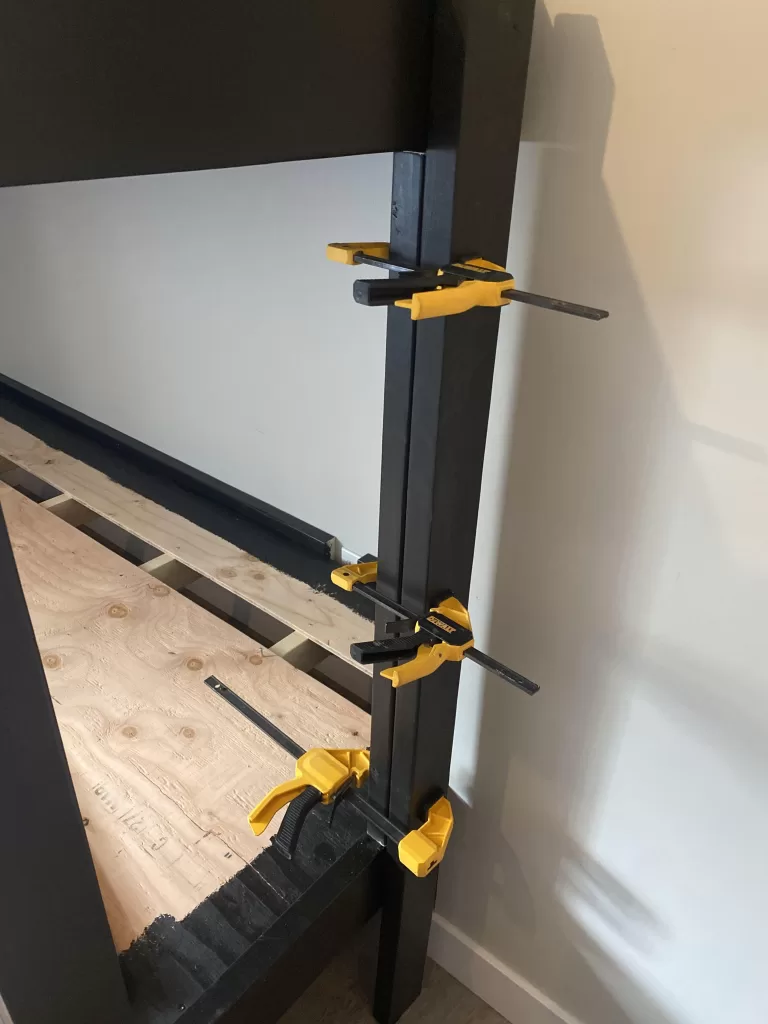
Add wood glue between your boards, clamp and screw together. Remove and let dry.

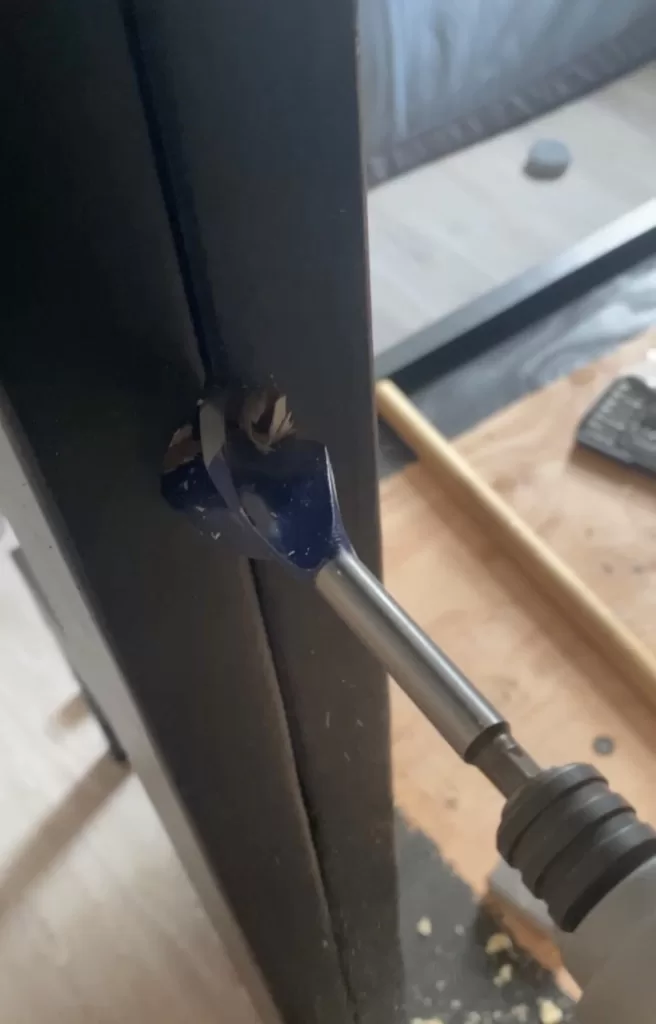
Measure the placement of the ladder rungs, and using the Forstner bit, drill holes to fit the rungs. Install one side of your ladder by screwing it to the outside of the foot boards. Insert glue into the holes, insert the rungs into the holes of the ladder you have attached. Then insert the rungs into the holes of the side of the ladder that you have not yet attached, make snug & and then screw that side of the ladder to the foot boards. Your ladder is complete!! You can start filling holes at this point so you can start on your safety rail while this dries.
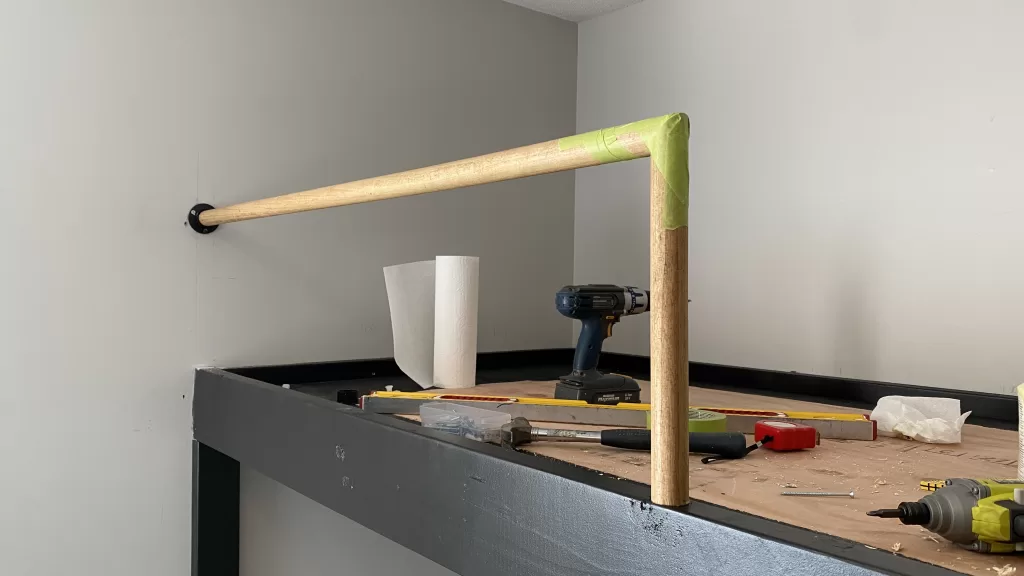
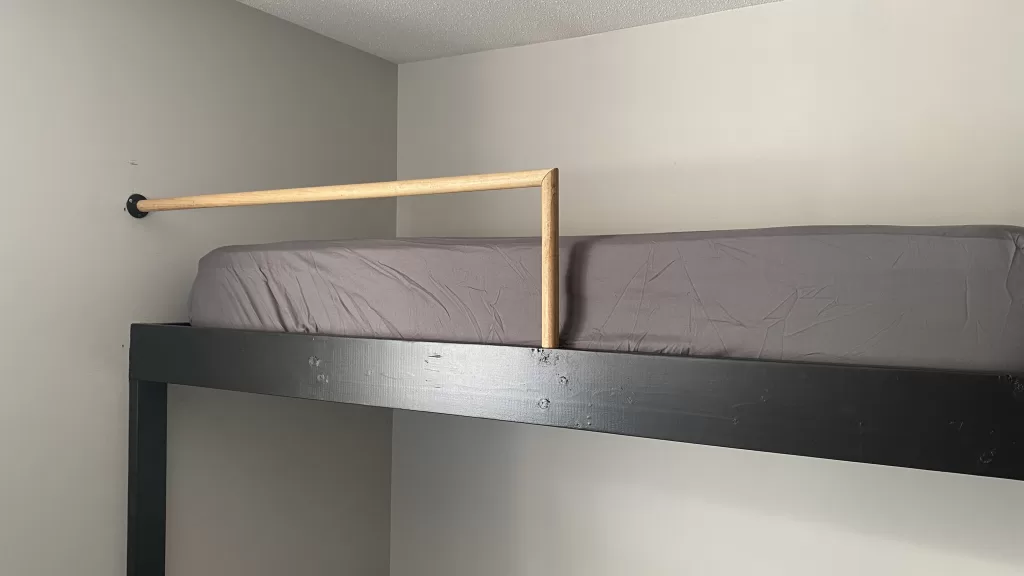
STEP 6: BUILD & INSTALL THE SAFETY RAIL

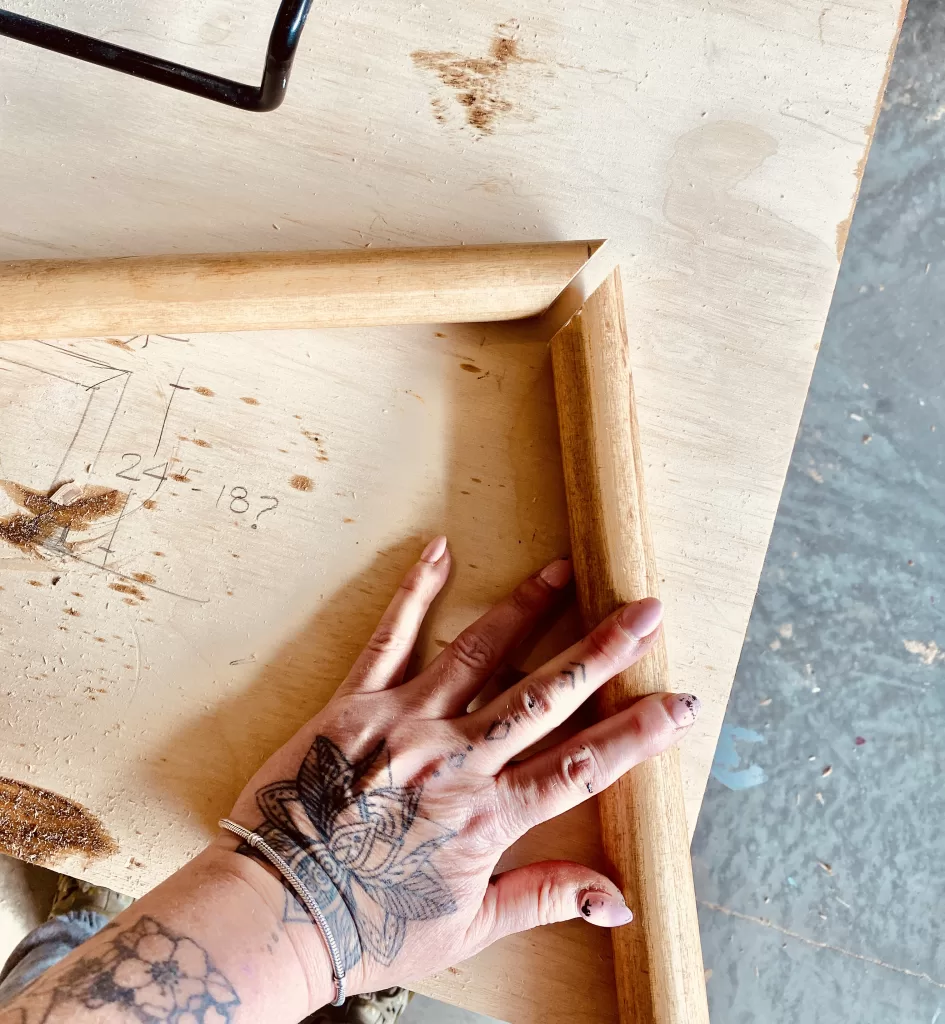
This is where you will need your miter saw. This can be any size you want really, and it will depend on the height of your mattress, so take that into account when measuring.

Make a 45 degree cut using your saw.

Using your Forstner bit, drill a hole very carefully into the top bunk side rail. You do not have much room for error here!

Place the wall bracket on the wall, and secure into place (you may need drywall supports if you don't hit a stud)

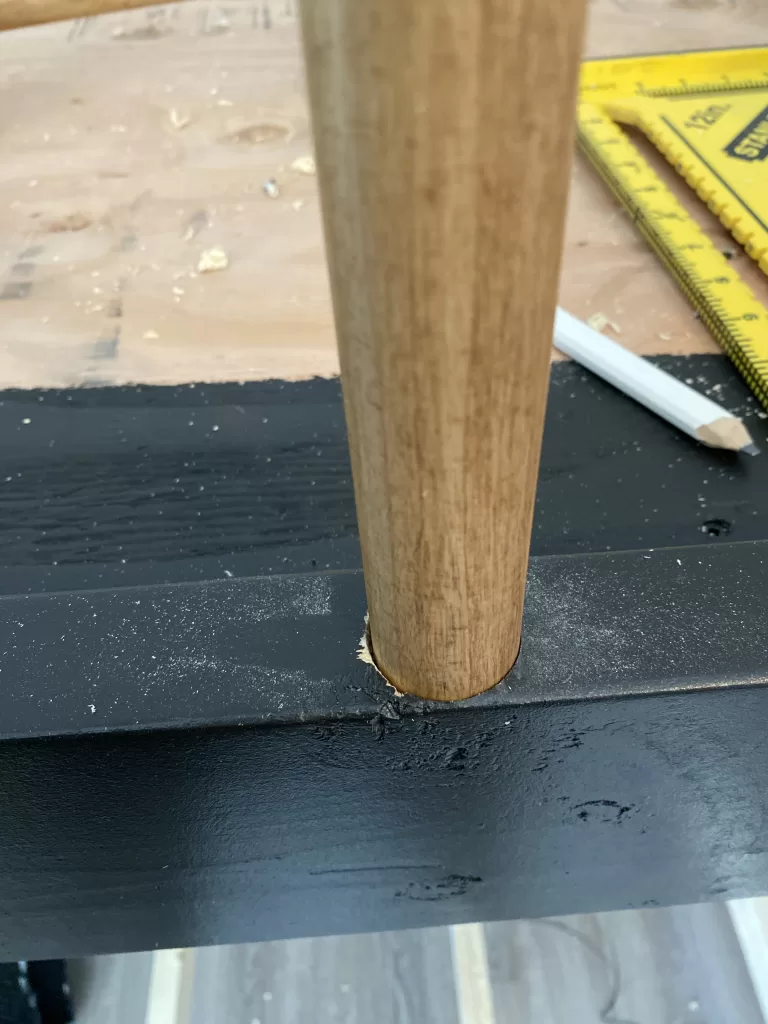
Place glue into the hole on the top rail, install the safety rail and let dry.

While this is drying, fill your holes using wood filler, let dry, sand & paint. The hard part is done, now onto the fun stuff!

STEP 7: STYLE YOUR DIY BUNKBED!

I chose this striped bedding from Amazon and added some twinkle lights to the bottom bunks for our daughters.

We ensured we had 12" under the bottom bunks for MALM underbed storage boxes from IKEA

If you enjoyed this tutorial on building your own DIY bunkbed's , please subscribe to my blog & newsletter for DIY projects, designer tips and resources. Happy DIY'ing!

Pottery Barn and McGee & Co DIY dupes

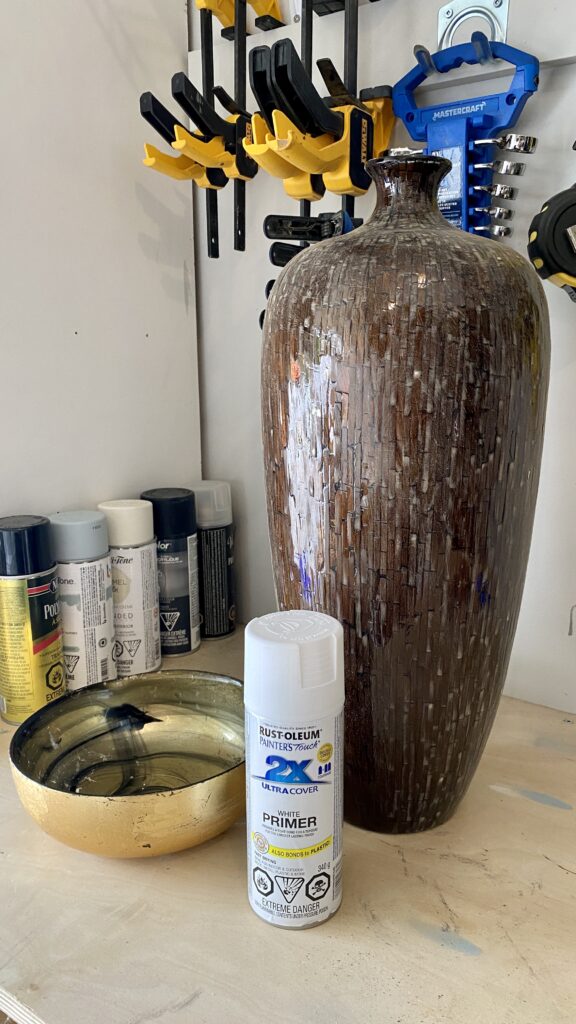
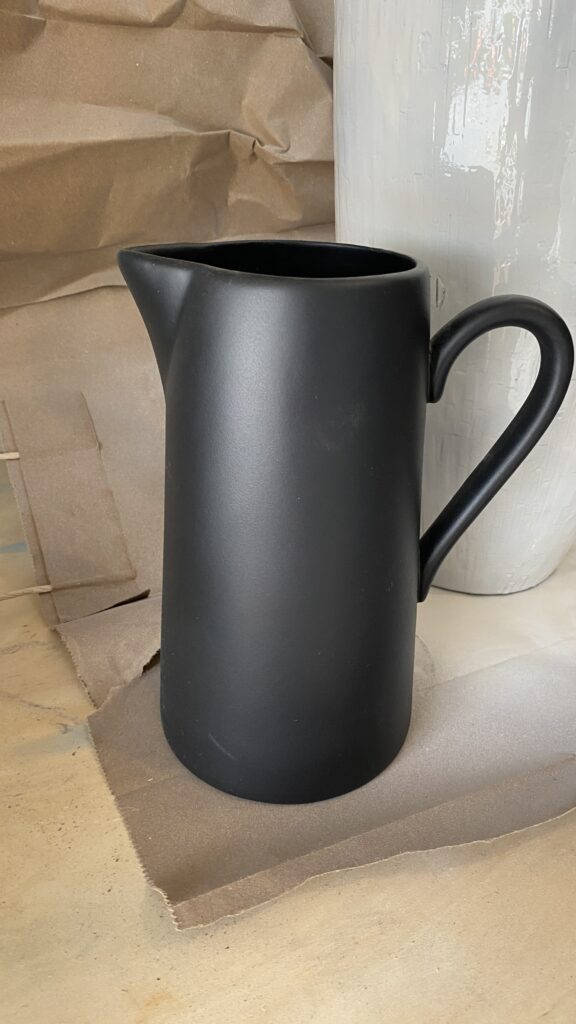
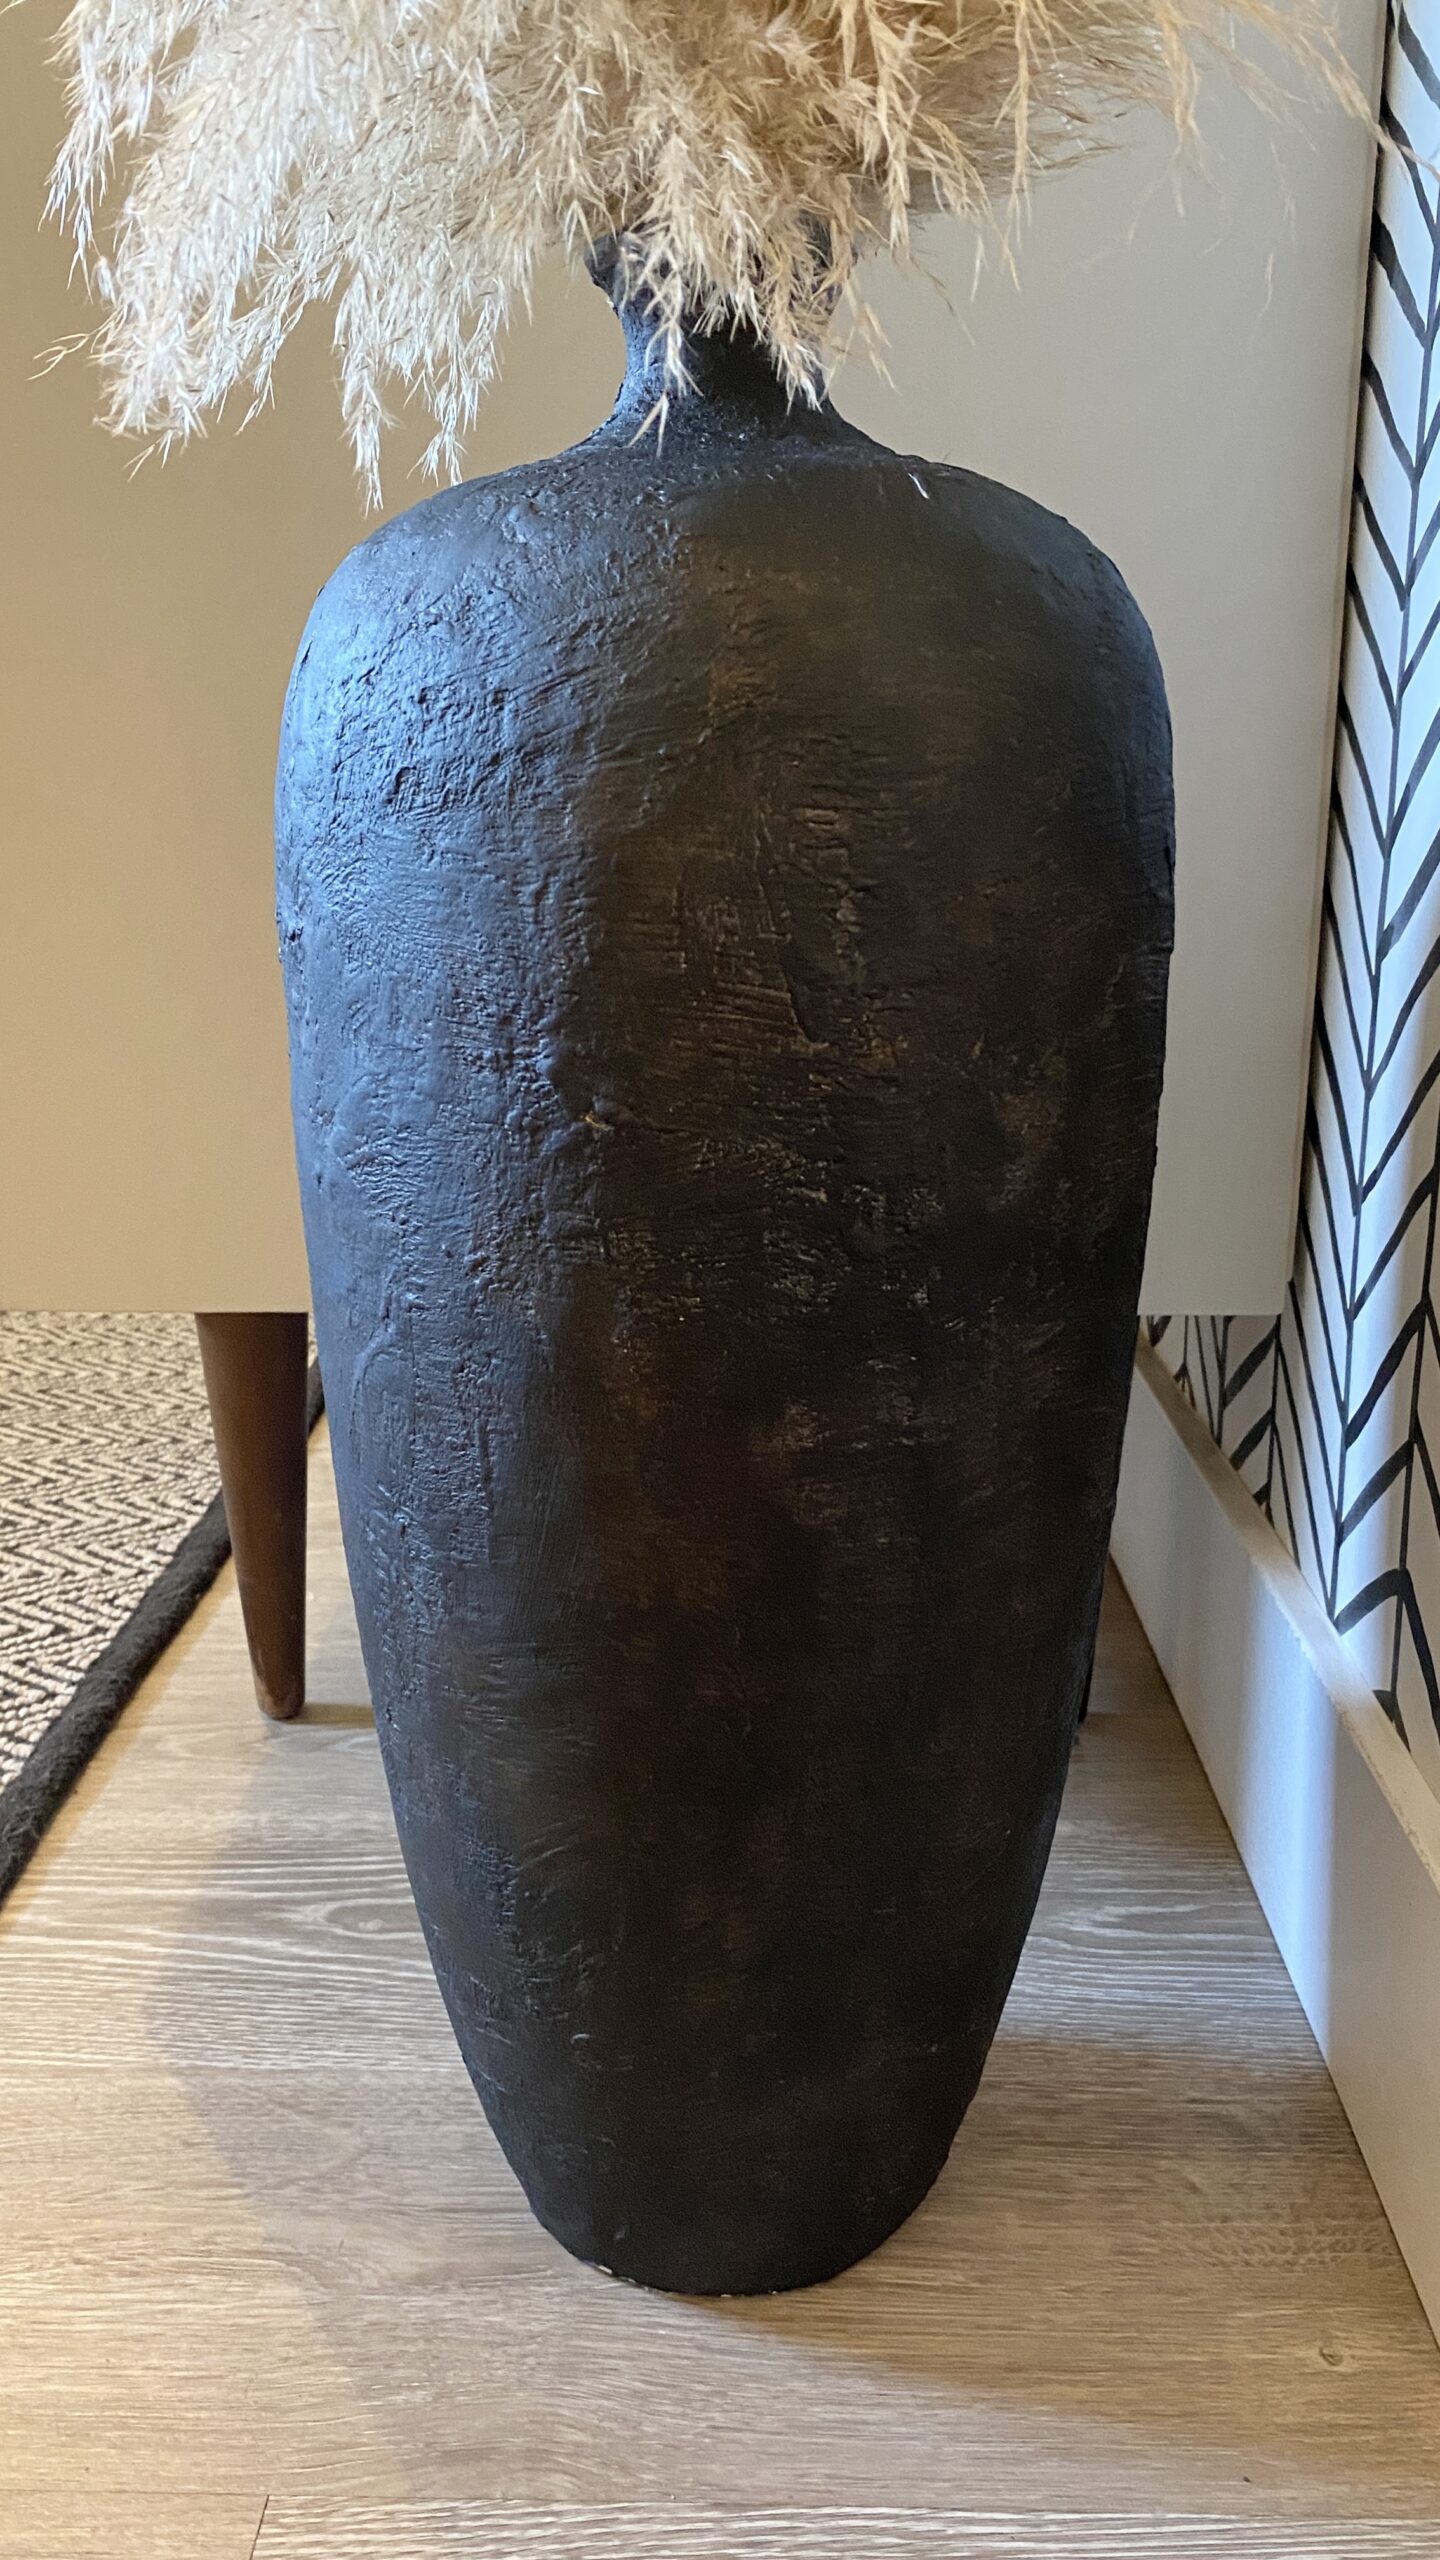
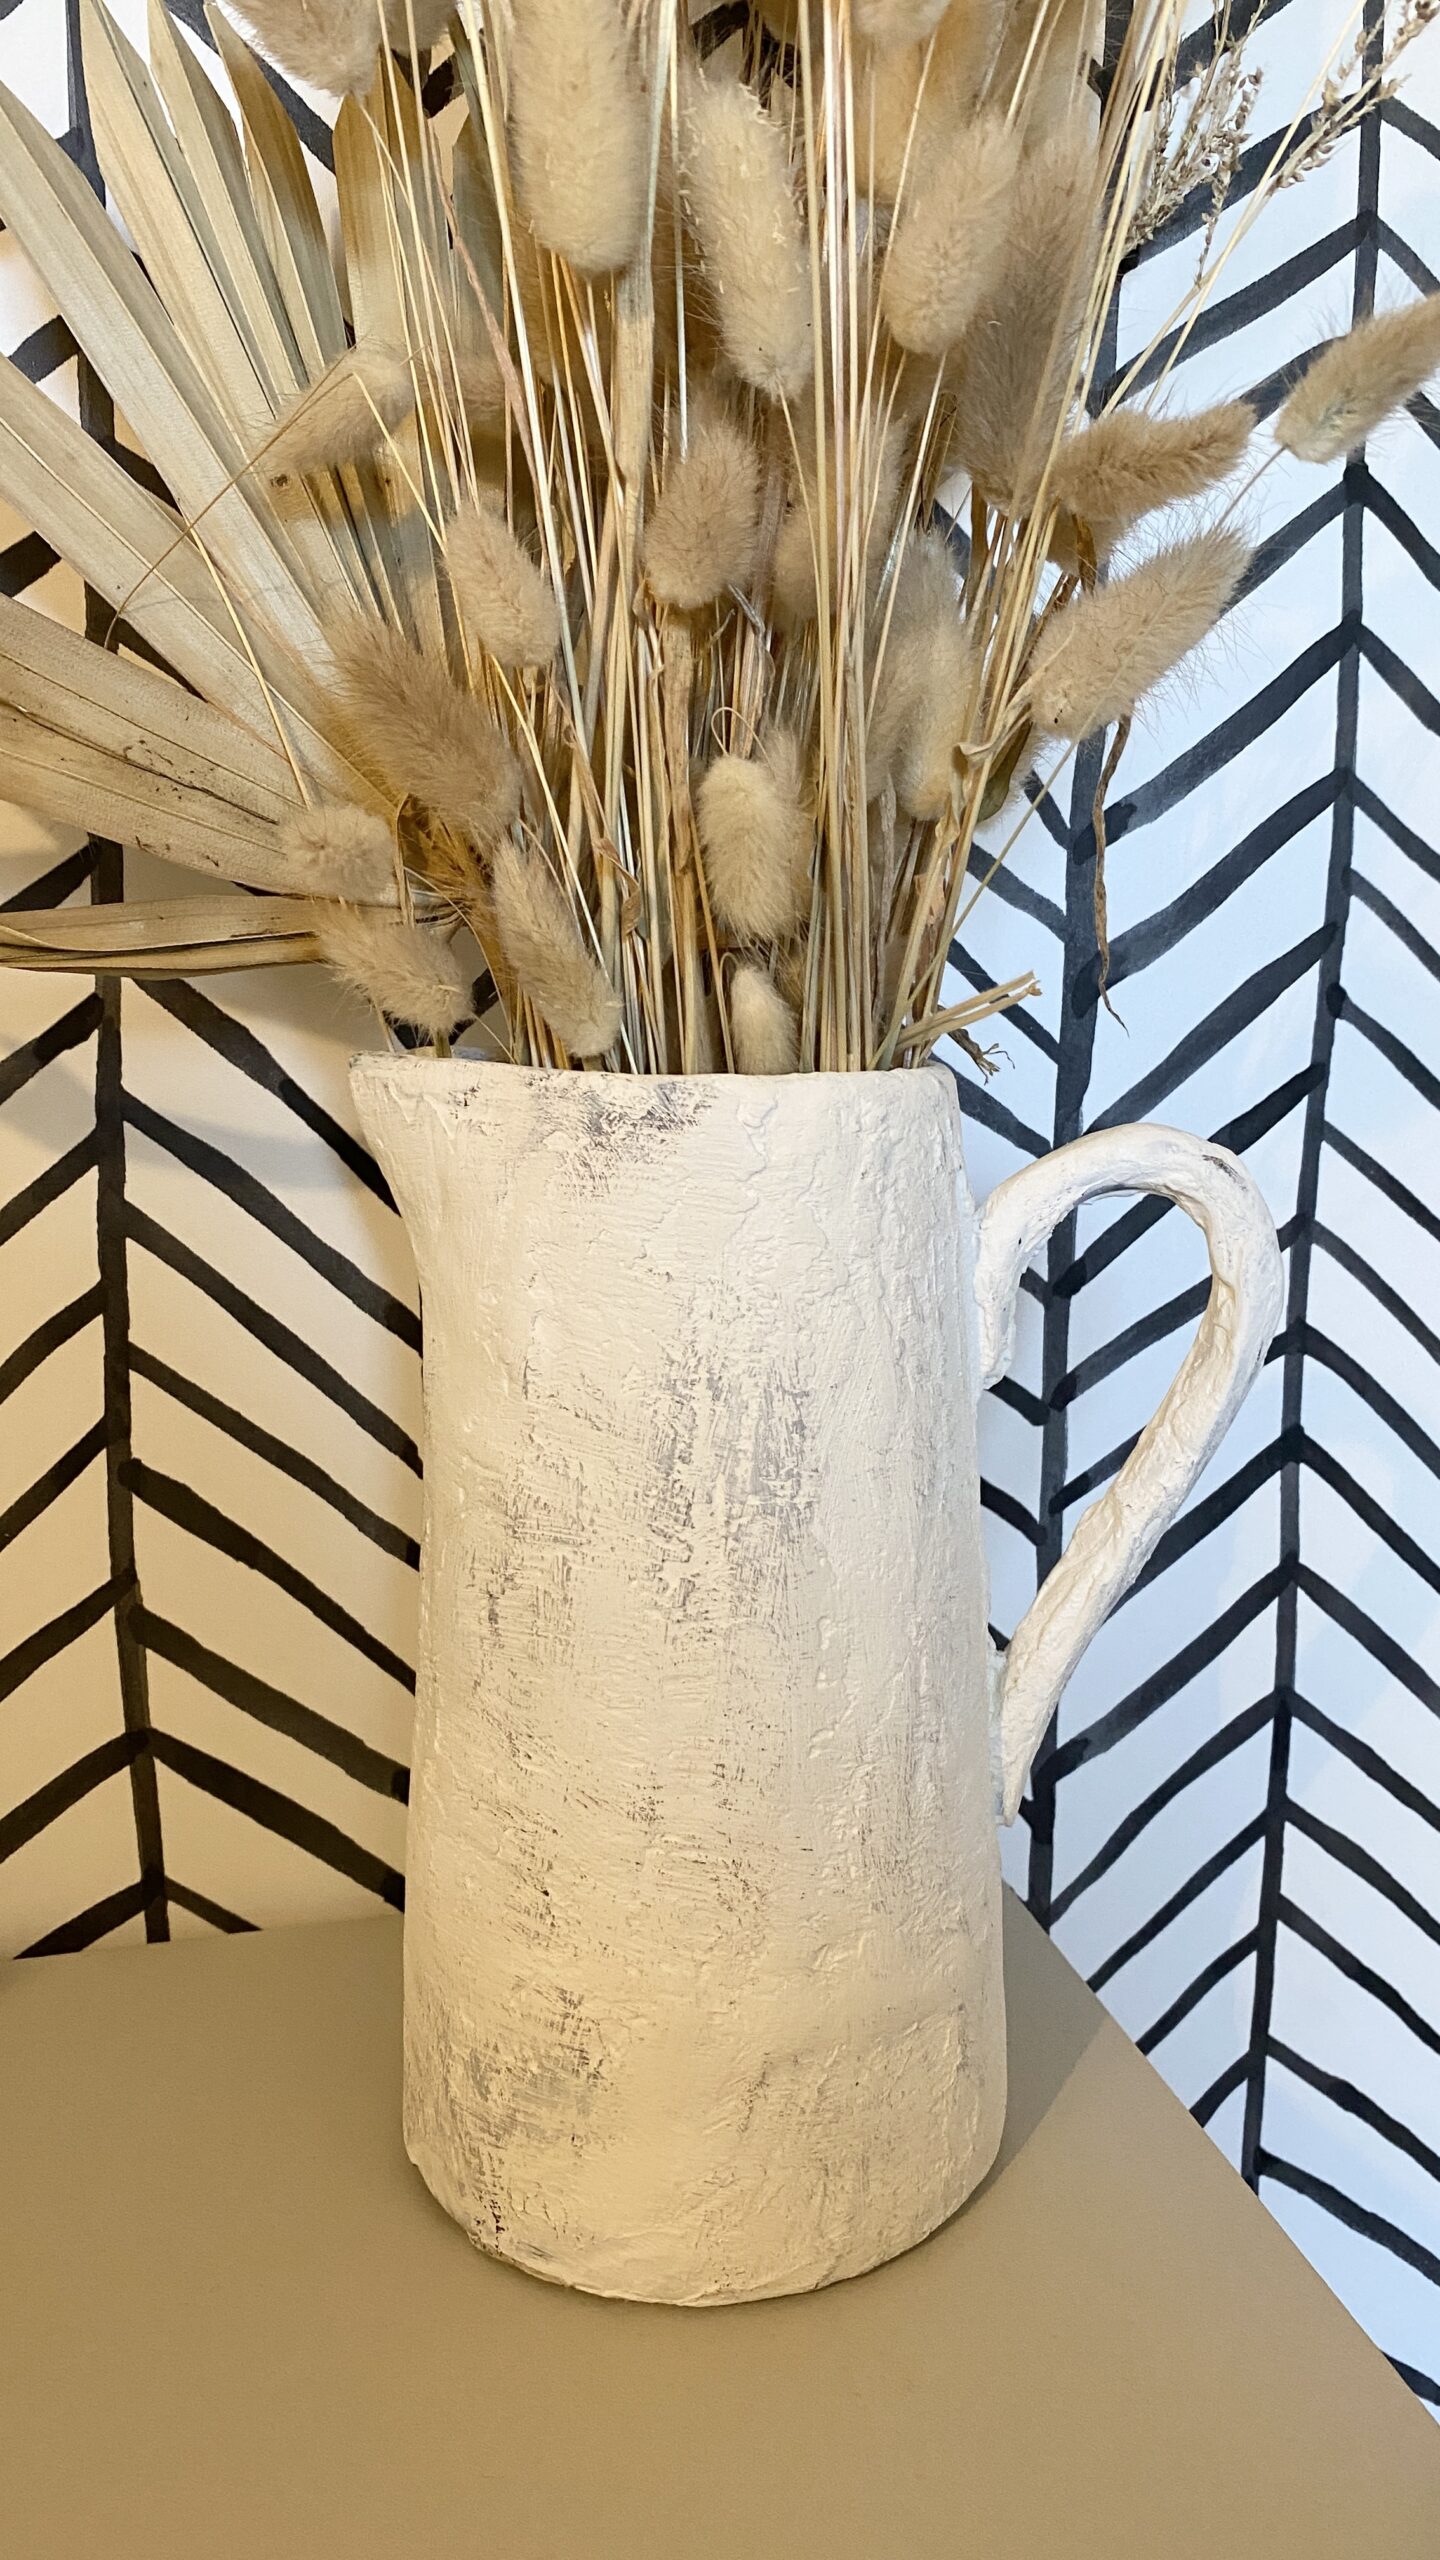
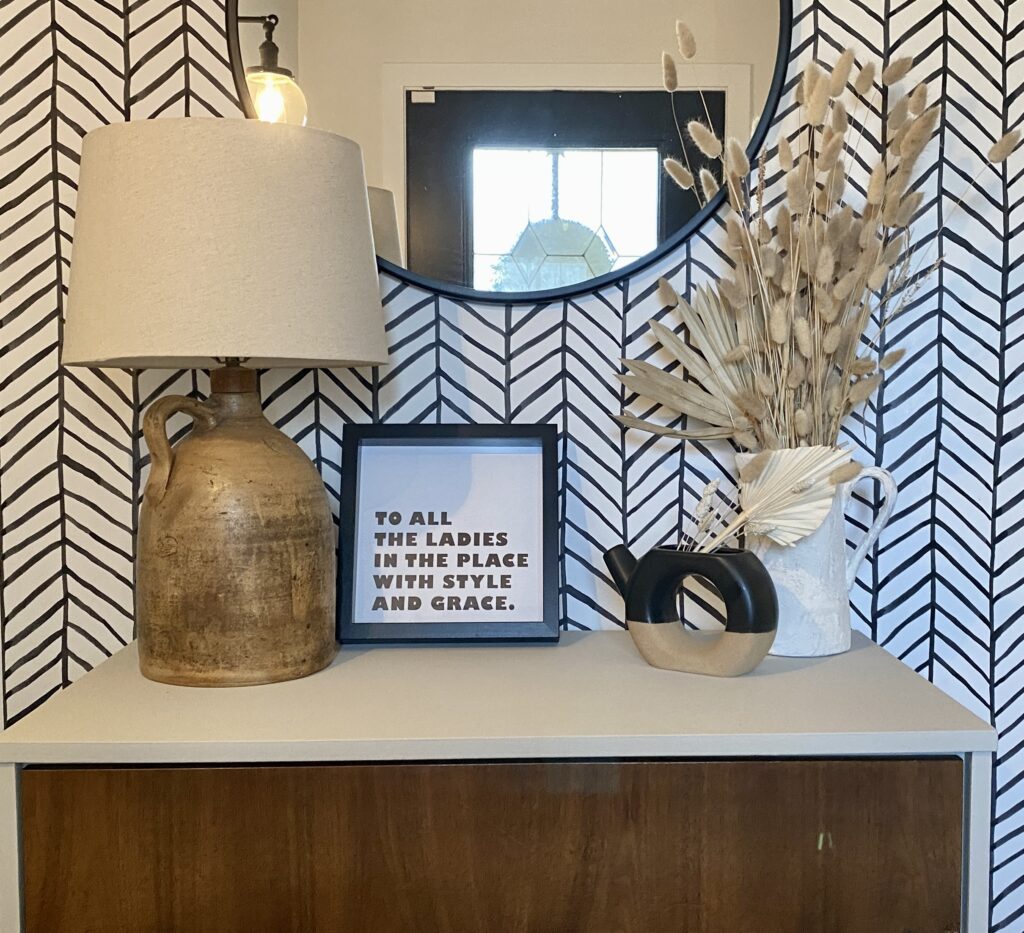
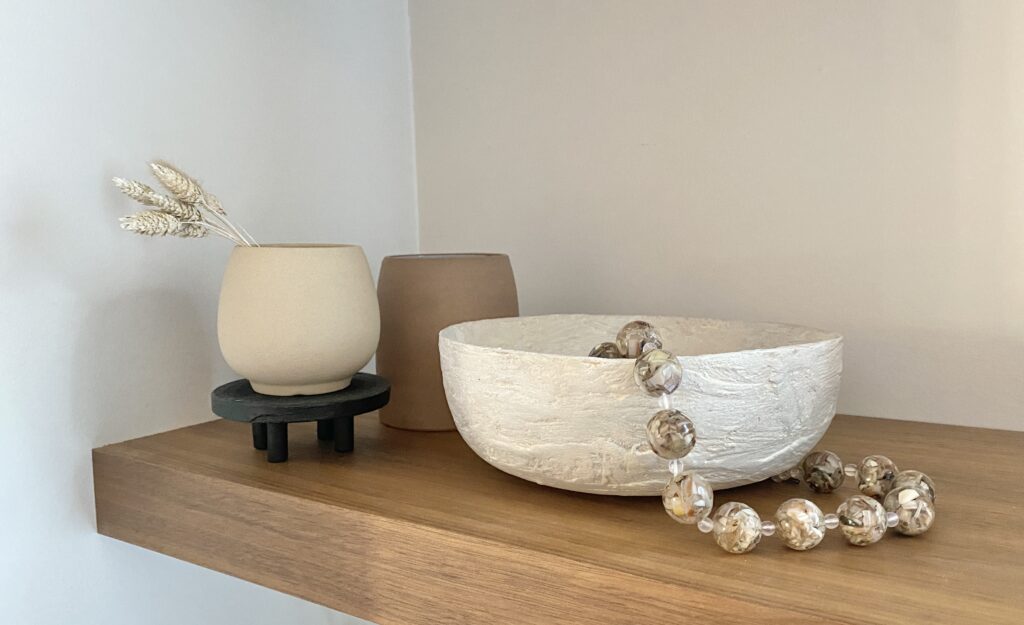
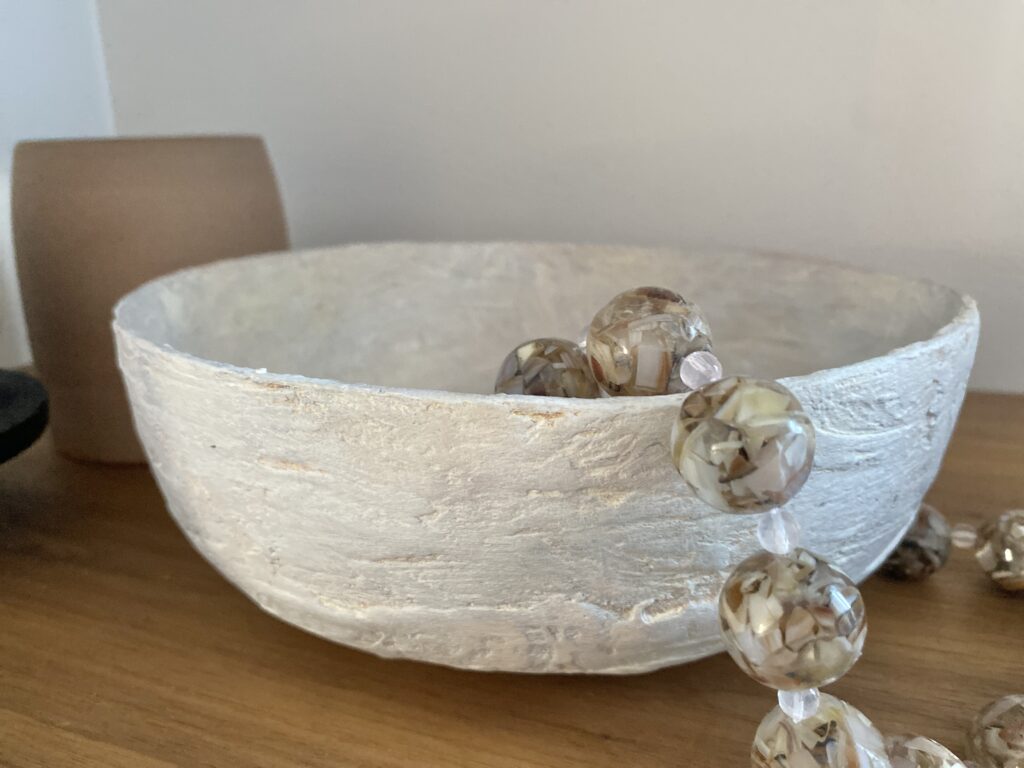
I love the aged, old world look of Pottery Barn, McGee & Co and Crate & Barrel accessories, but the price tags...not so much. I am a big fan of texture, neutrals, DIY and upcycling, so I knew there was a way to copy these looks for a fraction of the price using a few simple supplies. I bought 3 floor vases from Facebook Marketplace for $20 and had an old gold bowl and black pitcher laying around that I no longer used, but I loved their shapes. I will walk you through step by step how to achieve this designer look on a thrift budget. (PS. I also made the little riser in the image above ^^^ )

THE INSPO:

Vessels from: Pottery Barn and McGee & Co

MATERIALS YOU NEED:

STEP 1: PREP YOUR VESSEL

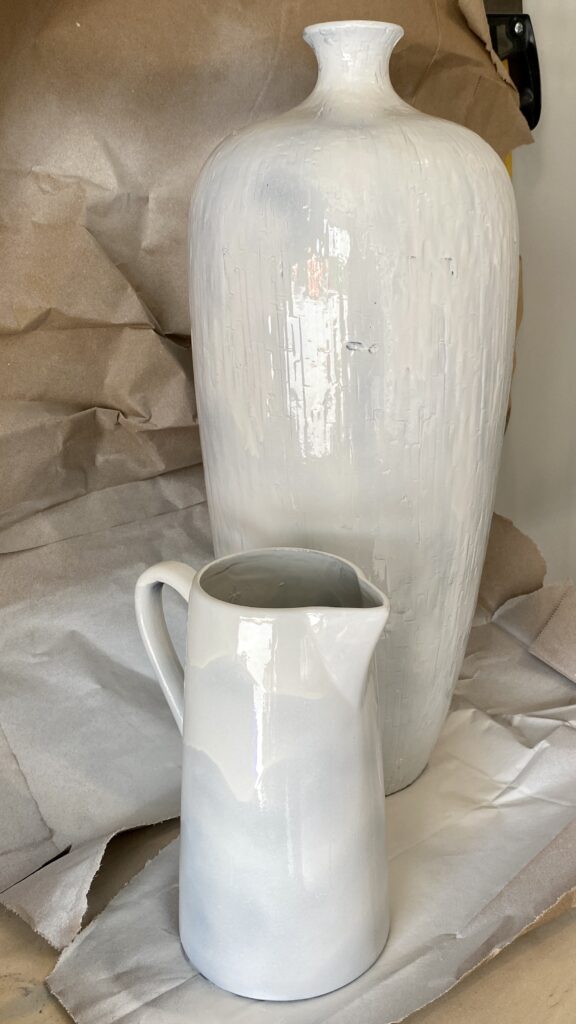
I gave the vase a light sand because it was very glazed. Feel free to skip this step if your vessel is not glazed. I then washed them in soap and water to remove any dust or oil, and let dry completely. I sprayed them with a fast drying primer (do not worry about this being pretty, it is going to be covered up anyways). Let the primer cure before moving on to the next step.

STEP 2: APPLY PLASTER OF PARIS

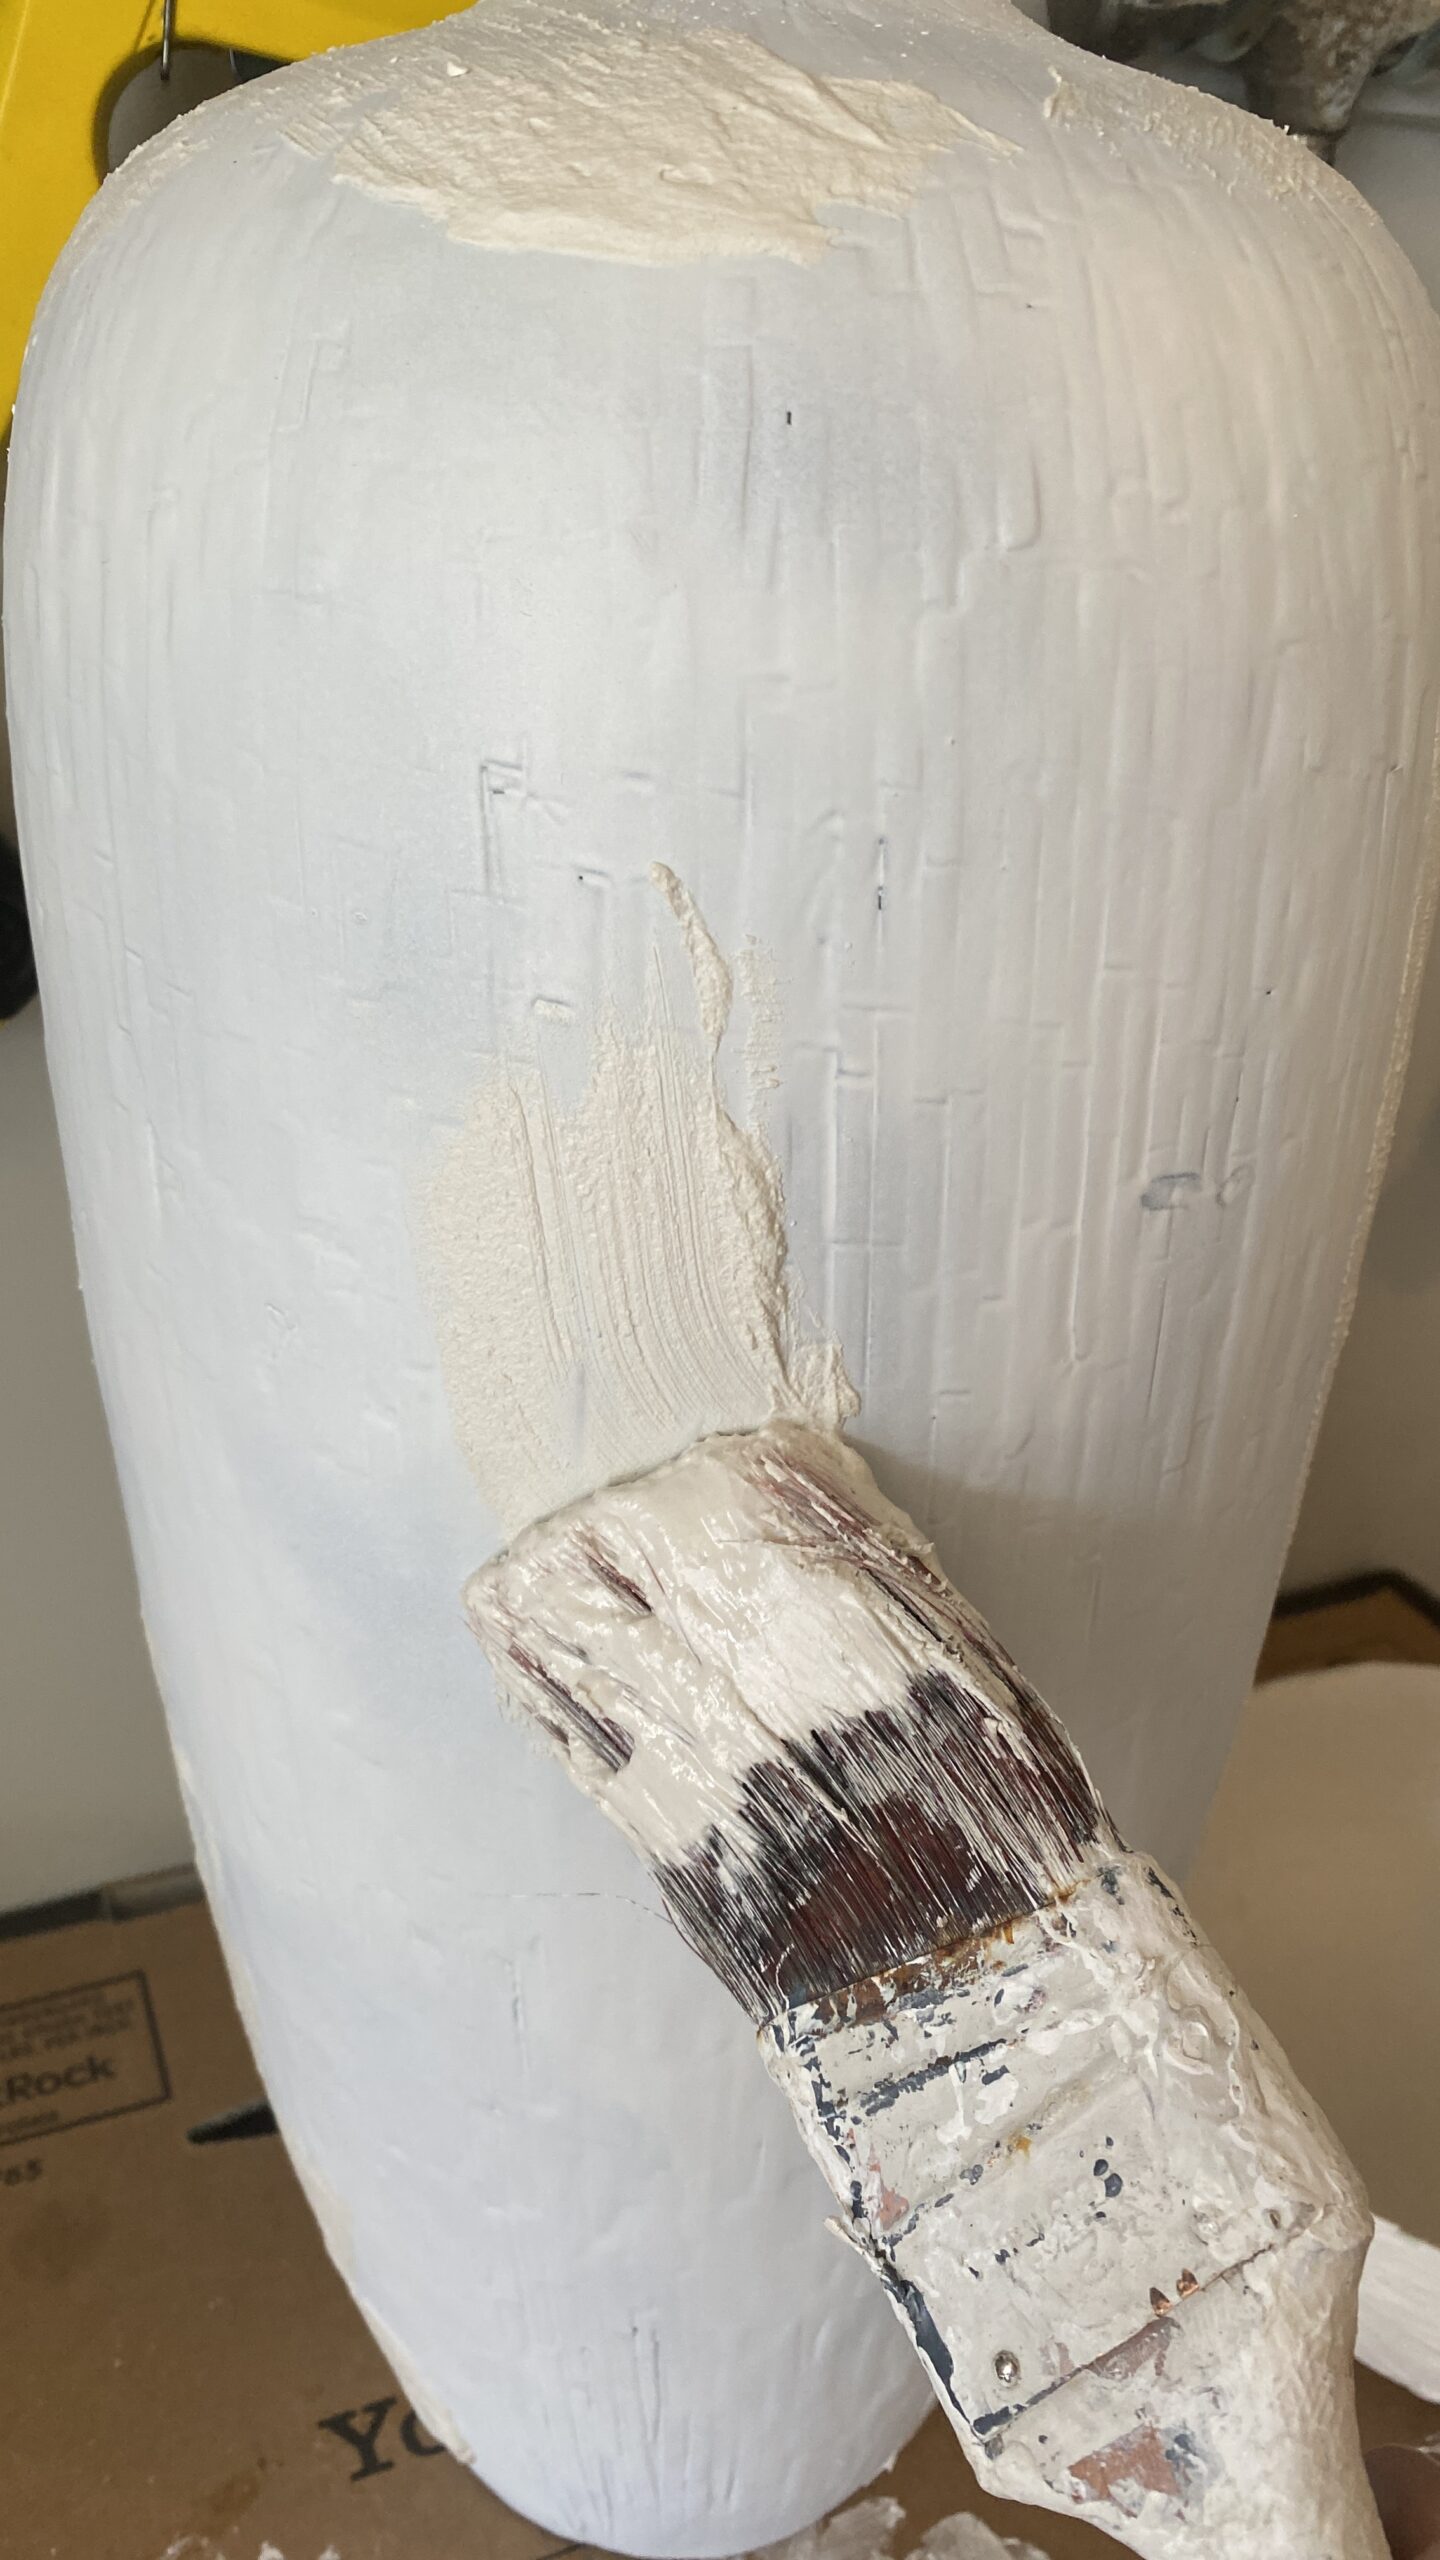
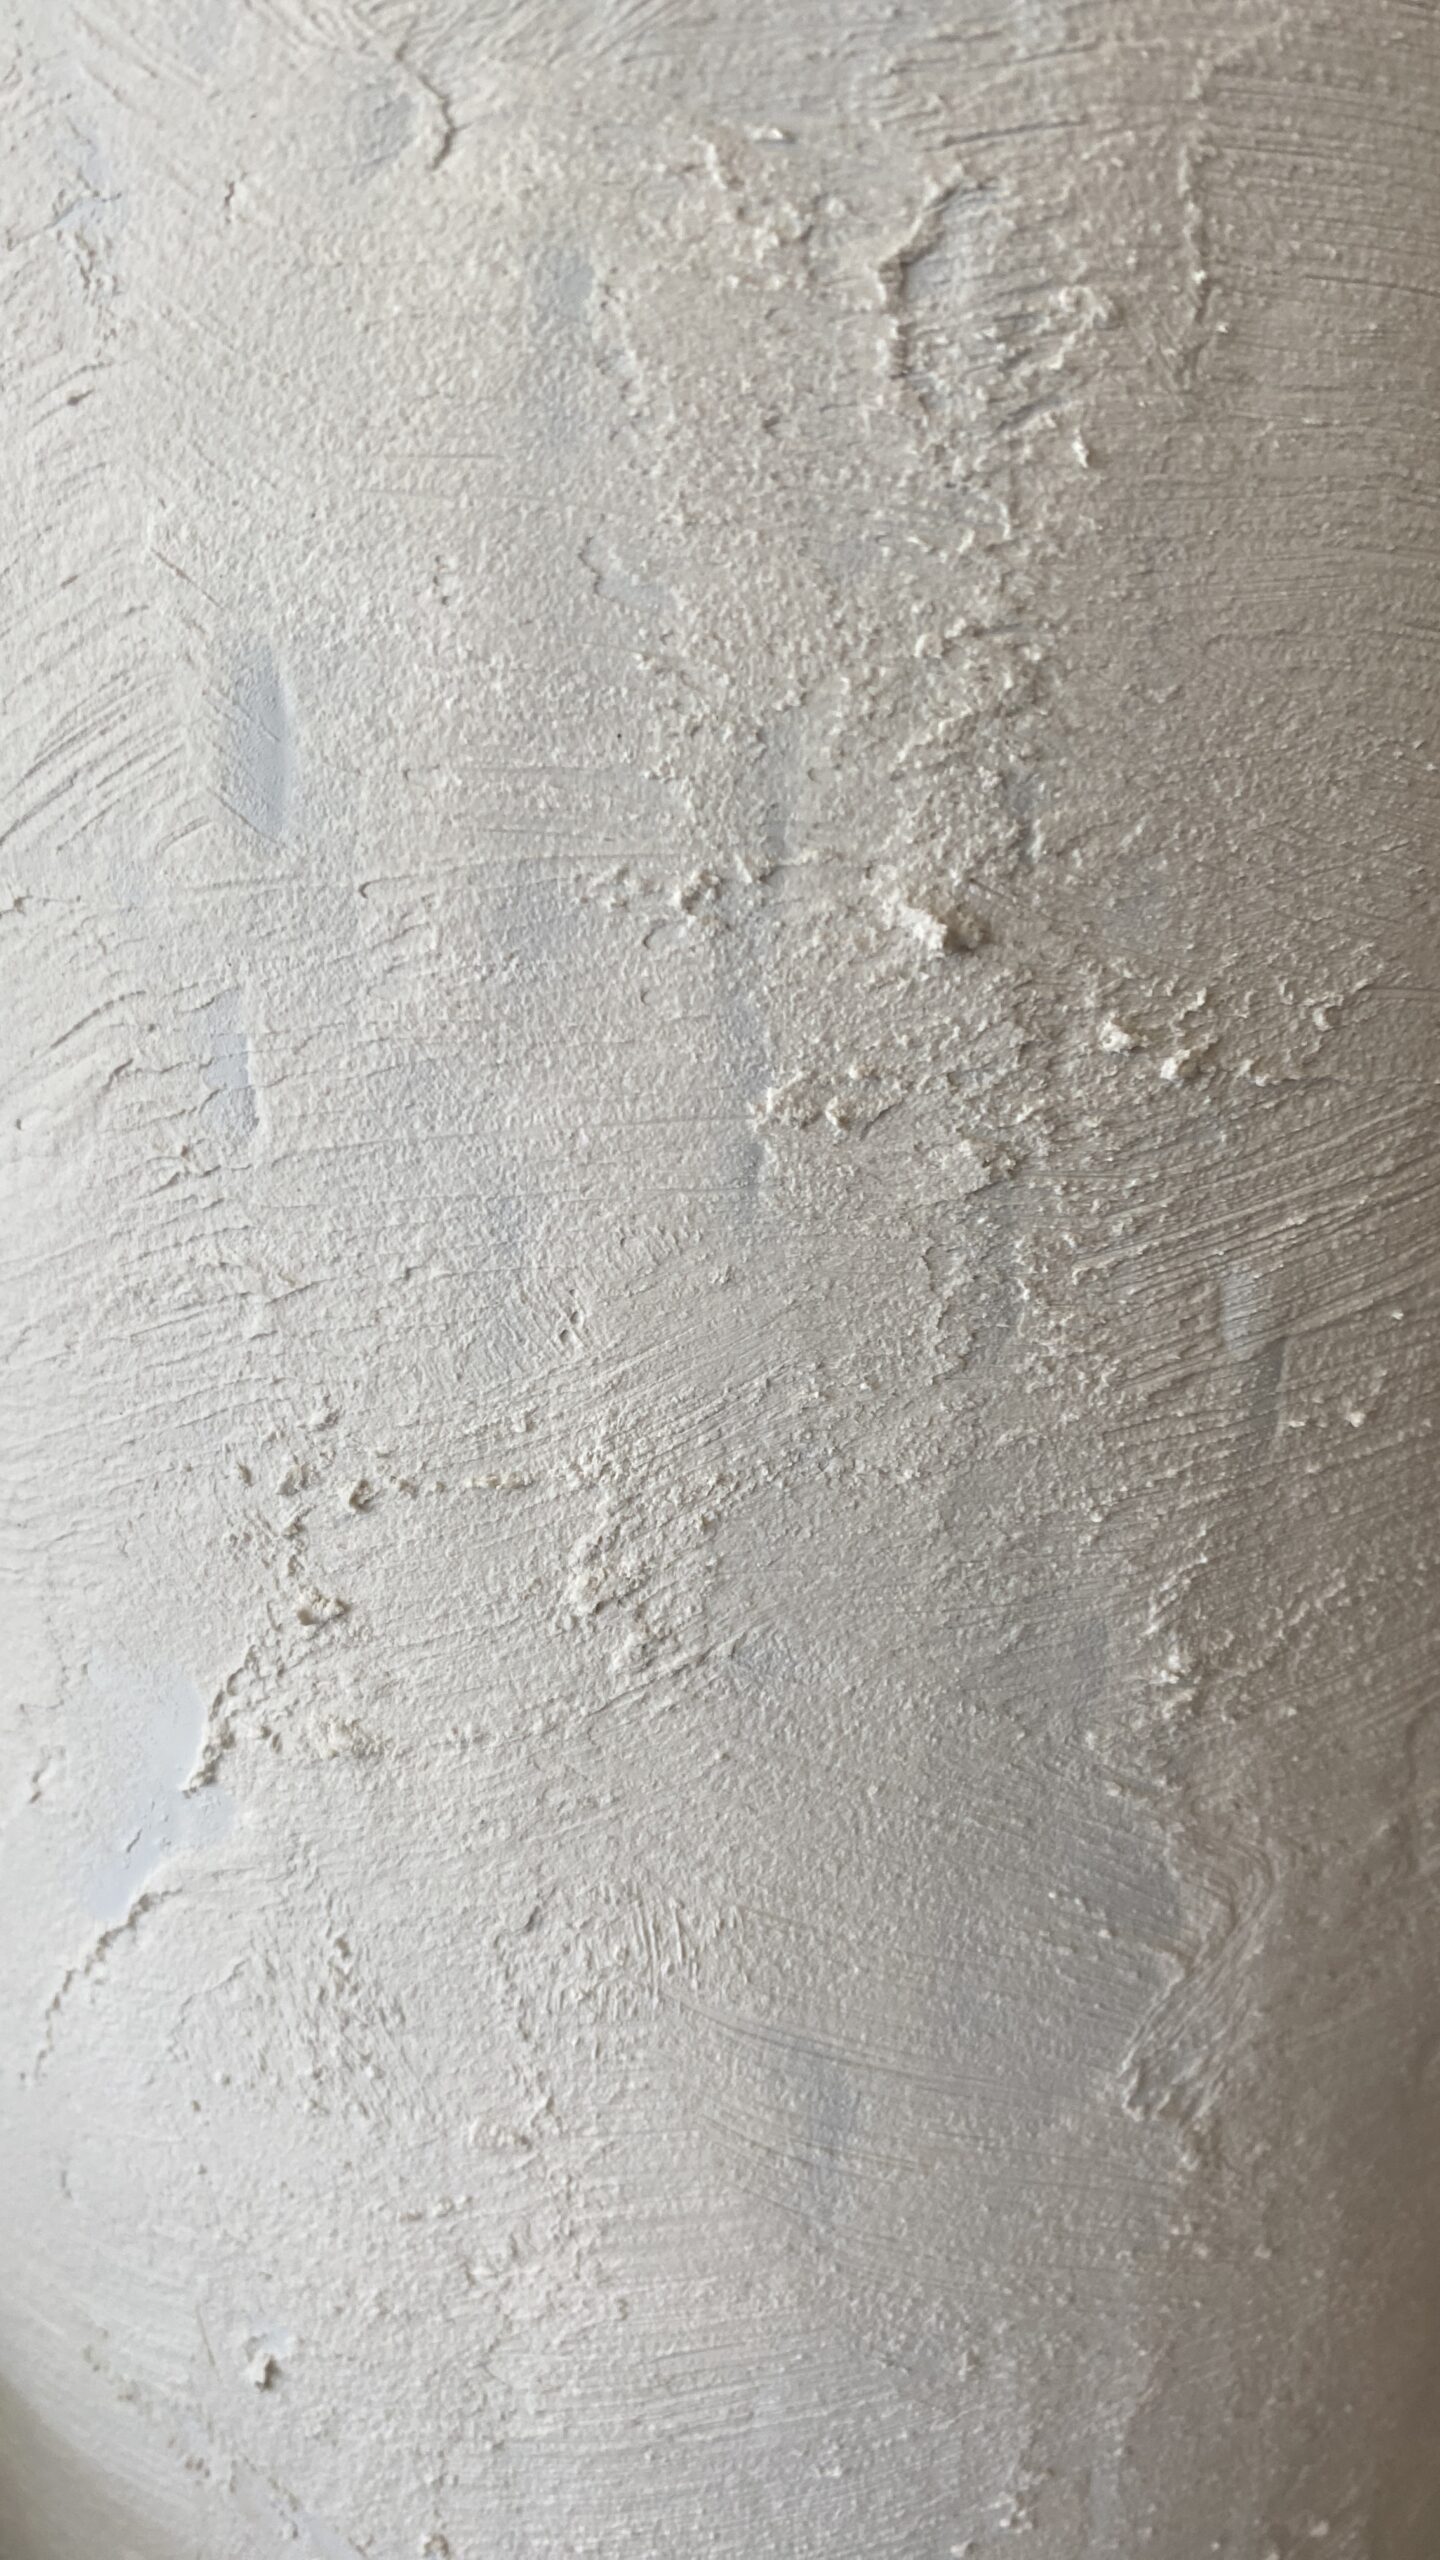
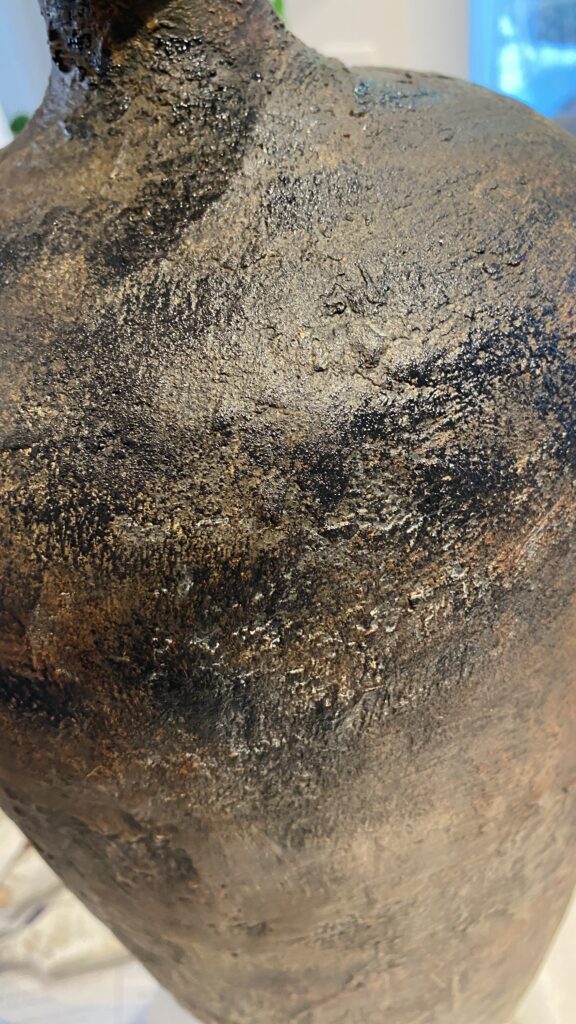
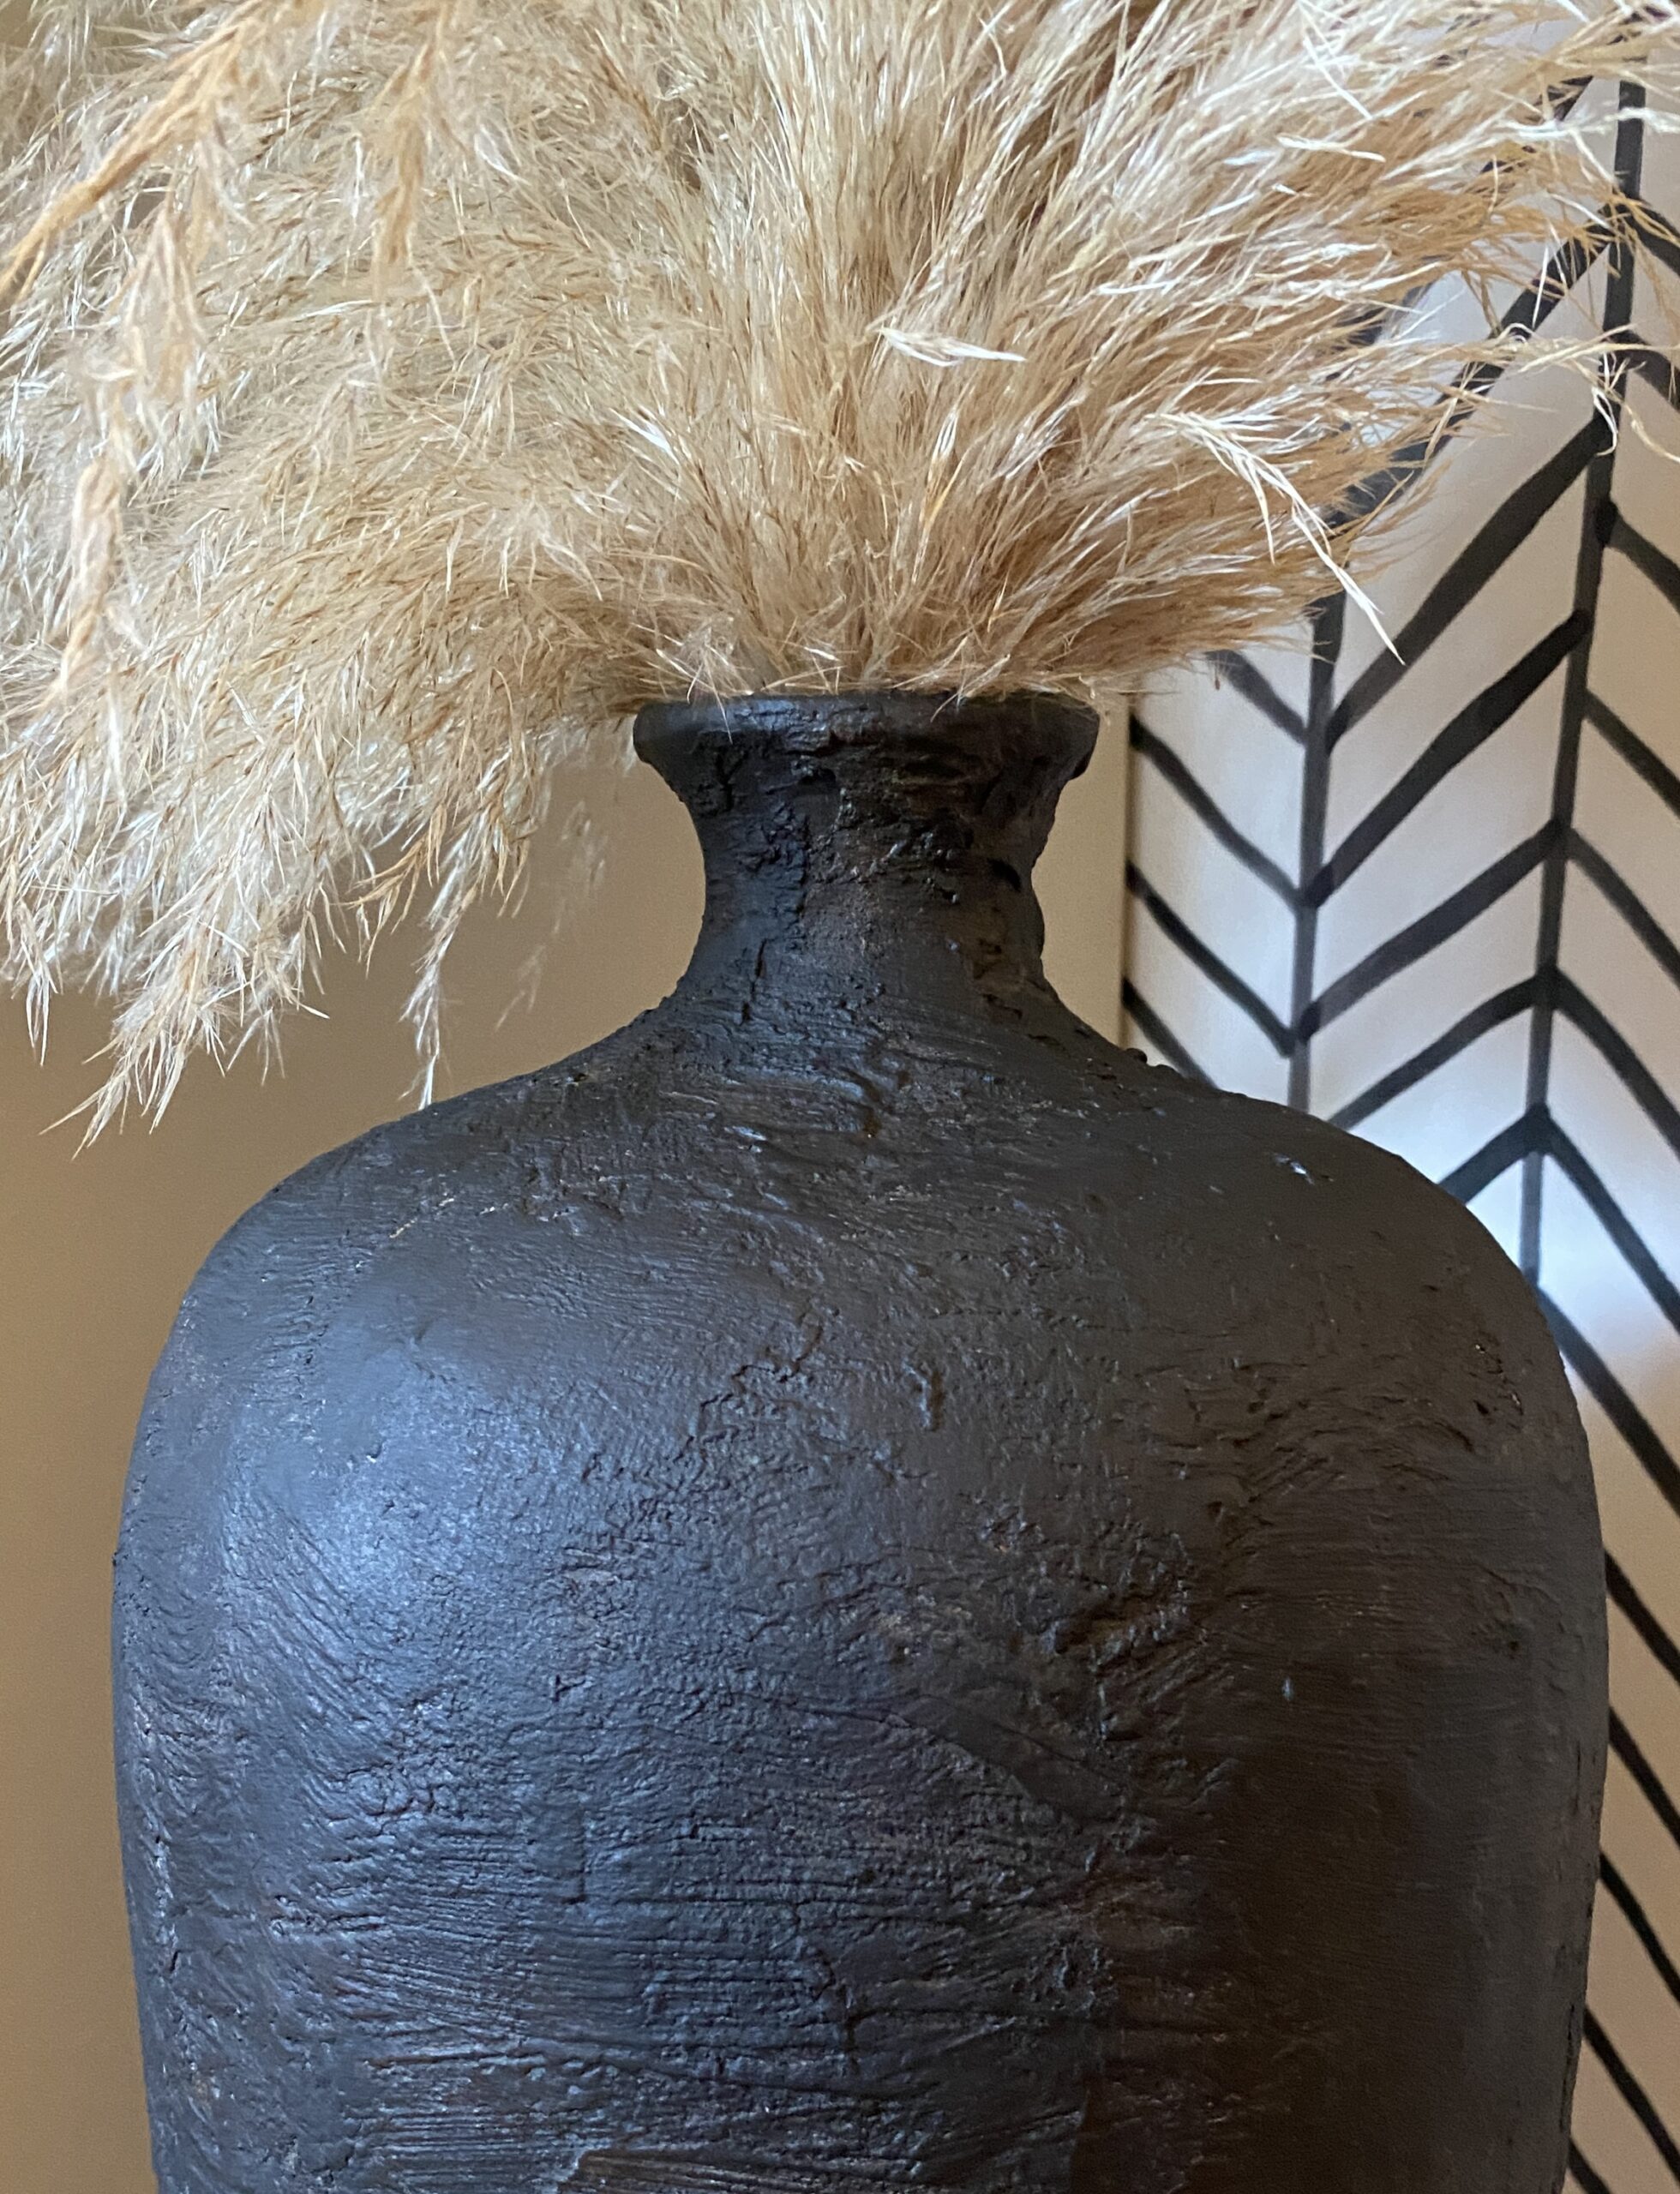
If you haven't worked with Plaster of Paris before, know that it dries very quickly, you only have about 10 minutes to work with it from the time you mix it with water. Have your workspace & vessels ready before mixing so you can get to work right away. Follow the instructions on the box, I like to mix it so it is the consistency of concrete. Again, this does not have to be pretty. You are going for a rough, worn look. Play with different brushes, trowels, putty knives etc. I like to use the putty know to apply, then use a brush to create my texture. Let dry.

STEP 3: PAINT

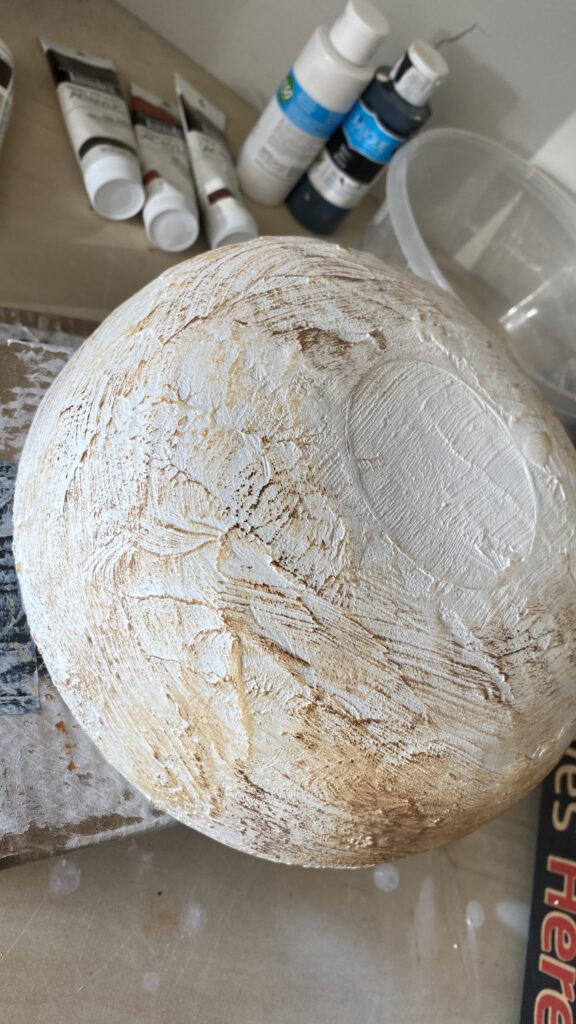
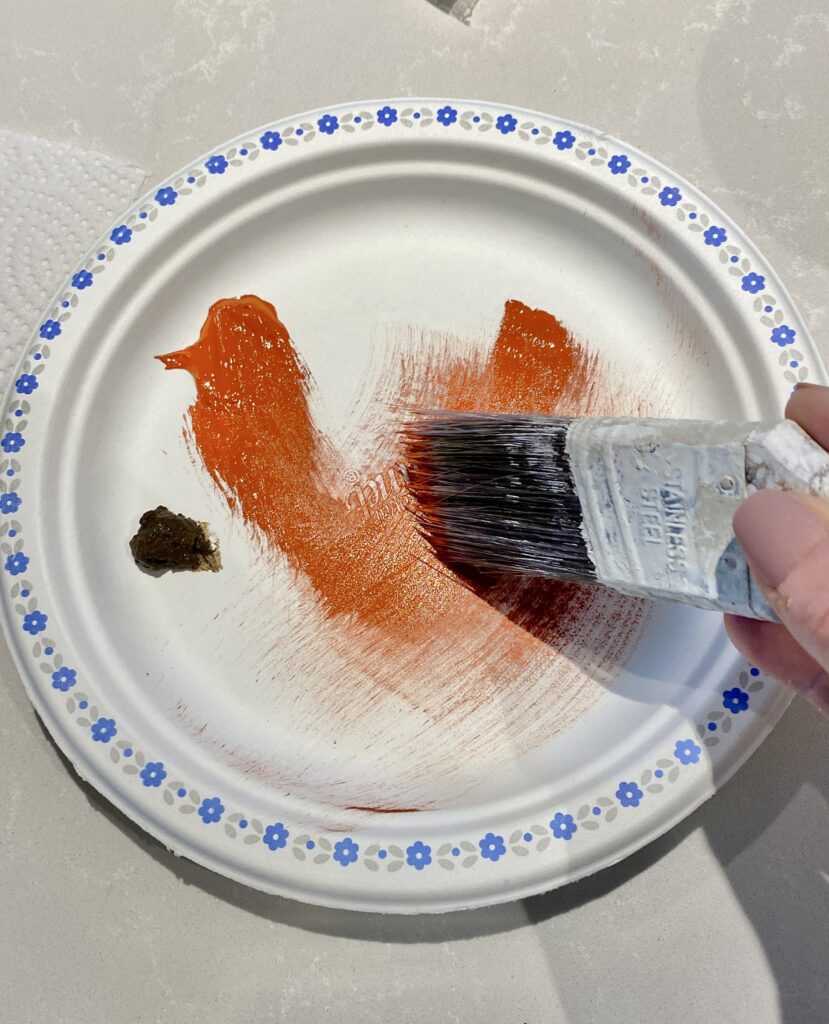
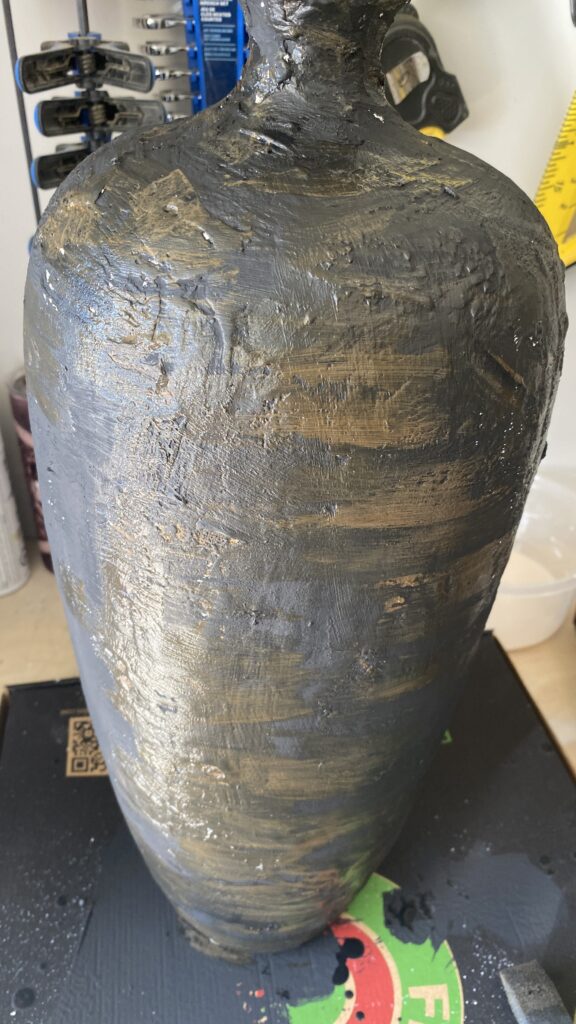
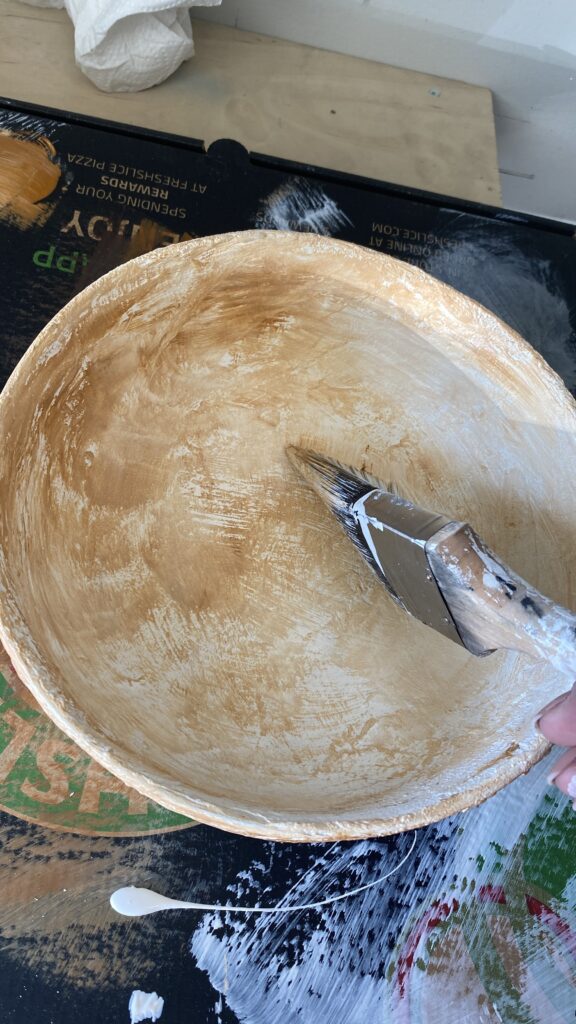
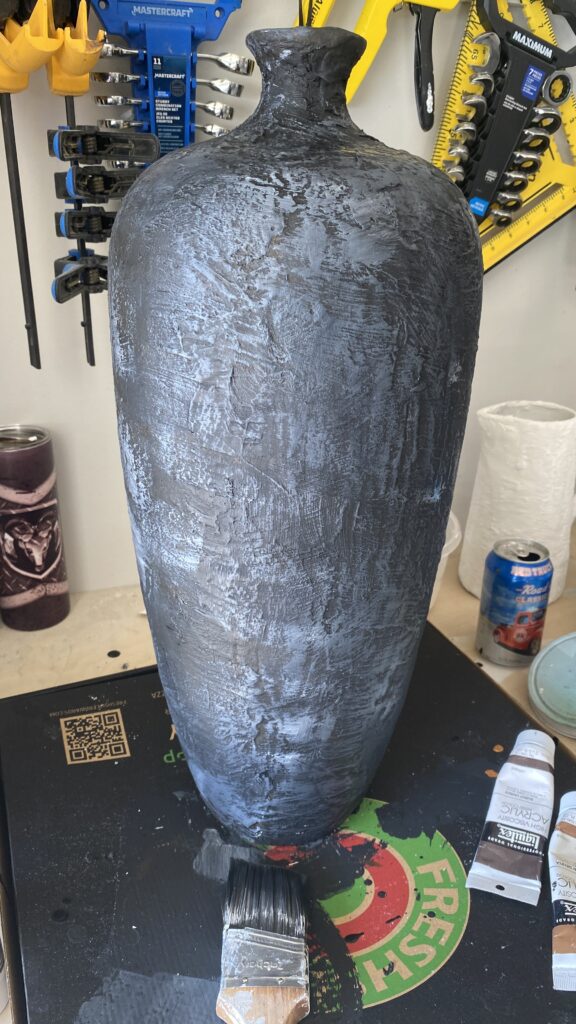
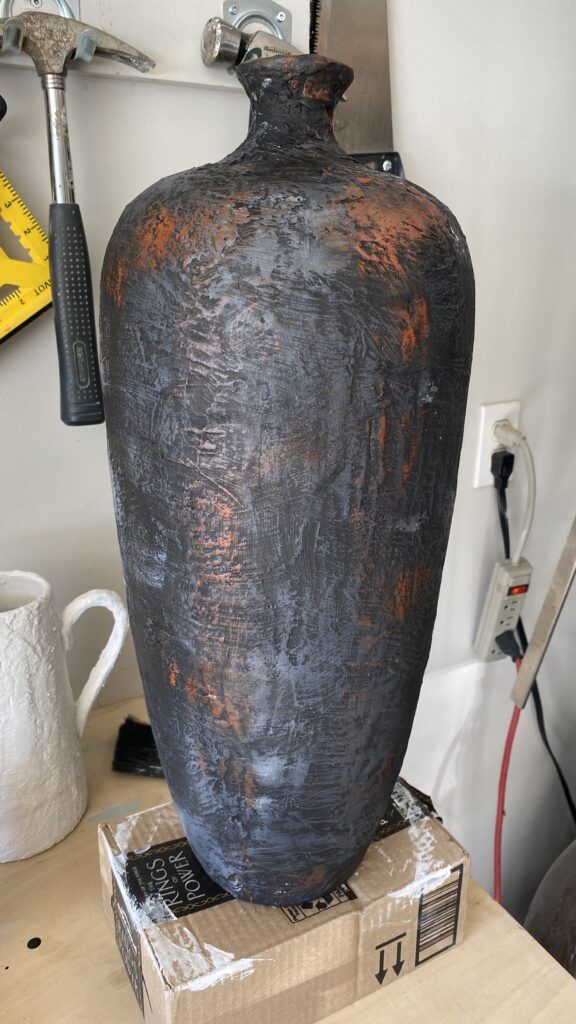
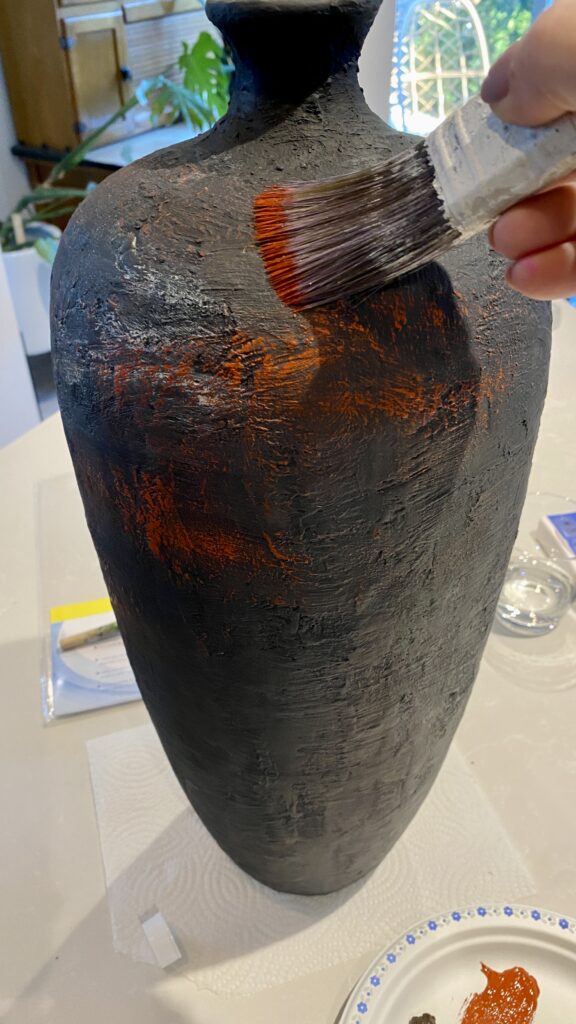
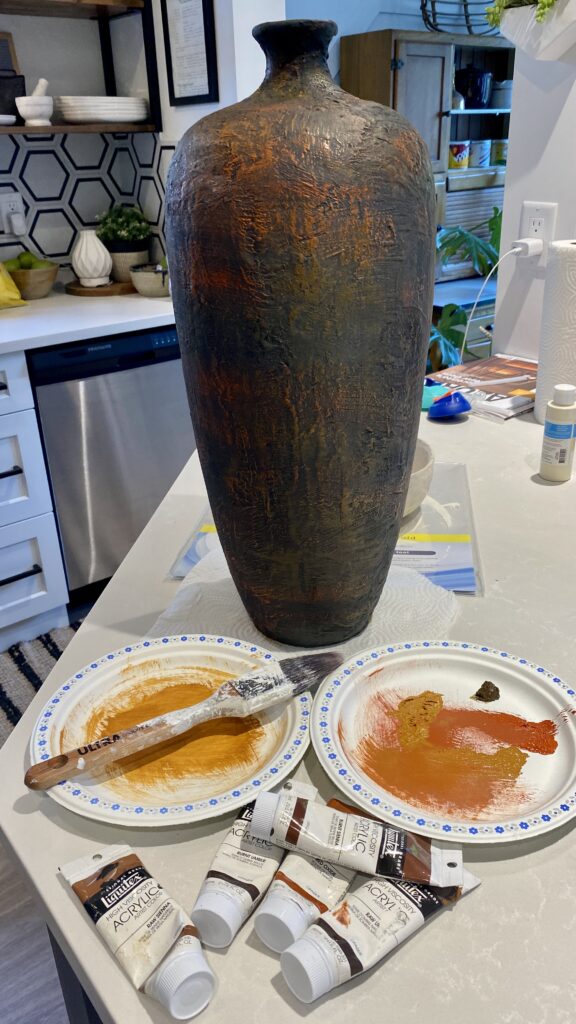
This is where the fun starts. I had 3 pieces and 3 different looks I was going for. I applied a black base coat to the large floor vase, and cream base on the bowl and pitcher, followed with some burnt umber and browns to give it a rustic look. I applied the top colors using a dry brush technique. You do this by putting a small amount of paint on your brush, wiping off the excess and lighting brushing your vessel.

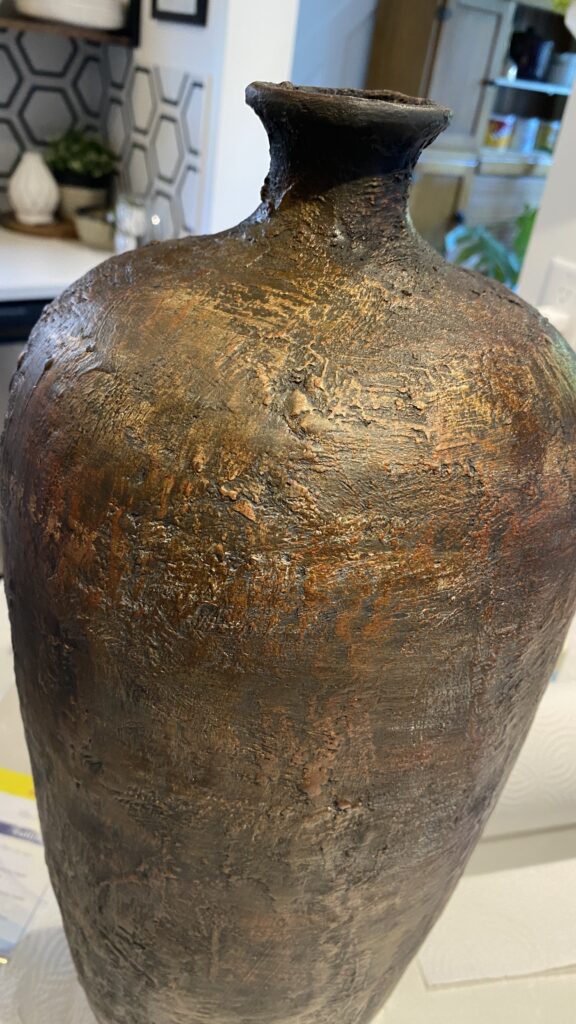
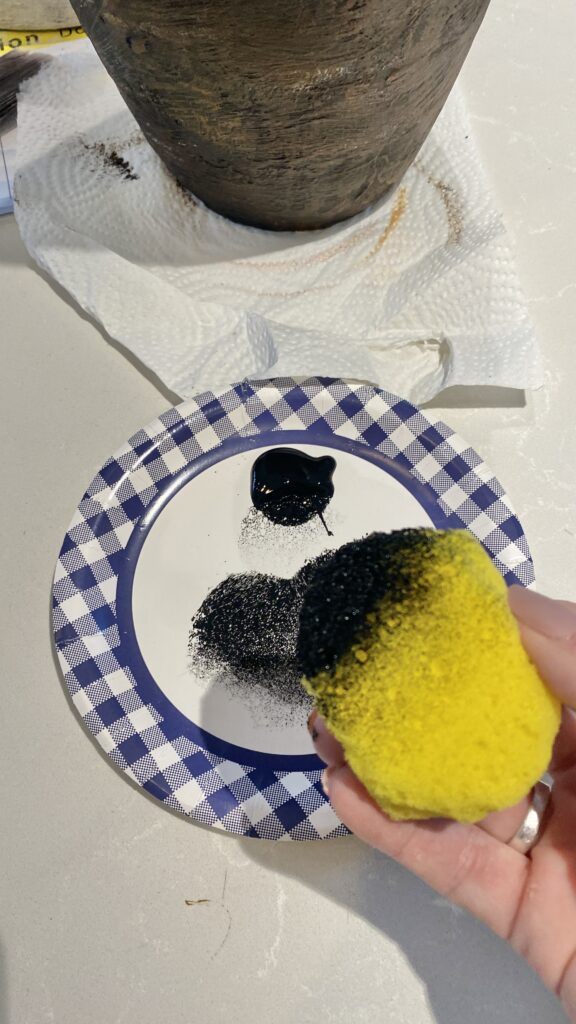
After letting them dry, I applied more black to the vase using a sponge, and more cream to the bowl and pitcher until I got my desired color. Don't be afraid to layer colors over and over again, there is no right or wrong way. You can always layer again if you don't get the look you are going for. There is honestly no way to mess this up.

THE RESULTS ARE IN!

I am pretty happy with these results, what do you think? My total cost for this project was about $10. The vase was $7 (I got 3 for $20), the bowl and pitcher I had already, the dollar store paints I also had but I accounted for a couple dollars, and the Plaster of Paris was $8 but I have a ton left for more projects. Not too shabby considering the originals are $100-200 each.

If you enjoyed this tutorial, please subscribe to my blog & newsletter for DIY projects, designer tips and resources. Happy DIY'ing!